|
Probably the most fascinating thing about an owl is it's piercing eyes. It just didn't seem right to just paint the eyes on and diminish this feature. So I adopted the practice that many decoy carvers use to get realistic looking eyes and that is the purchase and installation of glass eyes. There are many sizes and colours available for a variety of birds. These owlets will have yellow eyes with black pupils, a common colouring. Here's how it is done. First drill holes in the locations of the eyes that are a little larger than the glass eye itself. In this case I drilled a 3/8" hole with a forsner bit for 9mm eyes. Drill the holes a little deeper than the thickness of the glass eye. Here's the heads of Curly, Larry, and Moe with the eye sockets drilled and the glass eyes waiting installation. 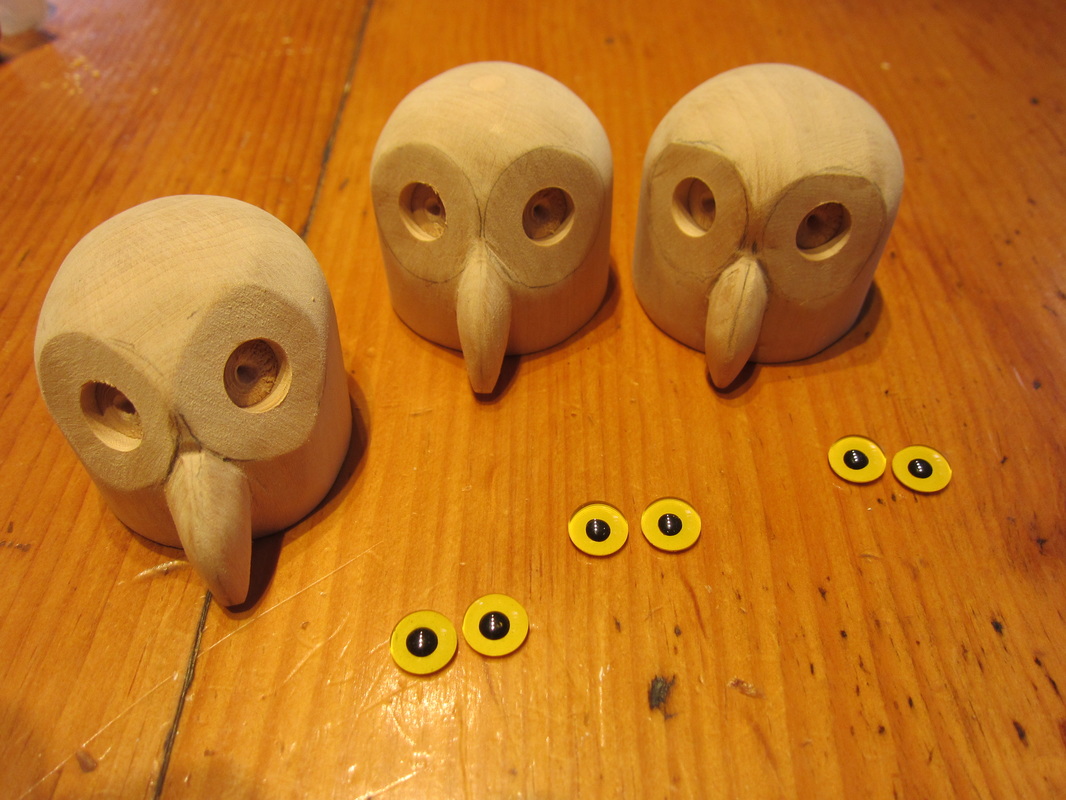 Select a head and push a little wad of epoxy putty into the eye socket. 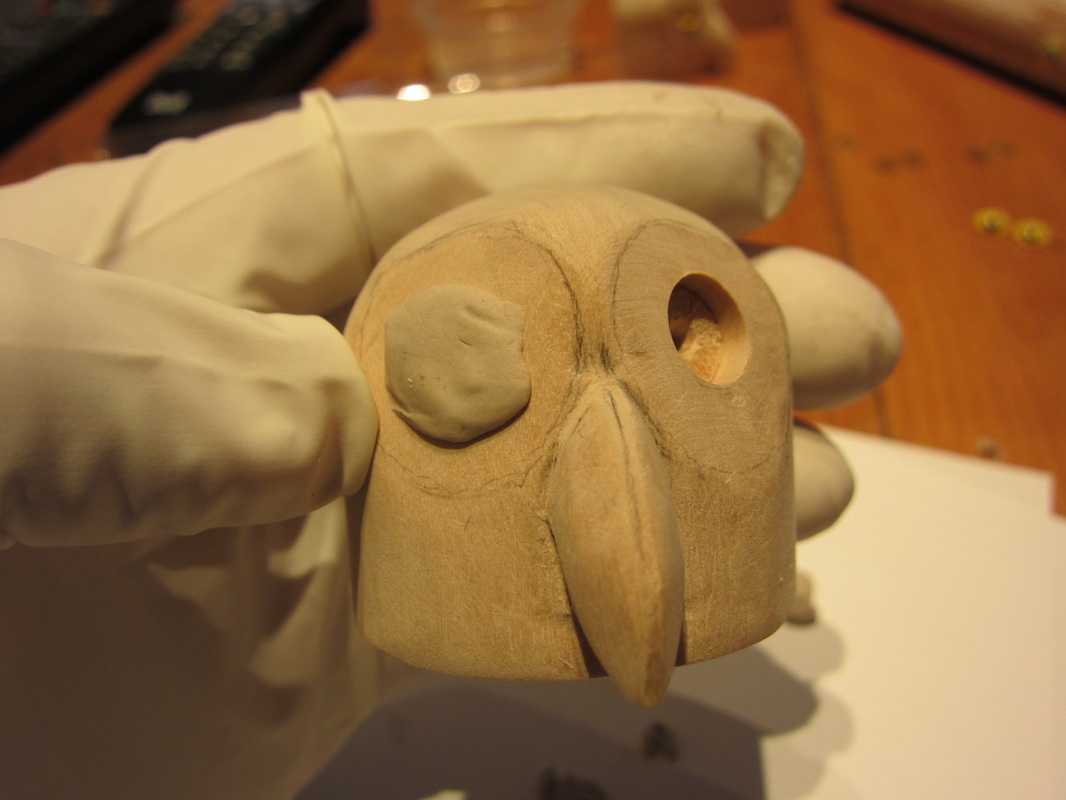 Next push the eye into the putty in the socket. Use a flat strip of some kind to push it in to a depth you are happy with and remove the surplus putty. See the photo below. 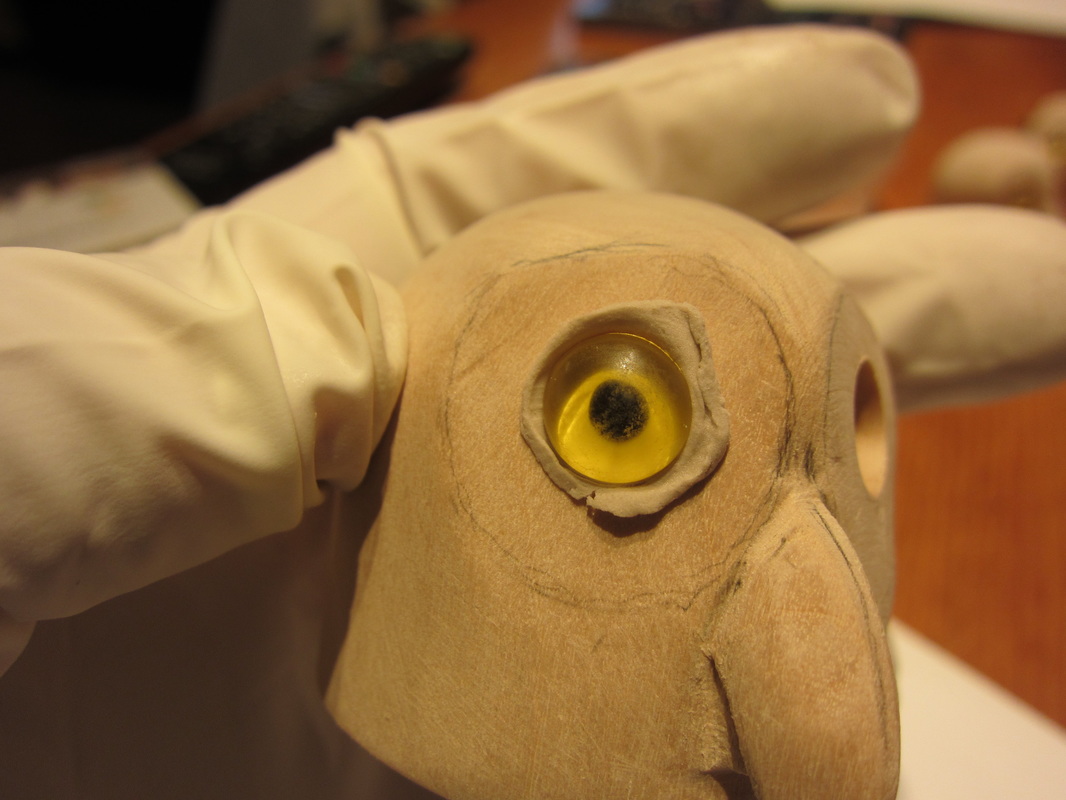 Next use a Q-tip soaked in water, or a similar device to smooth out the epoxy around the eye. Then starting in the centre of the eye wash the epoxy residue off the eye. It might look something like this. You can still see the water mark around the eye from cleaning. 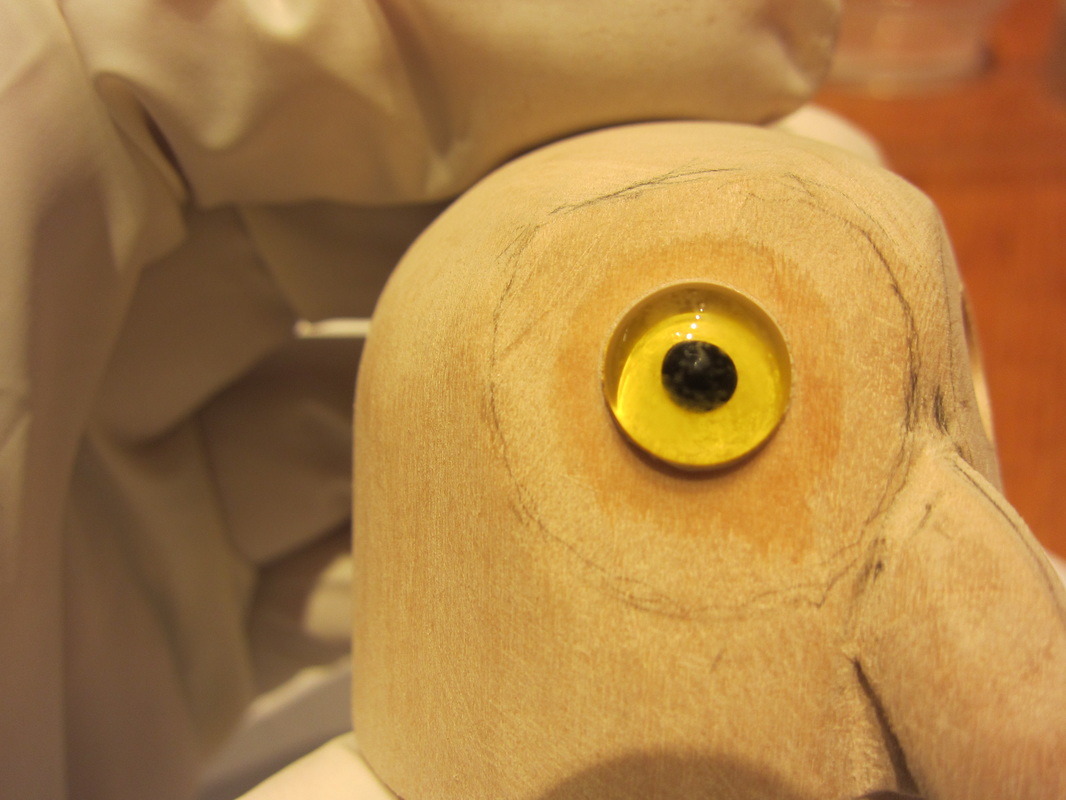 So below is the result; three owlets with a glassy eyed look. A little paint and these little fellas should look even more interesting. As I have said before I try to make my characters look somewhat realistic but not necessarily real. This allows some room for whimsy and cuteness! With light from above as below they actually look meek. 
0 Comments
Leave a Reply. |
Why Automata?Automata is a creative blend of my life interests , engineering, art and woodworking. Archives
July 2022
Categories
All
|
 RSS Feed