Cutting in an Automata Workshop
It goes without saying that there are different saws for different jobs! Lets run down what I use in making automata.
Full Size Table Saw
I have a full size 10" cabinet makers table saw. It is a Sears and I have had it for many years, long before I stated making automata. Of course the challenge with most table saws is the room that you need to have in your shop to leave it fully assembled and have working space. They often become a storage platform unless you are using it frequently. I often use mine without the cast iron wings on it for general carpentry.
I have to say that I seldom, if ever use it for automata projects. With the advent of good chop saws mine is generally only used for ripping or dados. If you don't have one, don't sweat it for automata work.
I have to say that I seldom, if ever use it for automata projects. With the advent of good chop saws mine is generally only used for ripping or dados. If you don't have one, don't sweat it for automata work.
Chop Saw/Cutoff Saw
I have a 10" Makita sliding bevel cut off saw. As far a general utility goes it outperforms my table saw for automata work by far. I usually only use it to cut stock for automata boxes. Since I try to keep most projects narrow it is adequate for this purpose. This saw is mounted on a "Rigid", wheeled collapsable work stand, which is handy for dragging it around to various other carpentry projects on the property. I don't keep it in my automata workshop since space is limited, so I either go into an unheated shed to make the few cuts I need for an automata piece, or drag it to just outside my shop door for cutting. Don't get me wrong, if my shop was bigger I would build it into a work top on one wall, just to avoid dragging it around.
So it is my preferred large saw for making automata cases, but that work could be done on a table saw if you didn't have one.
So it is my preferred large saw for making automata cases, but that work could be done on a table saw if you didn't have one.
Bandsaw
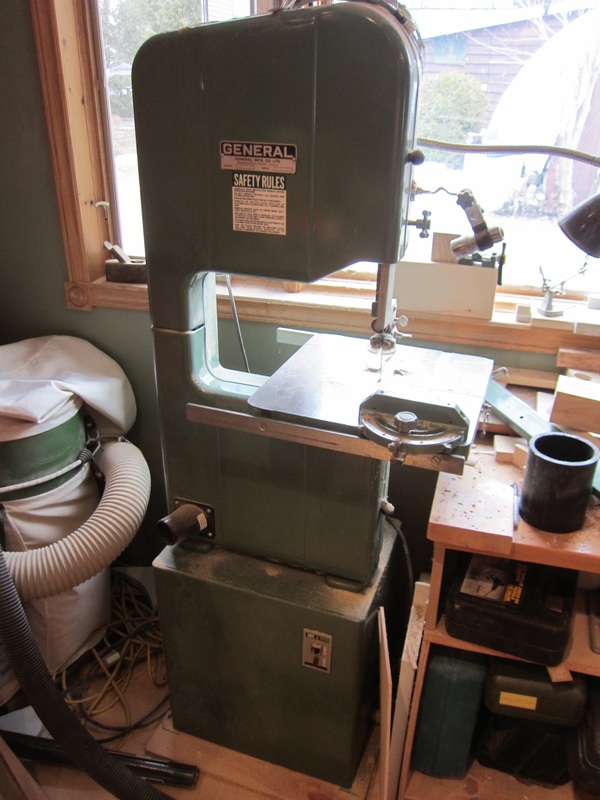
I have a 15" General Model 490 Bandsaw. It is another tool that I have had since long before making automata. It is a work horse with a 3/4 HP motor and cast iron frame and table. I suppose for most automata projects a three wheeled bandsaw is probably adequate. It really depends on how much re-sawing you do to make stock for your projects. Since I do not use a thickness planer a lot I gear a most of my designs to use commercially sized lumber. The other advantage is that this material is usually kiln dried and ready to use.
Most large blocks I cut on the band saw are large pieces of basswood or tupelo that I cut down to create blanks for automata characters. These woods are fairly soft and can be cut fairly easily on a lighter duty bandsaw. However I have to say that when I tune up my General it makes a pretty clean cut and with a 6" throat it seldom lets me down for most things I attempt.
Most large blocks I cut on the band saw are large pieces of basswood or tupelo that I cut down to create blanks for automata characters. These woods are fairly soft and can be cut fairly easily on a lighter duty bandsaw. However I have to say that when I tune up my General it makes a pretty clean cut and with a 6" throat it seldom lets me down for most things I attempt.
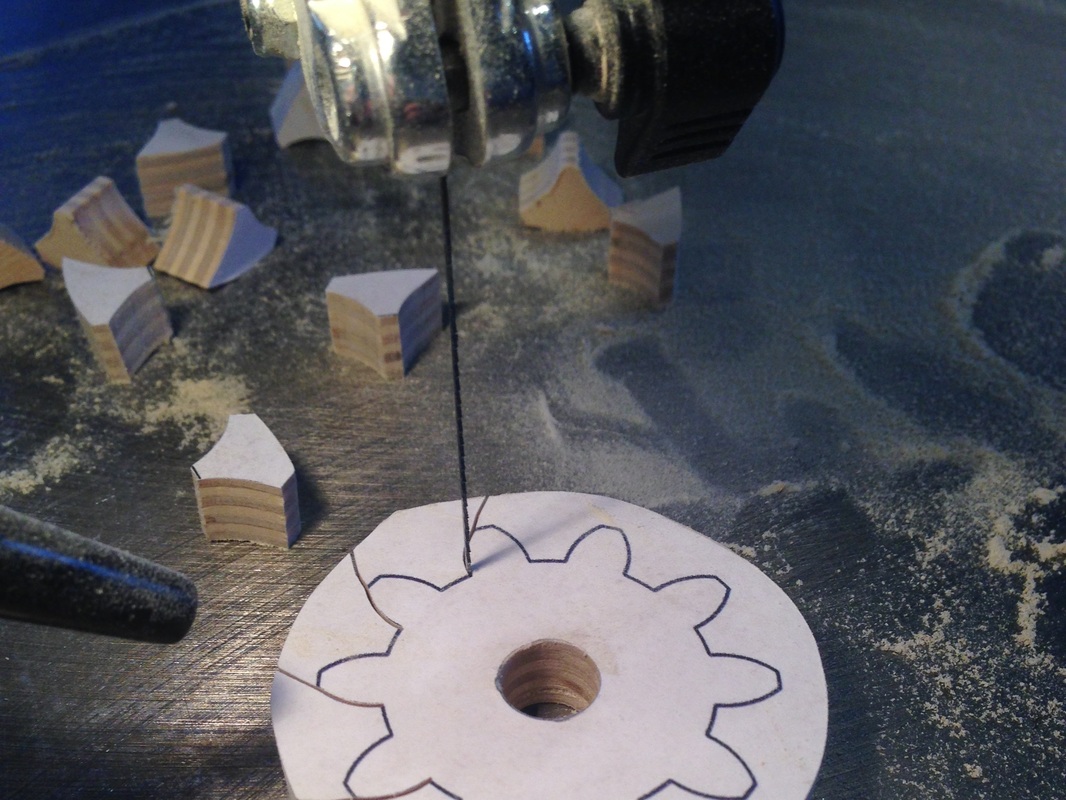
The most common use for my bandsaw is to cut down parts to prepare them for my bench sander or scroll saw. For example, when I cut wooden gears I use the bandsaw to cut a circle a bit larger than the outside of the gear (3/16" to 1/4") and then cut out the tooth profile on my scroll saw. You can see this in a photo in the scroll saw section below. A couple of things to note here are: sand the back of the blank before moving to the scroll saw to remove any burrs so it lays flat on the table, and cutting away from the final dimension prevents any splintering from occurring that extends into the gear shape. Even when cutting small square pieces like pedestals for automata projects (usually 3/4" thick poplar) I use the bandsaw to cut slightly oversize to the pattern and sand to the final dimension on my bench sander. This way I get a clean, straight, finished without saw marks.
Looking at the photo above there are a few things to note. My saw is in front of a window which allows excellent backlighting that enhances visibility when working. I also have a light which has been extended out to the right for this photo. I have added a dust collection port in the lower door which I connect to my dust collection system when cutting. It was not on the saw when I purchased it. I expect most new products would come with one now.
My saw sits close to the wall. Much of the work I cut is shorter than 18" in length and presents no problem for run out. When I need to cut longer stock I slide it forward out into my shop and rotate if necessary to get clearance. For this reason it is not bolted to the floor but mounted on a piece of 3/4" plywood which makes it easier to slide.
The little table to the left allows me to pile stock before and after I cut it. It is handy since the table on the saw is very small and not the safest place to pile things even with the rip fence on. I keep cases of power tools in the lower shelf and usually keep the fence and miter guide handy in the top section. This table is located between my bandsaw and drill press so it provides double duty.
I have installed a link belt on the drive and found it great to reduce vibration levels.
Scroll Saw
Here's a photo of my Dewalt 788 scroll saw. Yes the safety clamp that holds the work done has been removed. There is a video review of it on Youtube you can watch.
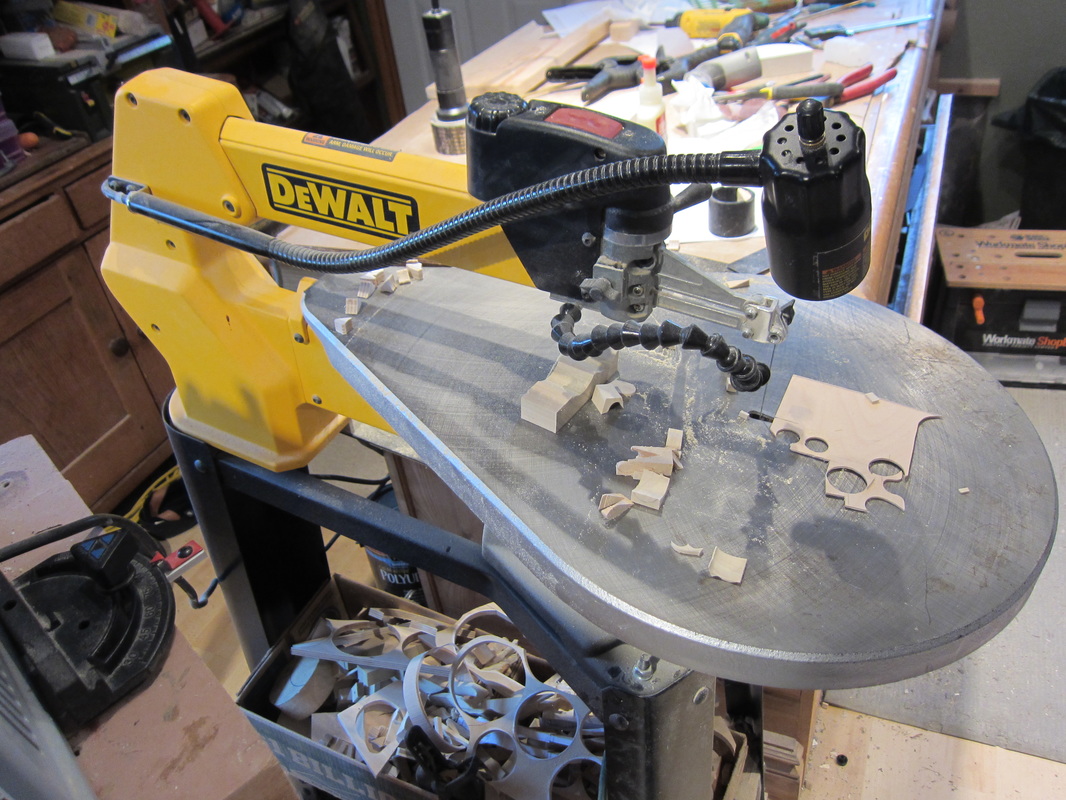
A good scroll saw is a must for automata work in my book. It is on of three pieces of equipment I use the most. In combination with my bench sander I make lots of components for my automata projects. A little pricey maybe compared to lesser competitive models, but I've been very happy with it. In the past I have used both Dremel and Rigid models. The Dewalt runs very smoothly . It has enough power to cut thick stocks. I routinely cut out 3/4" poplar and maple with a number 3 blade with no problems. What is nifty about it is that the upper arm tips up so you can have easier access when feeding blades into holes cut in the stock. The machine is also variable speed which is very useful. The blades are easy to change in that they do not use set screws for clamping. It has its own built in circuit breaker should the saw ever become jammed. ( It happened only once just after I got it - operator error!) It came with a stand which I set up with a 15 degree forward tilt so it is easier to see the work. I highly recommend this! It also has a light which is a must for small pieces. I use unpinned blades that I buy from Lee Valley. If you are going to invest money anywhere , especially if your are going to do more inlay work, buy a nice scroll saw.
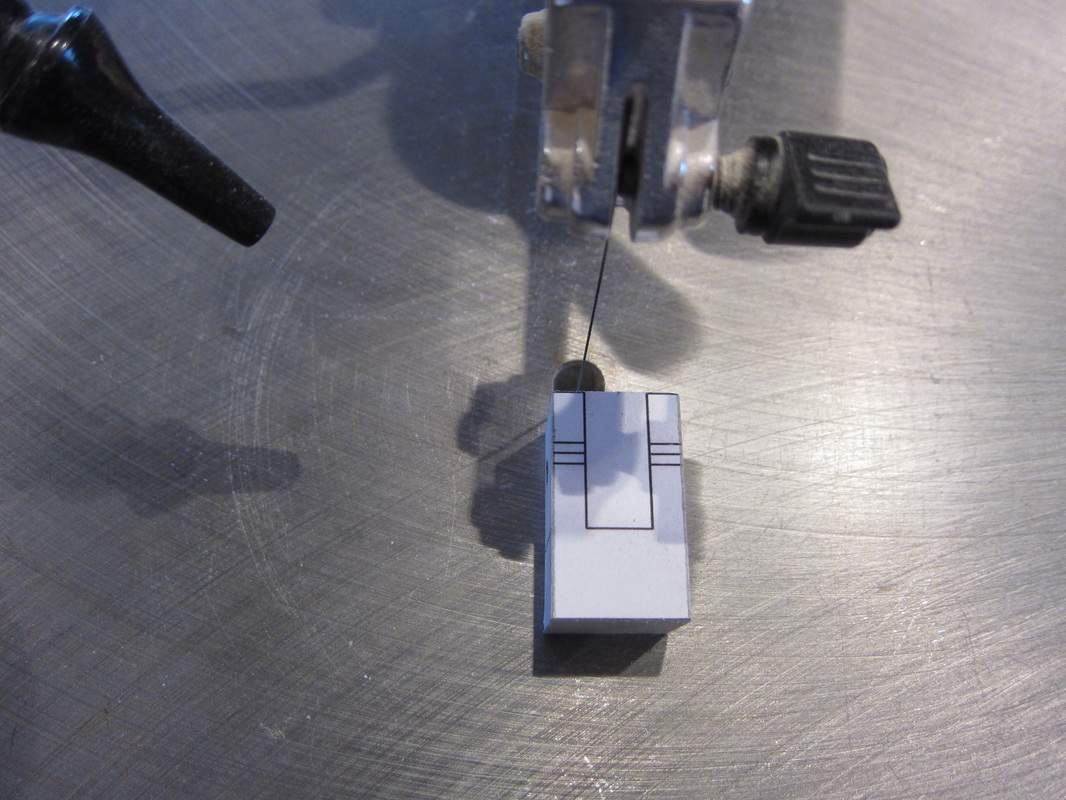
An operating tip is that if you are cutting from templates you generate from a computer, or any pattern for that matter, I find it easier to see if you print them in red. When cutting it is easier to distinguish the blade from the cutline on small pieces. As you can see in the photo I alway keep a cardboard box on the lower frame member where I can easily toss cutoffs. I dispose of them when the box starts to get full. Great fire kindling for a friend of mine!
While there is a dust blower to keep the blade clear there is not a built dust collection system. I do one of two things depending on the cutting operation.
Miniature Table Saw
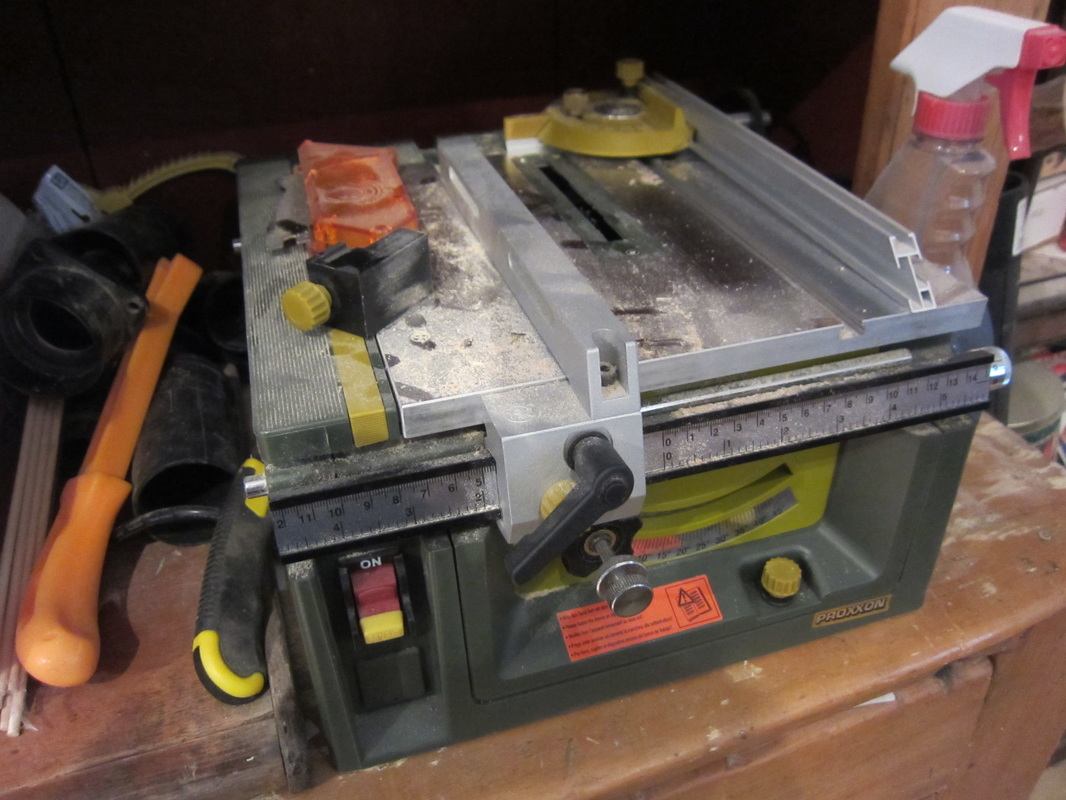
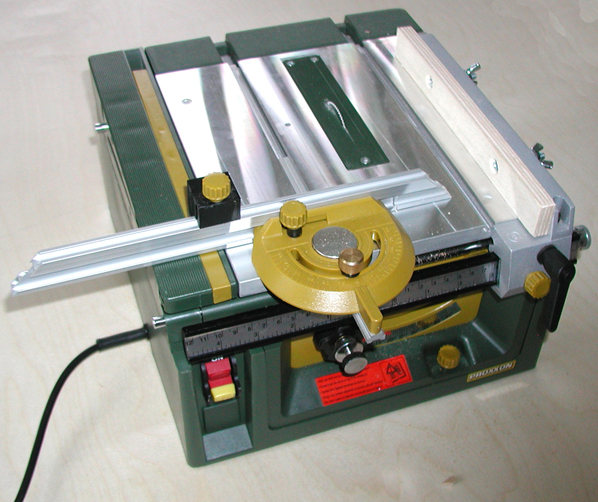
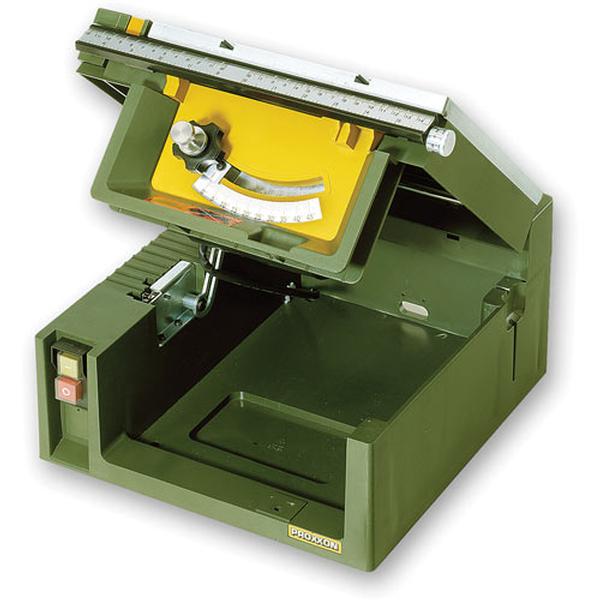
Rather than drag out my large table saw and risk nipping fingers trying to cut small pieces I purchased a Proxxon FET miniature saw with a 3" diameter blade. It can cut up to 3/4" stock if you go slow and steady. It has all the components of a larger table saw. I keep it on a sideboard in my shop and move it out to my work space when I want to use it. It has a port on the back that I can connect to my dust collection system. In the photo you can see the rip fence, the orange blade guard (not on since my last use was for a dado cut ), the miter slide with a long push bar sitting loosely on the right of the saw, a little black stop clamp laying in front of the guard and the manufacturer's supplied push stick on the left side. The table can be extend out to the left about 6". All in all it is pretty handy for making numerous little components for automata work. You just have to remind yourself it is not meant to make dining room table tops!
I should add here that Proxxon also makes a 3" cutoff saw. I have one equipped with an abrasive wheel for cutting brass. You can see it in the "Working With Brass" section of Shop Talk.
I should add here that Proxxon also makes a 3" cutoff saw. I have one equipped with an abrasive wheel for cutting brass. You can see it in the "Working With Brass" section of Shop Talk.
Speciality Hand Saws
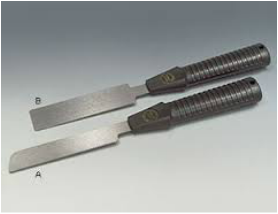
There are a couple of small cutting tools that require special mention. One is a flush cutting saw. Two are pictured in a photo below. It has kerf on only one side of the blade and is therefore used for cutting on flat surfaces without leaving marks. The principle use for this tool is cutting ends off plugs, but I have used it for many other purposes when making automata figures. I remind model 'A'. They are available from Lee Valley Tools.
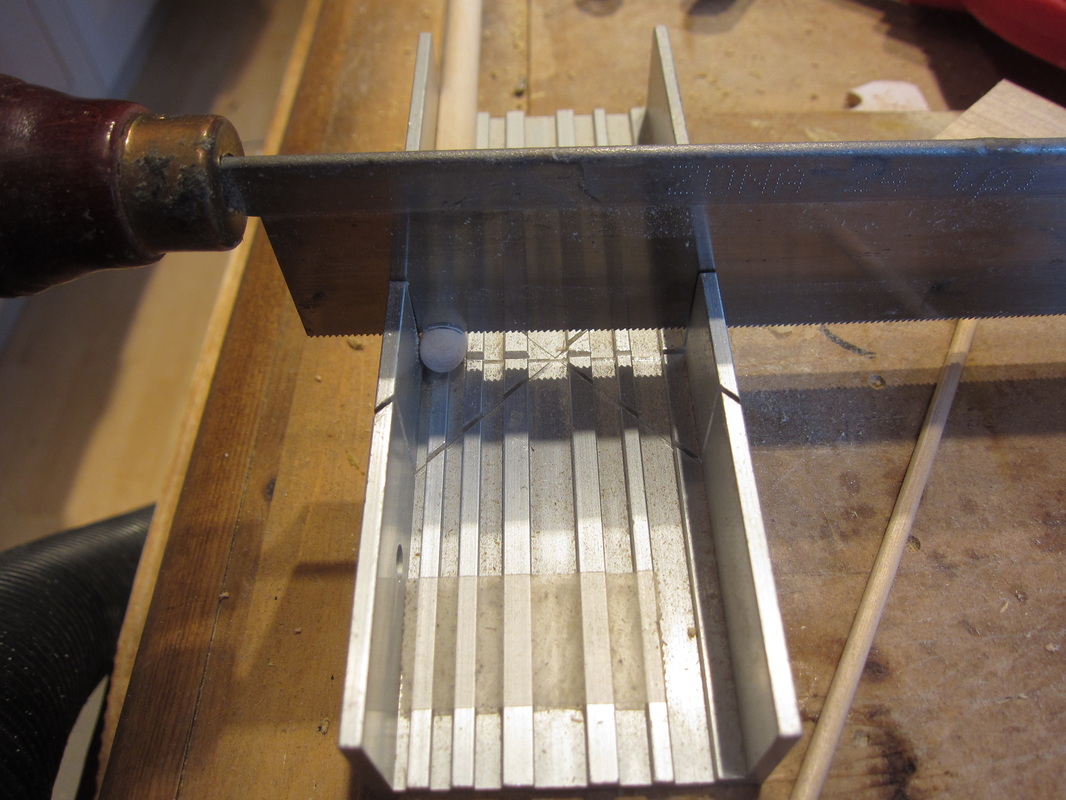
Another small saw is what is commonly known as a "gents" saw. It has fine teeth and a rigid back and I use it for cutting many small pieces and small diameter dowels. It is the one shown in my small miter box cutting an eyeball off the end of a dowel. I often use it with the miter box shown but care must be taken to avoid cutting into the aluminum! It was also purchased from Lee Valley tools.
There are some cheaper small saws out there to use for making fine cuts. Xacto sells one through many craft stores.
