Automata Work & Assembly Areas
For most woodworkers their workshops are very personal affairs. Most of us dream about our ideal shop. Most of us never get there. It seems workshops are like boats, no sooner do you get one and "two-foot-itis" sets in and you image how nice it would be if your shop was a little bit bigger! My observation is that usually the bigger a shop is, the more you pile into it. I am not a fastidiously clean woodworker, usually binge cleaning at the end of a project and my assembly area requires several cleanups as tools and pieces build up as I work. The good thing is that automata projects are generally small and do not require a lot of space to build.
Here is a little tour of the space I use and how it is organized. I hope it provides some insight for you.
Here is a little tour of the space I use and how it is organized. I hope it provides some insight for you.
Overall Shop Size and Setup
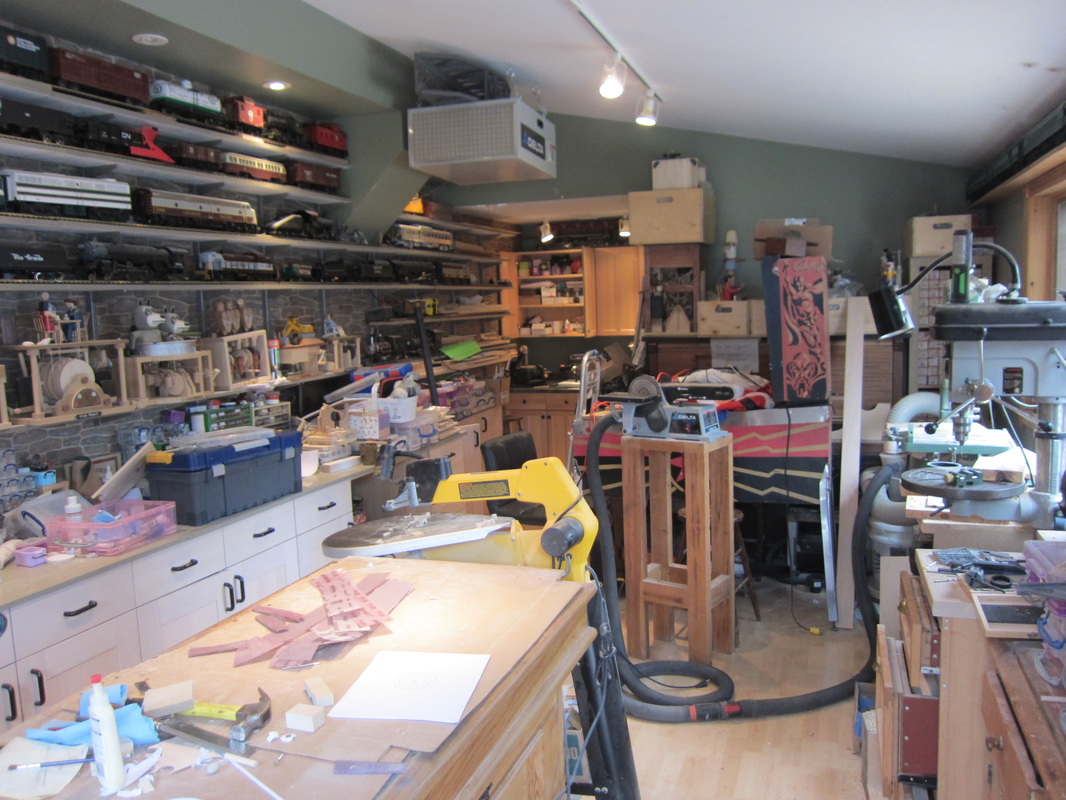
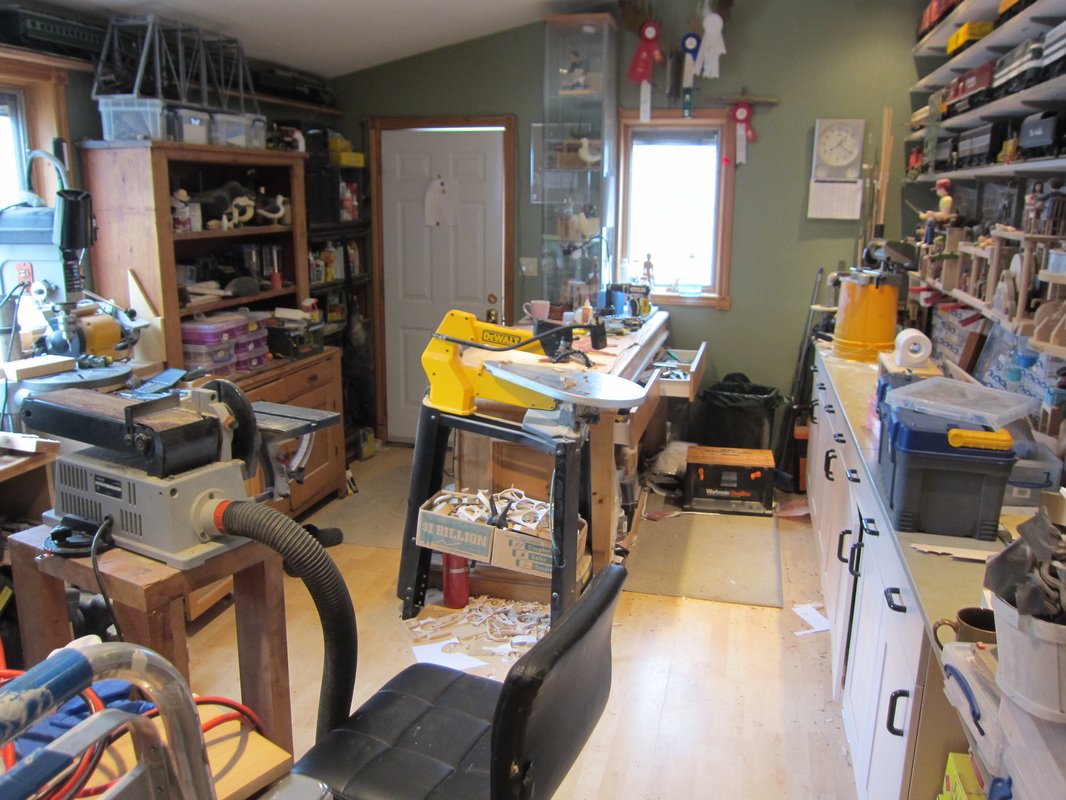
My workshop is about the size of of a single car garage. It is 25" x 12' but with a 6' x 7' corner removed. I do have another space where I keep my table saw and chop saw but I often drag them outside on nice days to use them. Here is a couple of current views of my work area.
As you can see the space is occupied with a couple of other treasures. I have a pinball machine and player piano tucked away against one wall. I also display some of my rolling stock for my garden railway on the wall and store railway stuff in some of the cupboards It takes up valuable wall space but having to dig for railroad cars every time you run trains is not a treat either. So keep in mind that all this space is utilized for automata.
I have windows on two walls which lets lots of natural light penetrate the workspace and I can see what is going on in the world instead of feeling like a hermit looked in a cave. I can open the windows to let the breeze blow through which is nice on a summer day. I have purposely set my drill press and bandsaw in front on the window as the back lighting from outside is an asset in visibility when cutting.
My scroll saw is right by my work area as it is a tool I use frequently. My bench sander is portable and usually drag it around the space. I lot of the time it sits beside my scroll saw.
My dust collector equipped with a cyclone hides in the corner. I drag a 2-1/2" hose around to connect pieces of equipment as I use them.
When I go to work with members of my carving club a take the large plastic toolbox sitting on the rear counter area loaded up with carving knives, power carving tools and my work pieces for the day. You can see it in the photos above.
I get visitors to the shop frequently so I have a small glass display case for smaller pieces on the bench near the door and a shelf full of larger ones below the trains. My dream shop would area a glass partition to a clean display area!
The Separate CAD Workspace
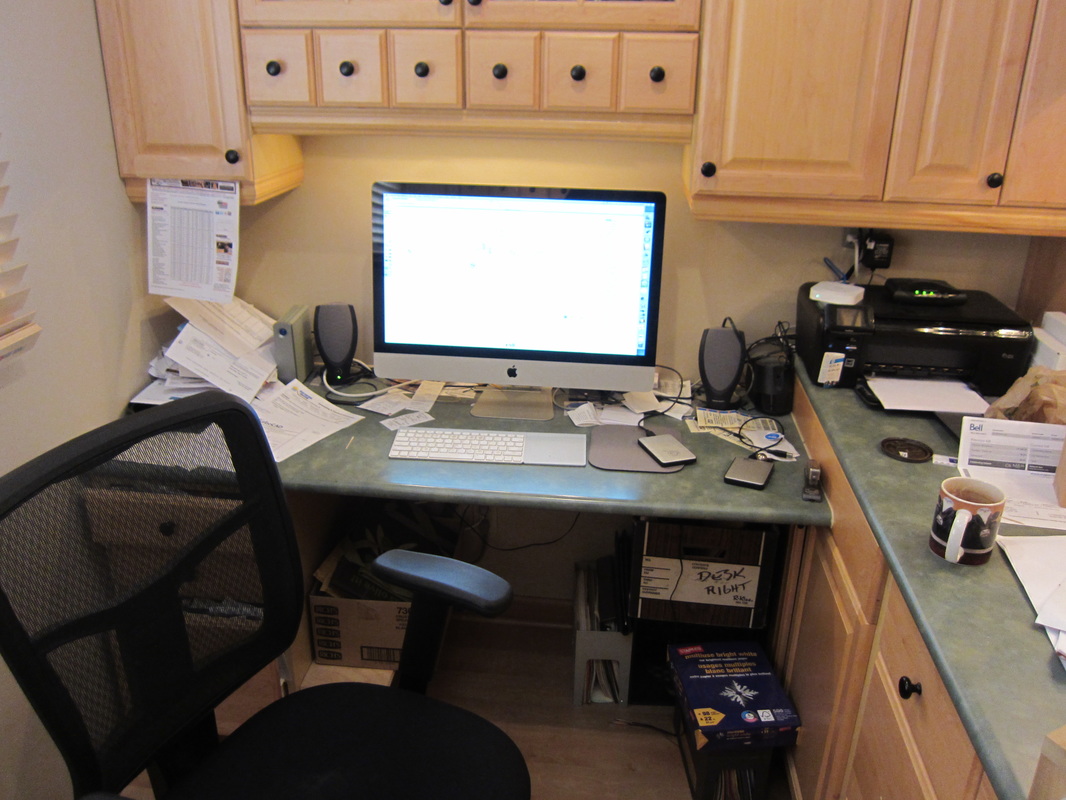
If you have been a follower of my site you likely know that I use CAD to assist me in designing automata projects. Computers and printers do no thrive in dusty environments, so I do keep my desktop computer system in my workshop. I have an office in the house where I do most of my computer work including CAD design, website maintenance, and automata photo and video libraries. I have a large screen because it is an easier environment to work in CAD on.
I do have a companion notebook computer that I do sometimes work in CAD on and take into the shop for short periods sometimes, but I can stick it in a drawer when woodworking and making dust. With a local WiFi network I can use the notebook to look up things in the shop and print them in the house for pickup.
Main Work Bench and Assembly Area
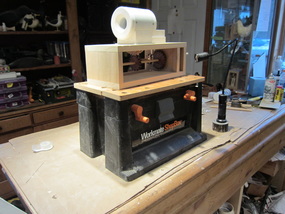
Being tall is a blessing and a curse. It is nice to be able to reach stuff on high shelves but bending down to get stuff out of the back of a low cupboard is murder. In fact, I often retrieve low stuff from the back of cabinets while on my hands and knees. Since I'm tall I have my general work area elevated. It is 39" off the floor. The clear working area is about 5' X 2-1/2'. I also keep a couple of wooden boxes around to sometimes place work pieces higher for the ease of assembly. This is especially true when installing linkages under the top plates of automata projects. In one of the photos below you can see my MRI automata sitting on an ancient Black and Decker Shopmate that I store some tools in on top of my work bench. This brings the workpiece closer to eye level, ( about 50" off the floor) so I don't have to stoop so much. Sometimes I go even higher. Believe me it is easier for my bifocals too! Note the LED light in the photo I use to illuminate in under a top plate when working.
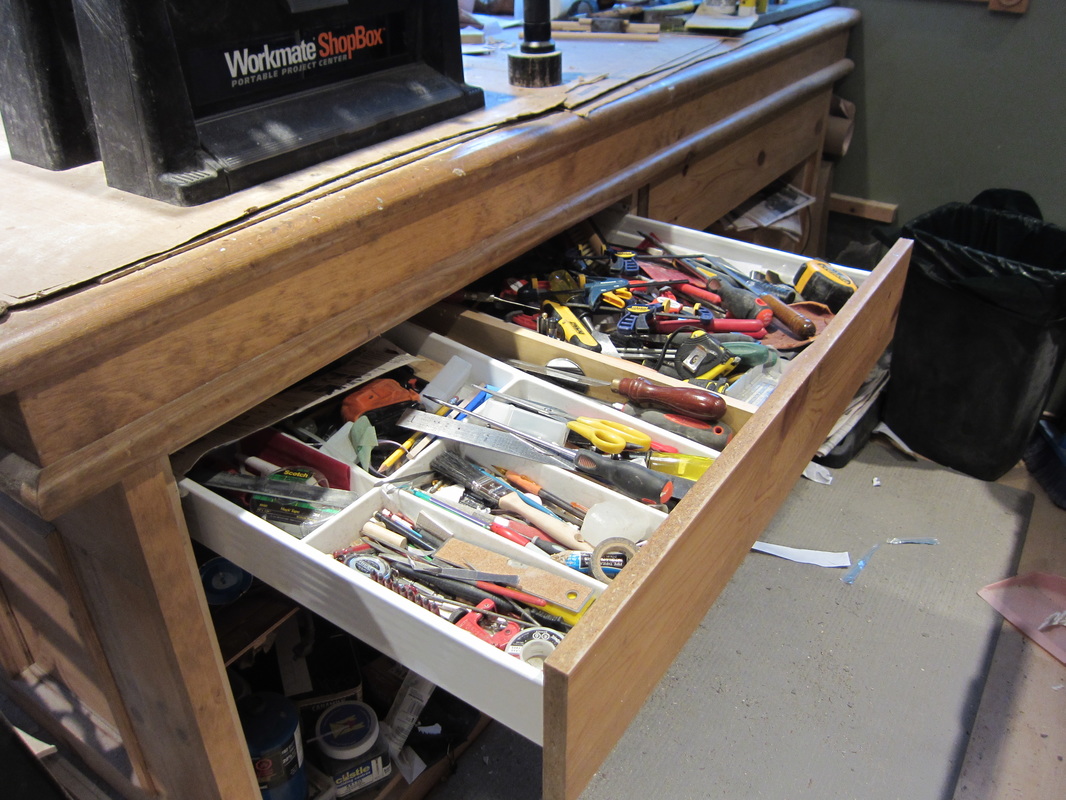
Beneath my work areas have two drawers that keep small frequently used hand tools in in. These include files, measures, pliers, screwdrivers, small handsaws, etc. I know lots of folks like to hang there tools but I find it handy to just reach down to get stuff rather than spinning around. Since the photo I have put a stack of twelve drawers below my bench to organize things. Drawers are a good thing Martha.
Beneath my work areas have two drawers that keep small frequently used hand tools in in. These include files, measures, pliers, screwdrivers, small handsaws, etc. I know lots of folks like to hang there tools but I find it handy to just reach down to get stuff rather than spinning around. Since the photo I have put a stack of twelve drawers below my bench to organize things. Drawers are a good thing Martha.
My work bench is not up against a wall and is therefore accessible from both sides which I find very practical. On the rear, under the overhang of the work top, I have a power bar which I plug my scroll saw, bench sander and power tools used on the work top into. It is connected to a relay that starts my dust collector. Another advantage of this arrangement is that when people visit the shop they tend to remain on the backside of the work bench and not knocking about the space or peering over your shoulder.
You can also see in these photos that I keep a piece of 1/8" masonite on top of my work space. It has a hard surface and split glue, paint, etc. cleans up fairly nicely. When it gets too unmanageable I just replace it. It protects the softer top of the workbench.
You can also see in these photos that I keep a piece of 1/8" masonite on top of my work space. It has a hard surface and split glue, paint, etc. cleans up fairly nicely. When it gets too unmanageable I just replace it. It protects the softer top of the workbench.
Storage
You can these that I use a mish mash of storage techniques. Behind the door there is a "lawyers" bookcase which was my grandfathers. It fits the narrow space behind the door nicely. I store adhesives and miscellaneous other stuff there. Beside it is a pine hutch I refinished many years ago. I keep it in just because I love the look of antique pine furniture and the utility of a shelf and cupboard combination. There is some display area here but lots of plastic storage bins on, and inside it. My miniature table saw sits on the lowest shelf easily retrievable to my worktop.
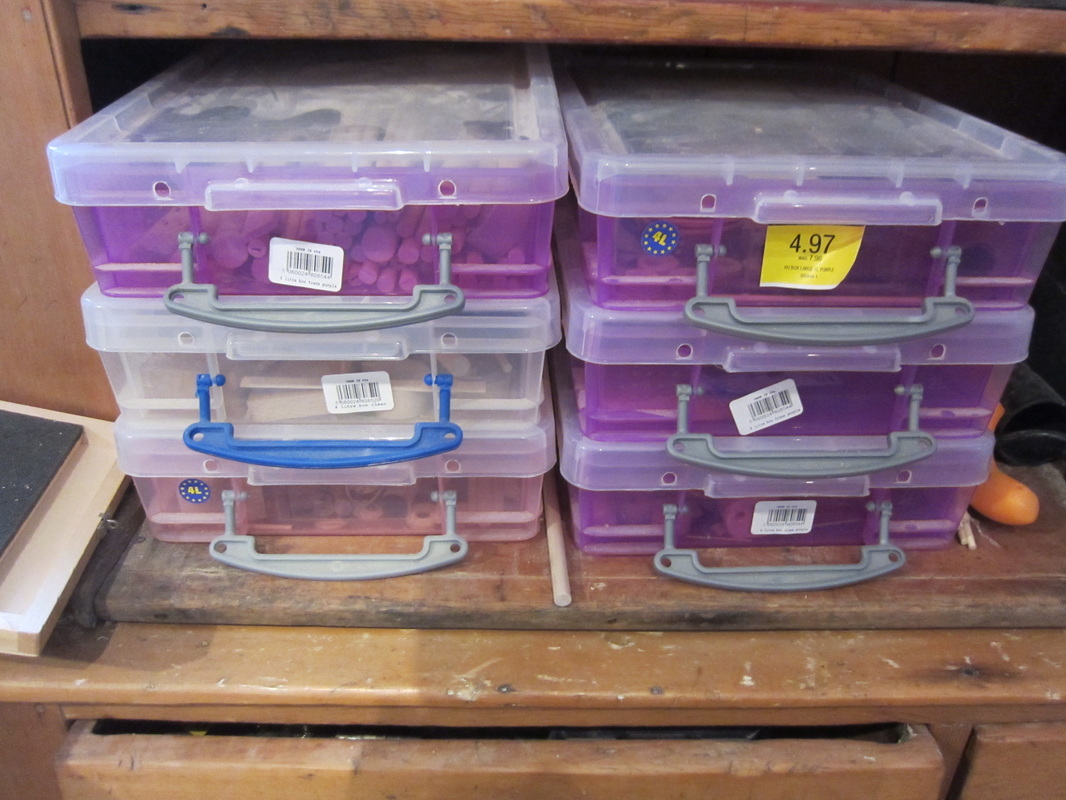
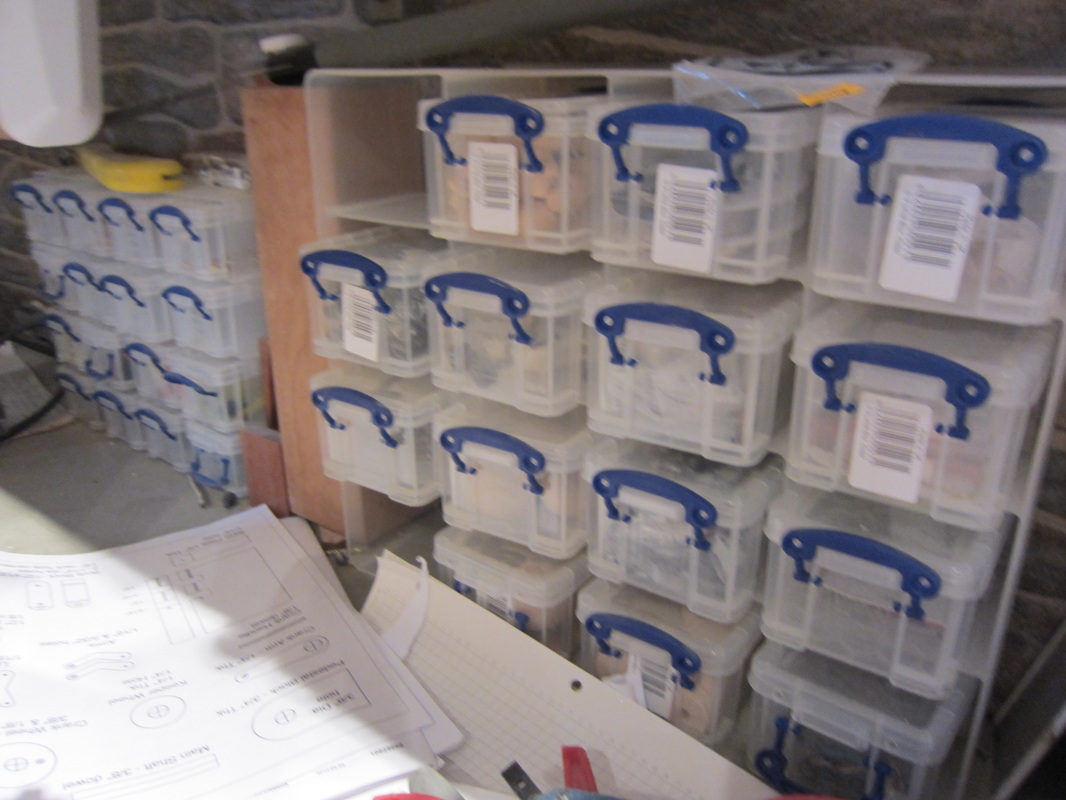
I have kichen style cabinets that extend all the way along one wall and also in the alcove. There is a desk area along this surface with file drawers. I do not to heavy work on this surface. I have built many kitchen cabinets over the years, but with economical self assembled ones available these days I couldn't resist just purchasing them. The counter is a 3/4" MDF board painted light green. This arrangement gives me many options for short and long term storage. I have stackable clear plastic storage boxes in many of them. Contents include acrylic paints, brushes, clamps, sandpapers, parts, fasteners, dowels, etc.
Along the back of the counter I keep a collection of containers and small drawers for small tools and components. Its always fun to scour these for something you know you have seen recently but never labelled!
Anyway the place is usually a mess as you can see. I usually do a mas clean up after every major project clean up, and numerous workspace purges along the way. I hope this demonstrates that you really don't need much space to do automata work. so there is not excuse anymore - GET STARTED!
