|
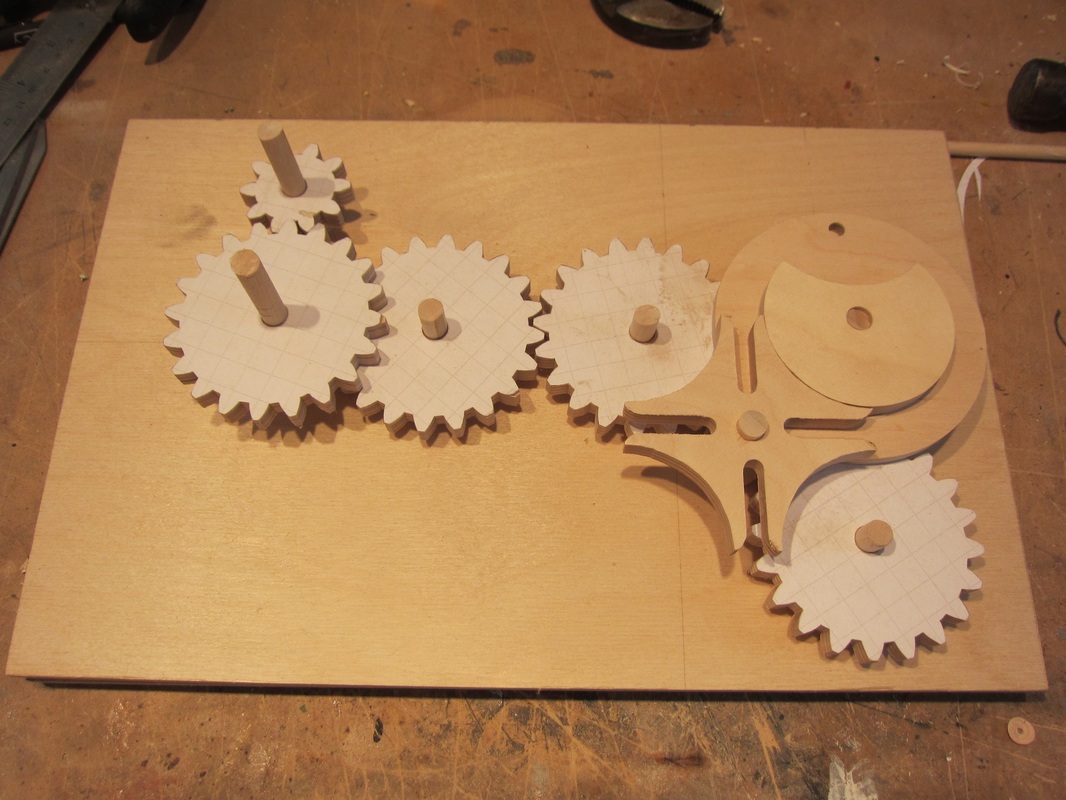
Back in the shop after an absence and I'm working on the mechanism for Hopkins the frog. Seen here is the gear train with some of the paper templates still attached. At this point I make any adjustments needed in the gear train before I proceed any farther. Fortunately things are looking good, so on to the next step.
0 Comments
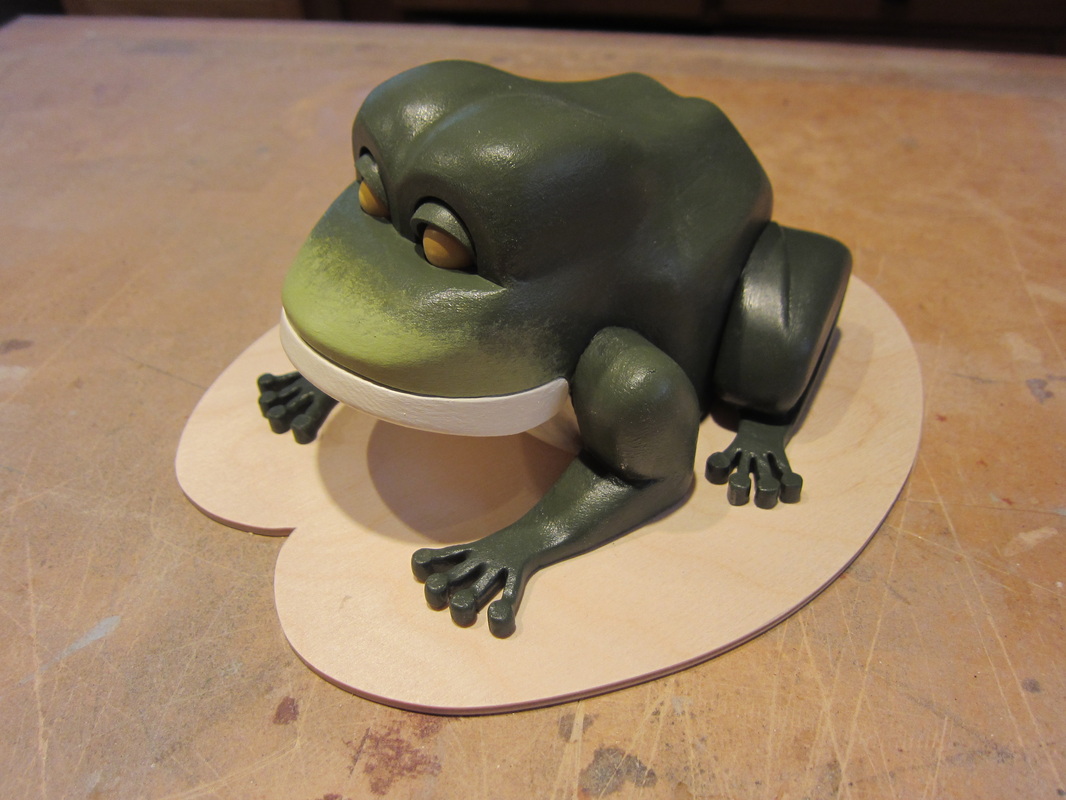
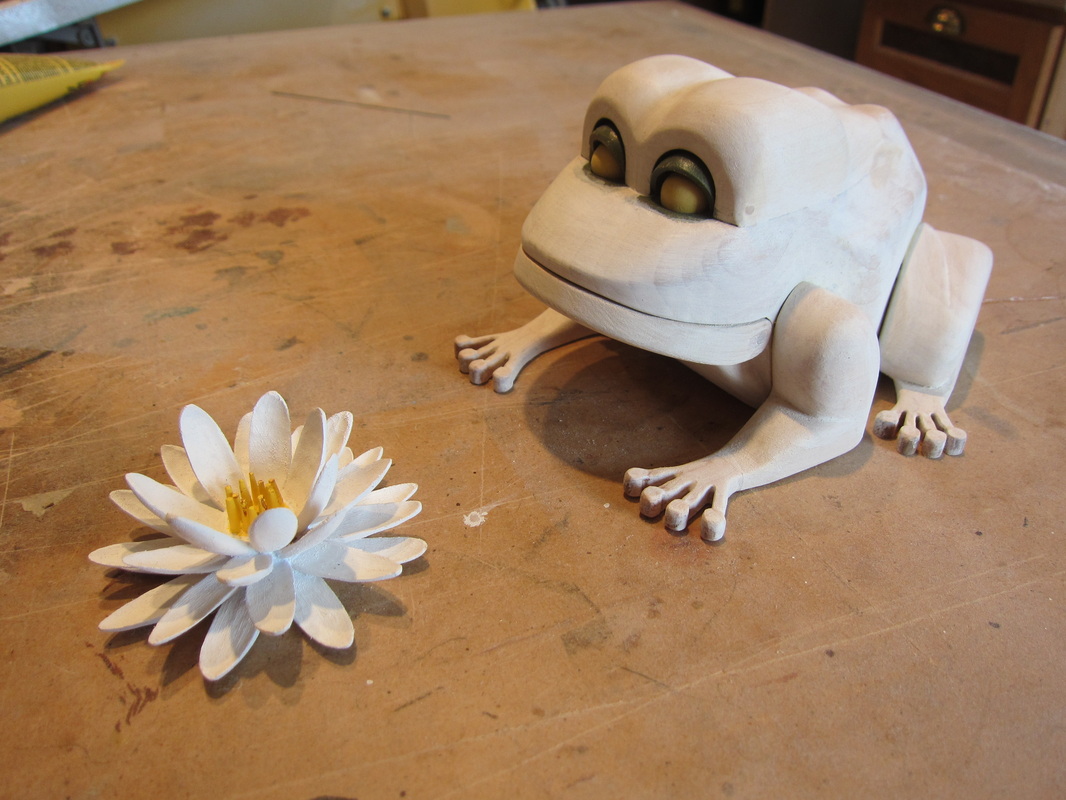
Still without pupils, an eerie look at best, Hopkins has received his environmental camouflage. It isn't easy being green, or at least so says Kermit the frog a famous distant relative of Hopkins. For now Hopkins sits and waits for his pond to be developed. Hopefully those out hunting for frog's legs won't come upon him
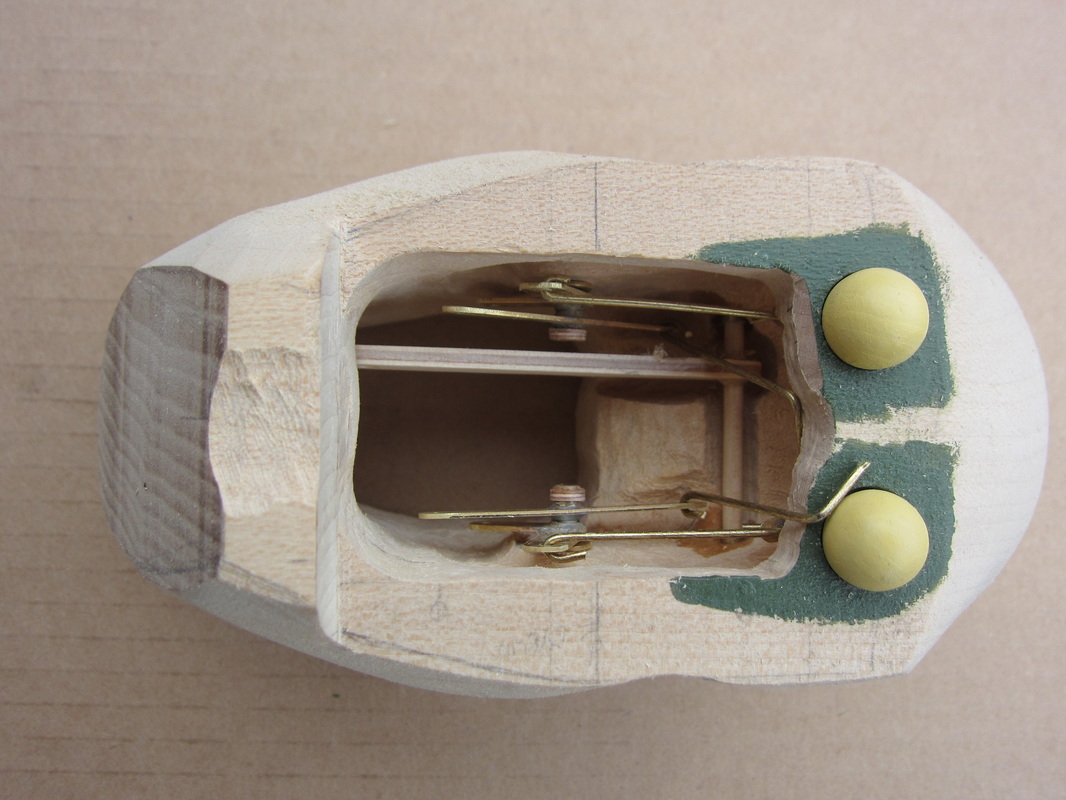
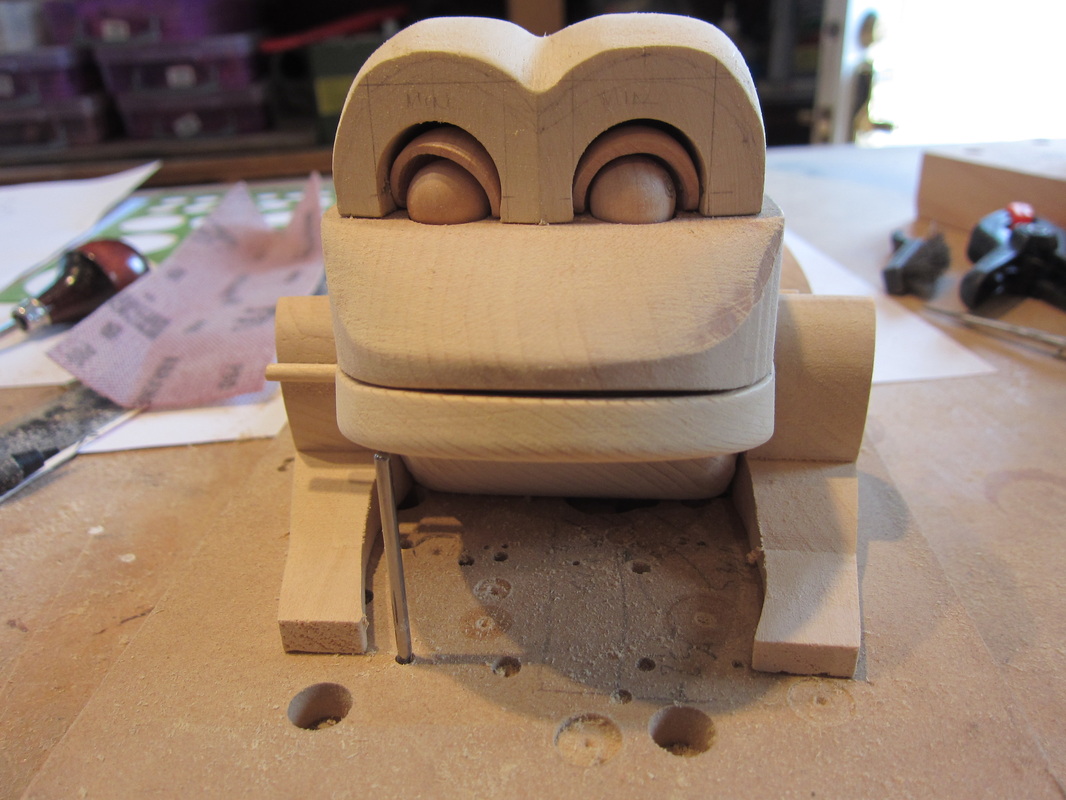
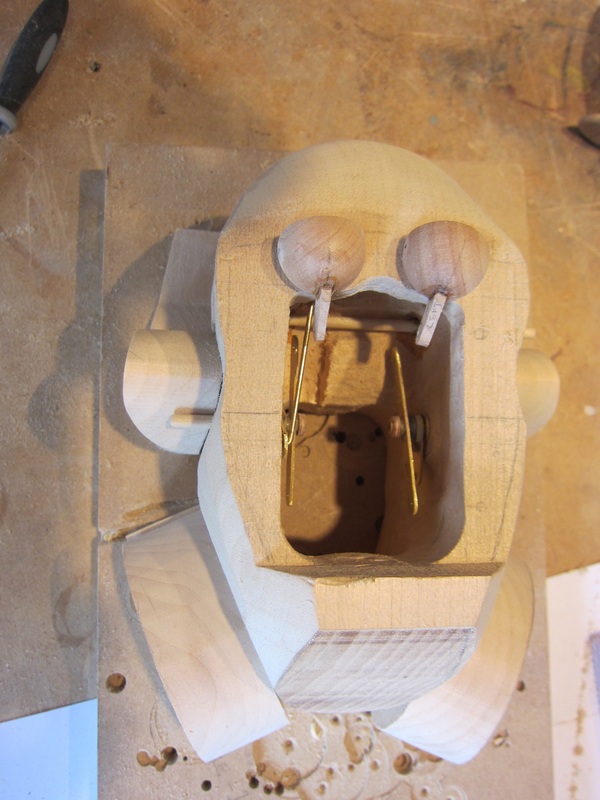
Here is a followup from the item two posts ago. It shows some of the links inside Hopkin's body during construction. Here is the same view as before just before the top cap is glued on. The two brass wires protruding from the opening near the eyeballs are the links that pivot the eyelids. The jaw pivot rod has been added and a 1/8" thick plywood arm has been attached as an actuator. Five brass rod links yet to be added, down through the bottom of the cavity, will control the eyes, eyelids, and lower jaw.
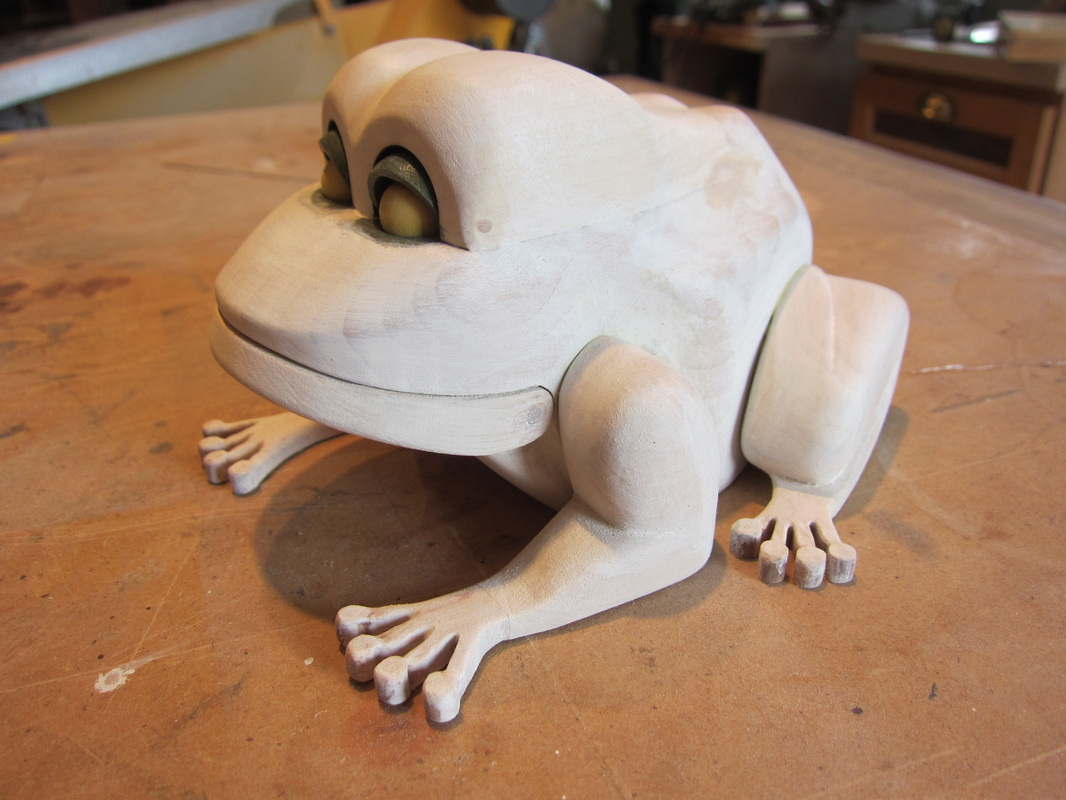
Here's Hopkins assembled and covered with a coat of white sandable sealer prior to applying paint. It gives him a ghoulish appearance. He is still without pupils, which will only be positioned once all the linkages are attached in he mechanism. I intend to have his eyes follow a fly that is buzzing around in front of him. Remember the water lily from a few blogs entries back? It will be positioned somewhere in front of him as shown below. A couple of lily pads, a fly, and the "uppers" will be complete. Then it's onto building the mechanism...
Well it was a lovely weekend here in Southern Ontario for a change so not all the time was spent locked in the shop. The garden railroad required some spring cleaning before too many sprouts got in the way. However Hopkins did get some internals made and installed, his lower lip progressed, some and some rudimentary shaping. In this case making, soldering, shaping and fitting up the levers for the eye movements did take a little time. Back in the shop this week, hopefully some big steps forward!
Al In my automata current piece I am trying to keep all the linkages and mechanism hidden inside the character. This week I've spent time back in the city working on CAD designs of internal pieces to make all of Hopkin's parts work. I'm off to the the shop tomorrow and hopefully, if there are not too many interruptions, I'll be in fabrication. Problem is it that it may be the first nice weekend of the year and the Garden Railroad needs a spring clean!
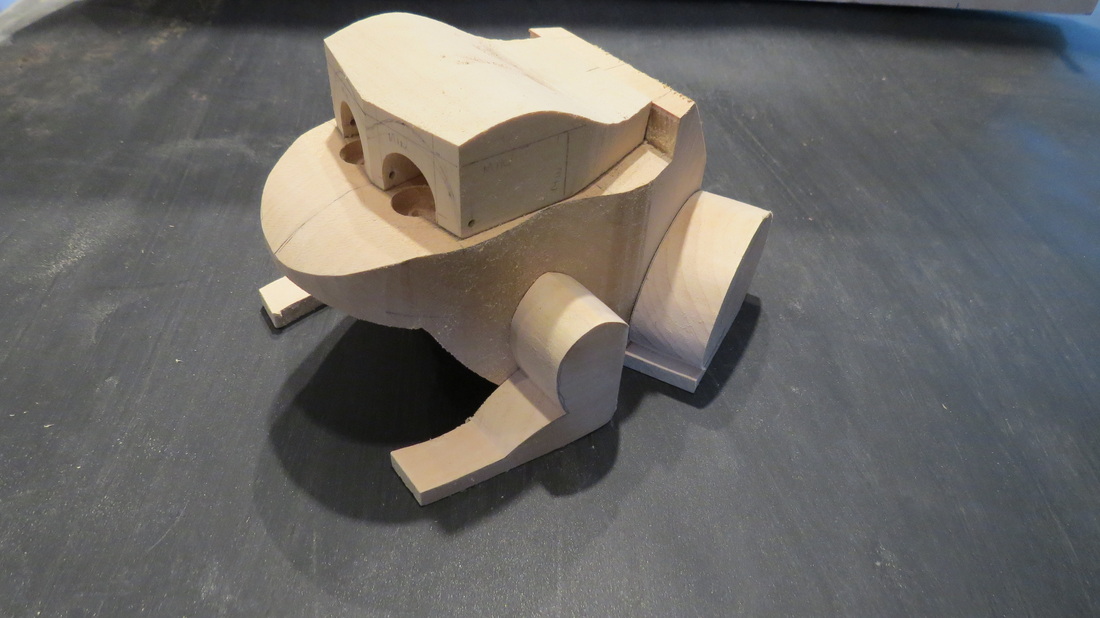
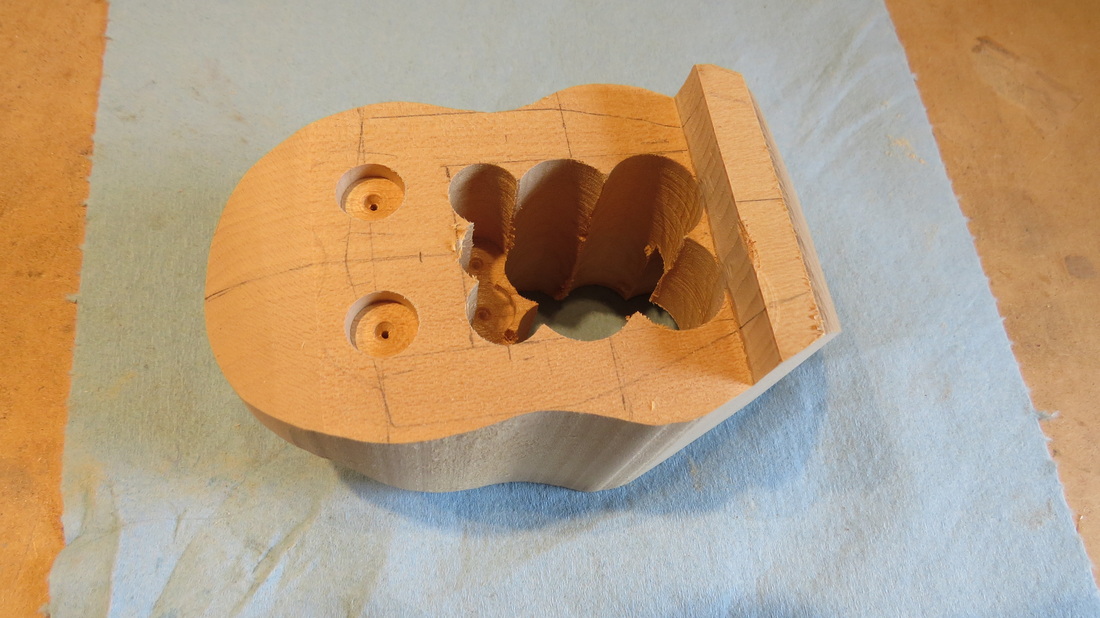
Too many toys, too little time! Al What makes automata characters different than carvings is that the mechanism must often be built into the figures. This requires that some mechanism components need to be installed as the characters are constructed. Key holes, surfaces and pivot points are best installed while the character still has flat, square surfaces. This is the case in my current project. This frog will have moving eyes and blinking eyelids, and a moving lower lip. The eye mechanisms will be installed before the top block is attached for final shaping of the body. In this way the mechanism can be installed and tested from the open top. The centre of the body is hollowed out to allow the linkages to connect to the actuating mechanism that will be installed below. This next photo was taken during the process, after removing some material will some forsner bits, but before final shaping with a Dremel tool. The two recesses on the top are where the eyeballs fit in.
What goes better with a water lily than a pair of eyelids? These are also part of the latest automata. At this point I am charging ahead of an exact design by prototyping how I would make wooden working eyelids work with turning eyeballs. At this point things seems to be working out. (Saying something like this is usually as kiss of death!)
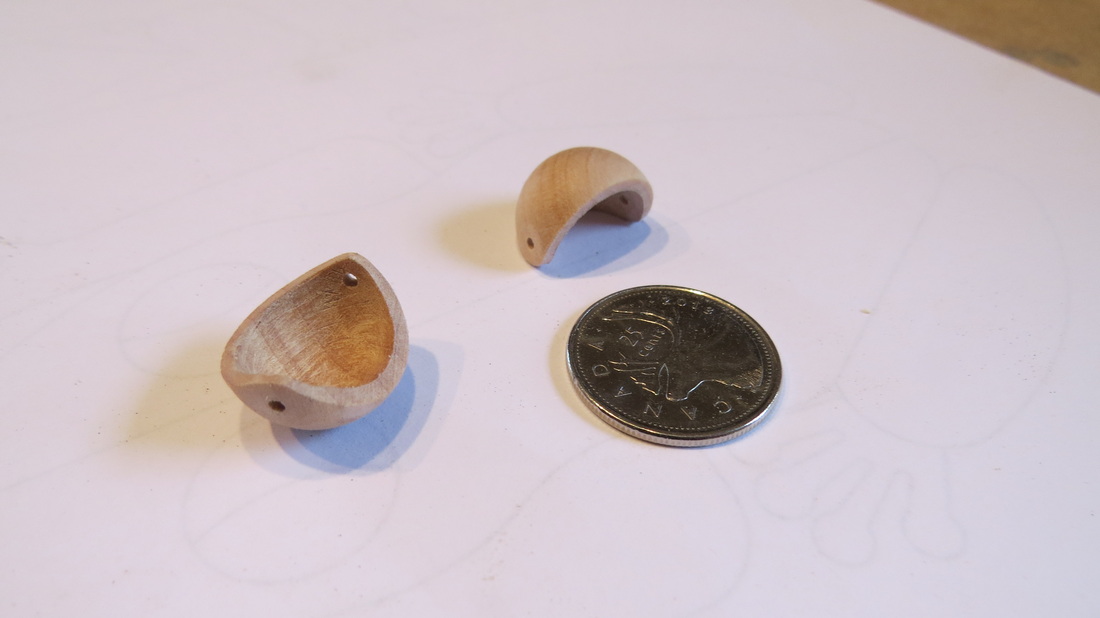
The eyelids are shown below. To me they resemble hazelnut shells. They were made by hollowing out a sphere with a Dremel tool to allow a smaller diameter ball to fit as a eyeball. The Canadian quarter is to show scale. The eyelids are 3/4" in diameter. |
Why Automata?Automata is a creative blend of my life interests , engineering, art and woodworking. Archives
July 2022
Categories
All
|
 RSS Feed