|
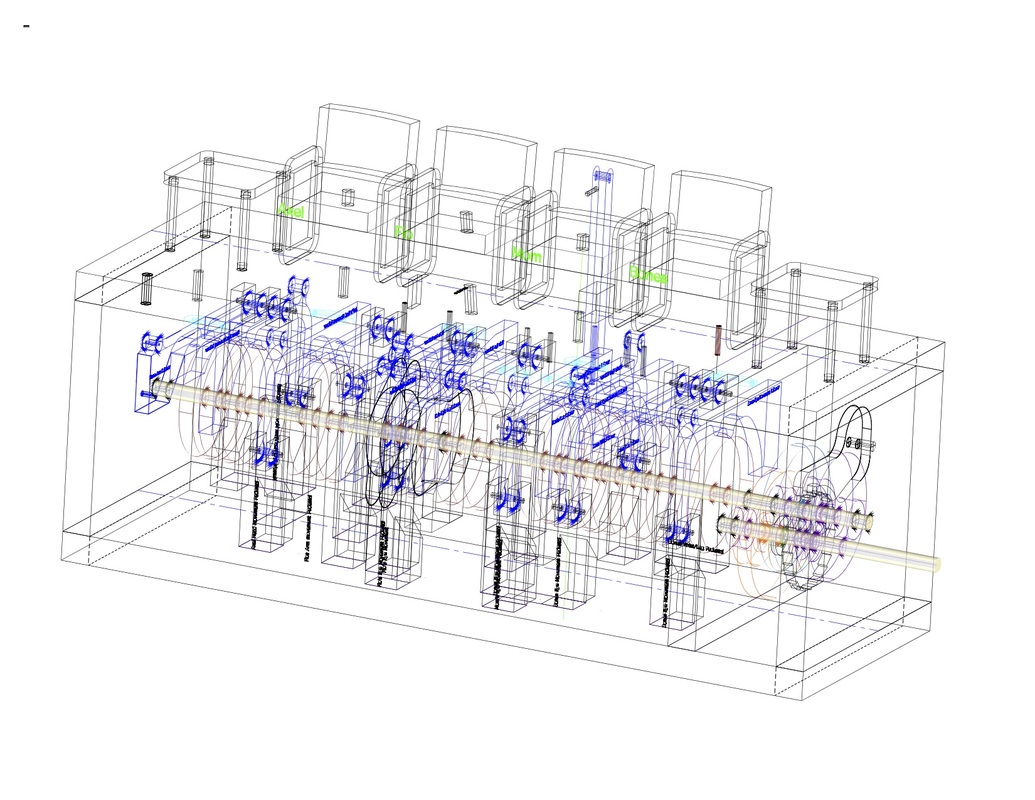
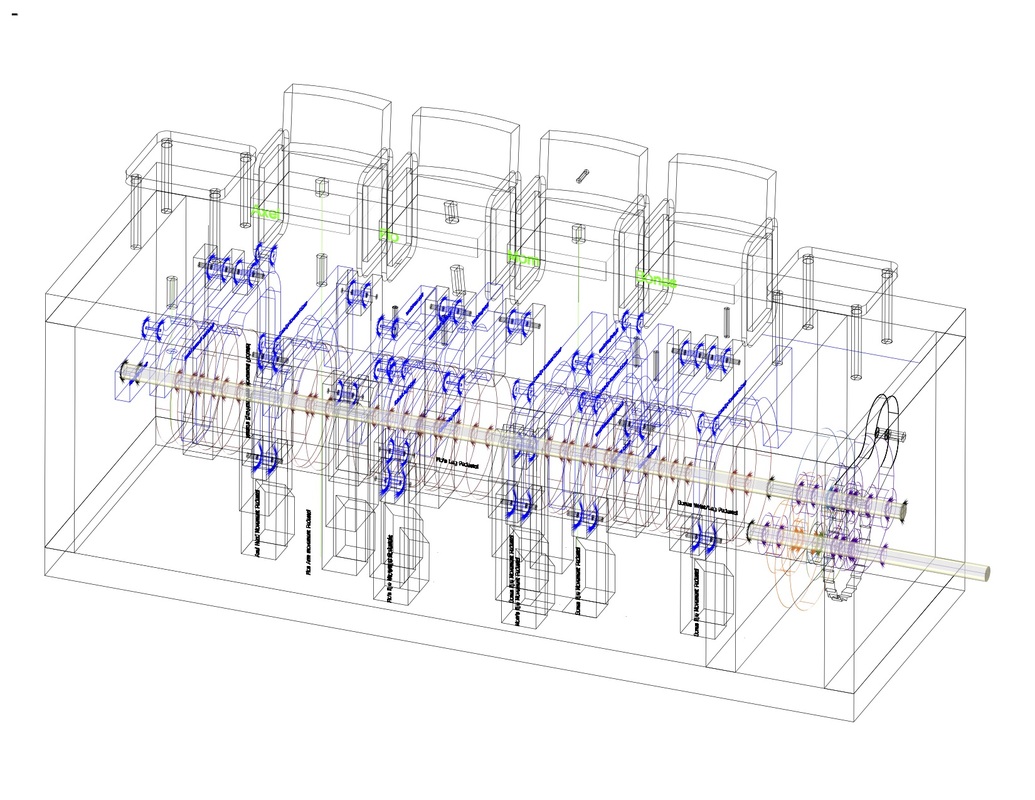
Finally after a long delay which involved 400 feet of trenching for a new hydro service I'm back to the finishing up of the "Waiting Room". This piece seems to have taken forever, most likely because I have started and stopped this project many times. Anyway the last character to be finished, Mom, is done except for gluing her into her chair and all the mechanism rough fitting details were ironed out on CAD this week. Back to the shop to cut the last cams and followers and assemble for testing. Here is a glimpse at the final CAD rendering. The piece has 17 cams. The characters are not shown in the chairs in the rendering.
0 Comments
As a result of meeting many folks over the last few weeks at several carving shows I was surprised with the level of interest in automata. One of the outcomes is that I have been invited to meet with members of the Durham Woodworking Club at their Oshawa facility to share my knowledge on creating contemporary automata. I will be meeting with them on November the 18th. I am looking forward to perhaps getting a few more fledgling "Automatists" into the art form.
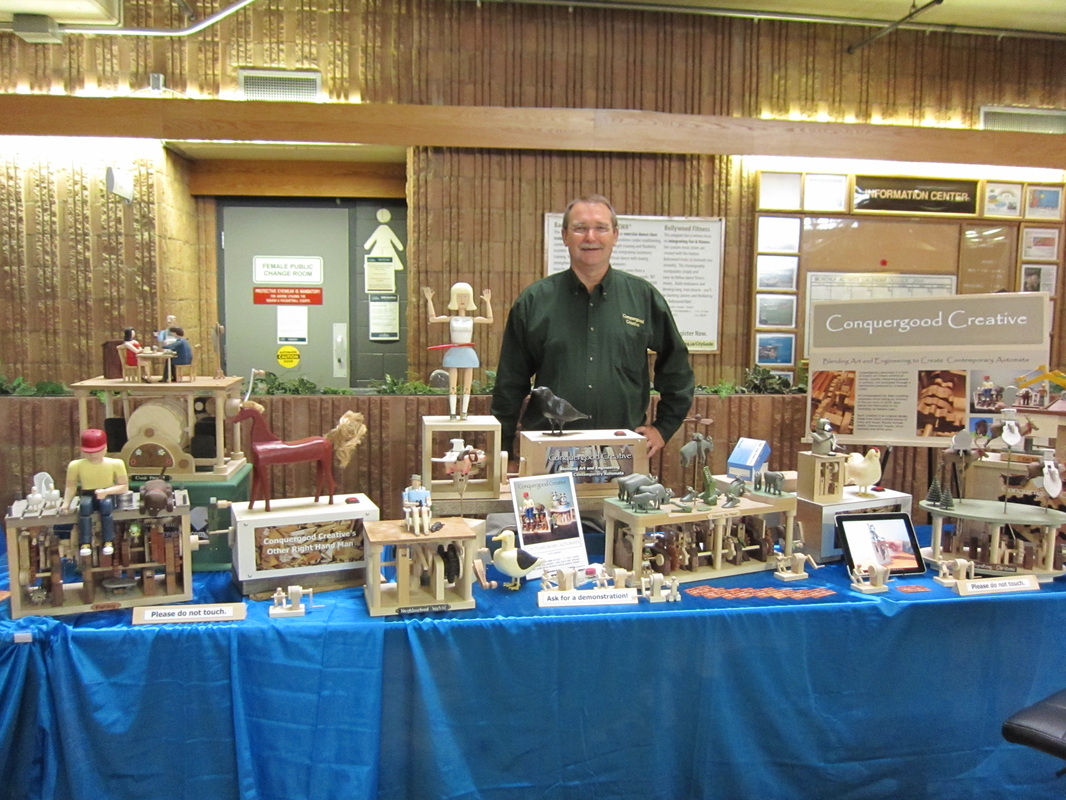
This past weekend I attended the Ontario Wood Carvers Association "Magic in Wood" show in Pickering Ontario for two days. I had a great time meeting with woodworking folks and the general public and discussing the craft of making automata. I took numerous pieces, as shown in the photo below. Most were my original designs but I also had my Conquergood Creative Hula girl along which I copied from the Fourteen Balls Co. site in England, and two pieces adapted from a Philip Lowndes plan "A Case in Point". I also had a few folk art carvings scattered around - it was a carving show after all! There was lots of interest in automata with people asking how to learn how to make them. As a result I have spoken with the Wood Carving Association about during some instruction through their college association program. We will see what develops and keep you posted! Special thanks to my two helpers Jim Lang and my wife Pj for helping to promote automata and keeping wander hands at bay!
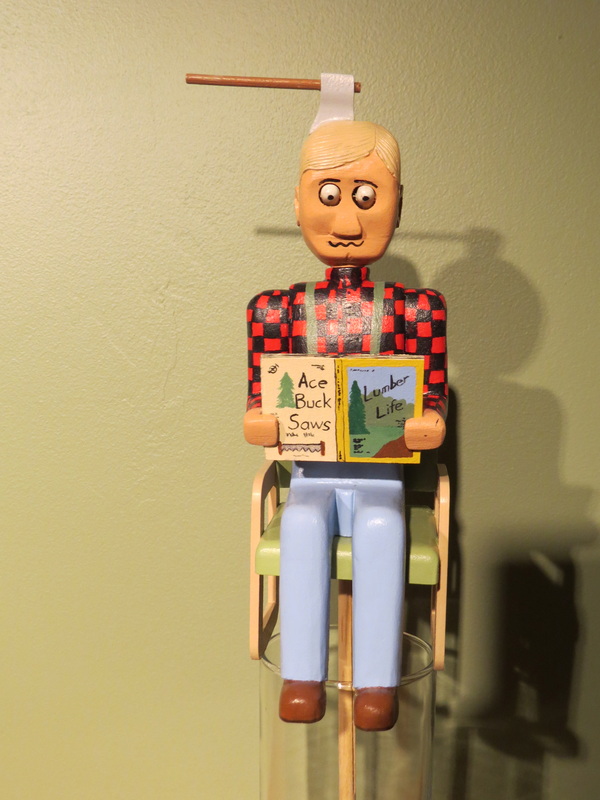
In the words of Monty Python "Oh he's a lumberjack..." but he's not ok. Jack the lumberjack seems to have suffered an injury that resulted from working in close quarters with his fellow workers. Who knows maybe he is even the result of an axe throwing contest gone bad. He doesn't seem to upset though as he quietly reads an edition of Lumber Life magazine while waiting to see a doctor. The Ace Buck Saw Company has an advertisement on the back page.
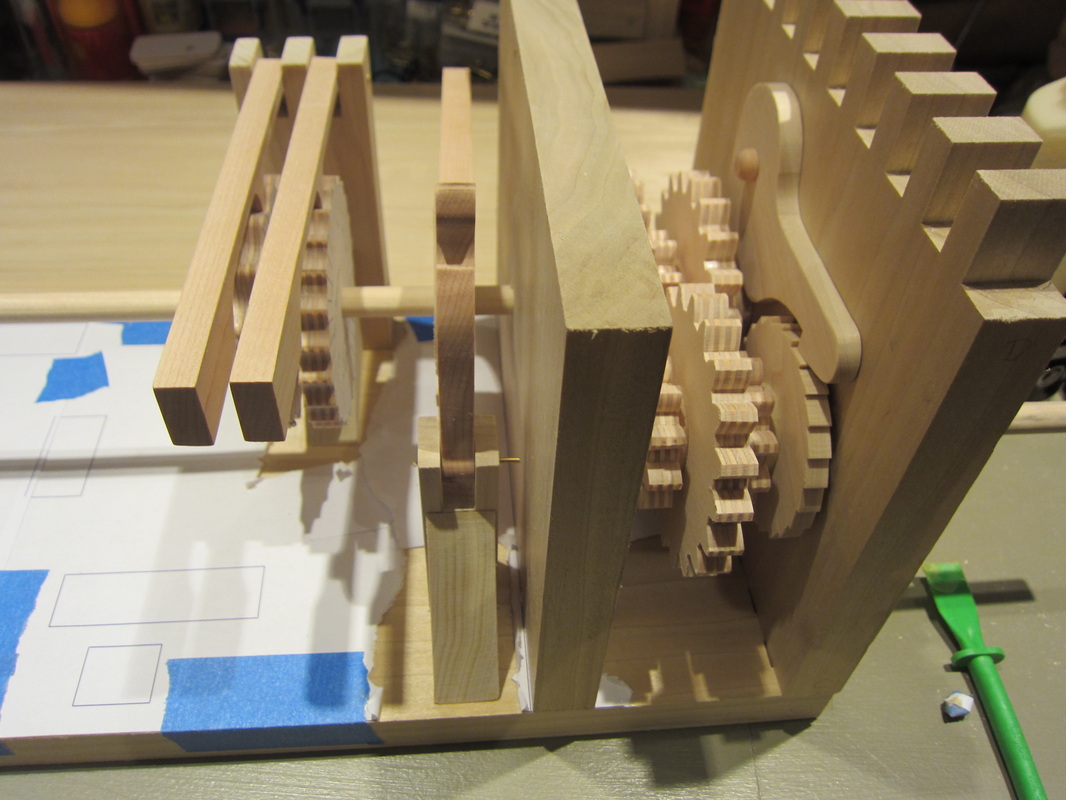
Taking a break from finishing up the last couple of characters for "The Waiting Room" automata I manufactured the enclosure, gearbox, remaining pedestals and started assembly. Below is the gearbox and the first three cams, which controls Bones the skeleton's eyes, hand and foot. You can see the little buttress pieces in place I referred to in my blog a few entries ago. The paper template on the base was generated from my CAD system. By taping it in place and marking the corners with an awl, I can rip off parts of the template and glue down the pedestals in the correct places. (Assuming I have done all the dimensioning correctly of course!)
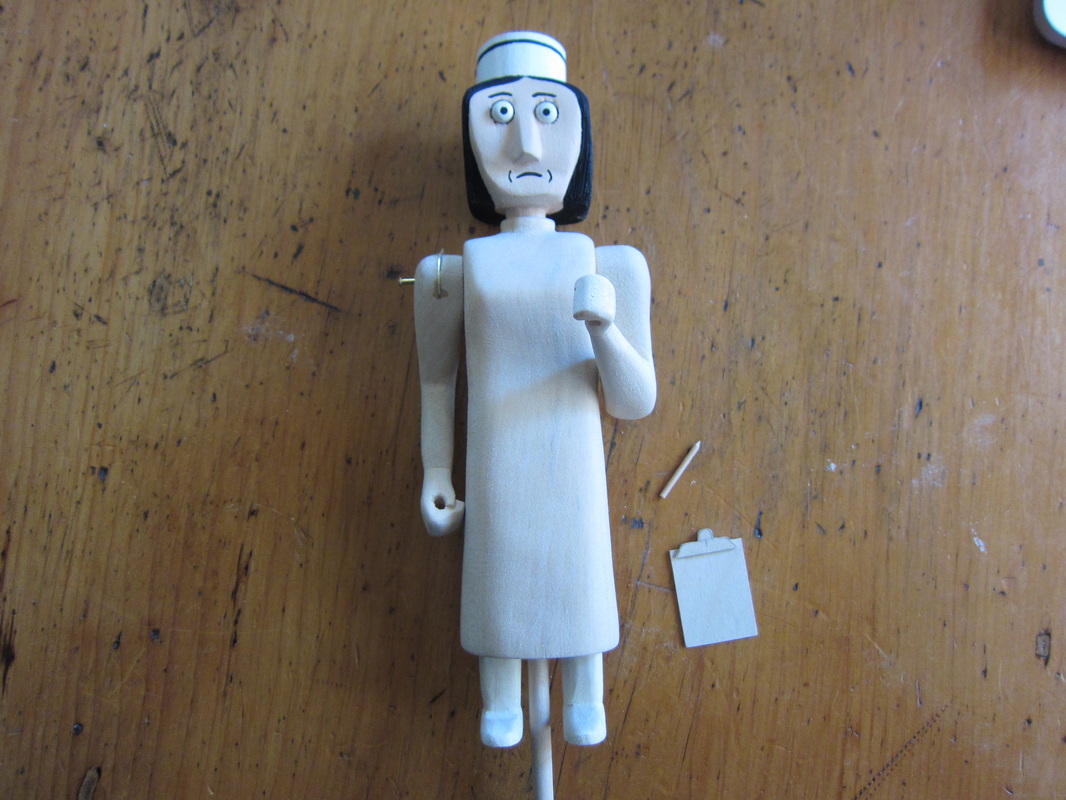
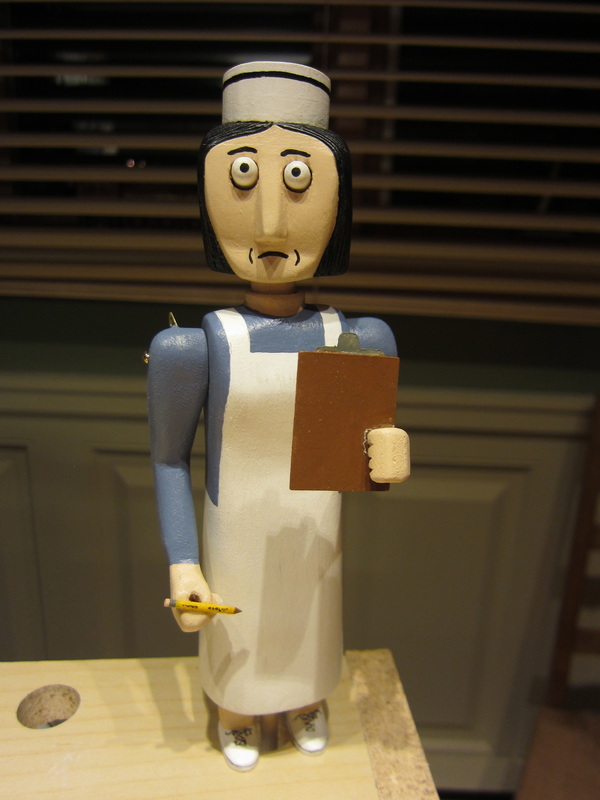
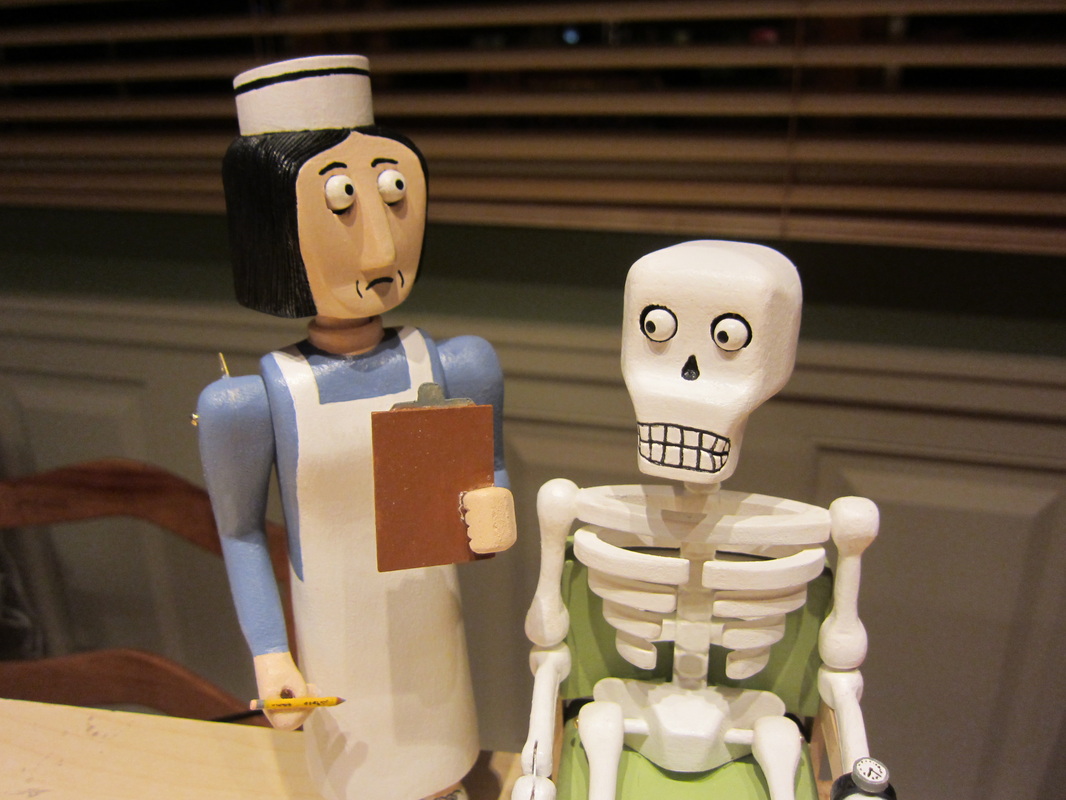
You can also see on the right an anti-reversing ratchet mechanism I put in many of my pieces. Another day and Nurse Betty is completed. Here she is before and after painting. The clipboard and pencil in the first photo will be attached after painting. Bones still can't understand what he has to do to get Nurse Betty's attention! According to his watch he has been waiting a long time.
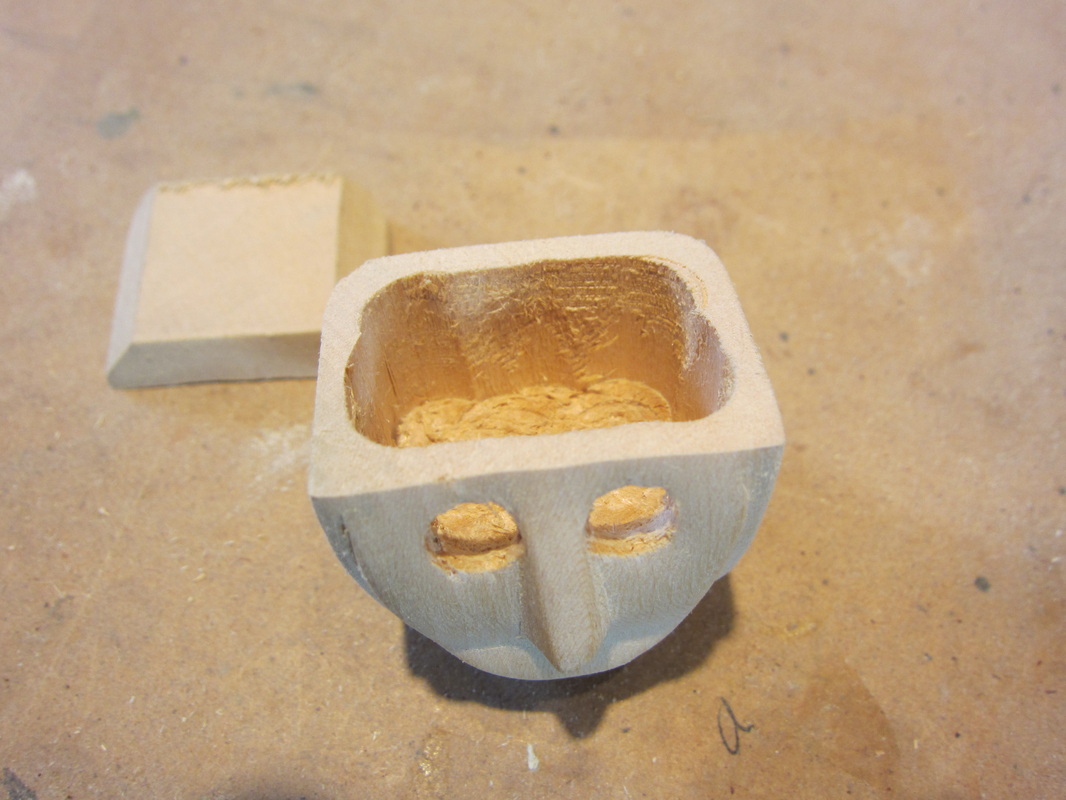
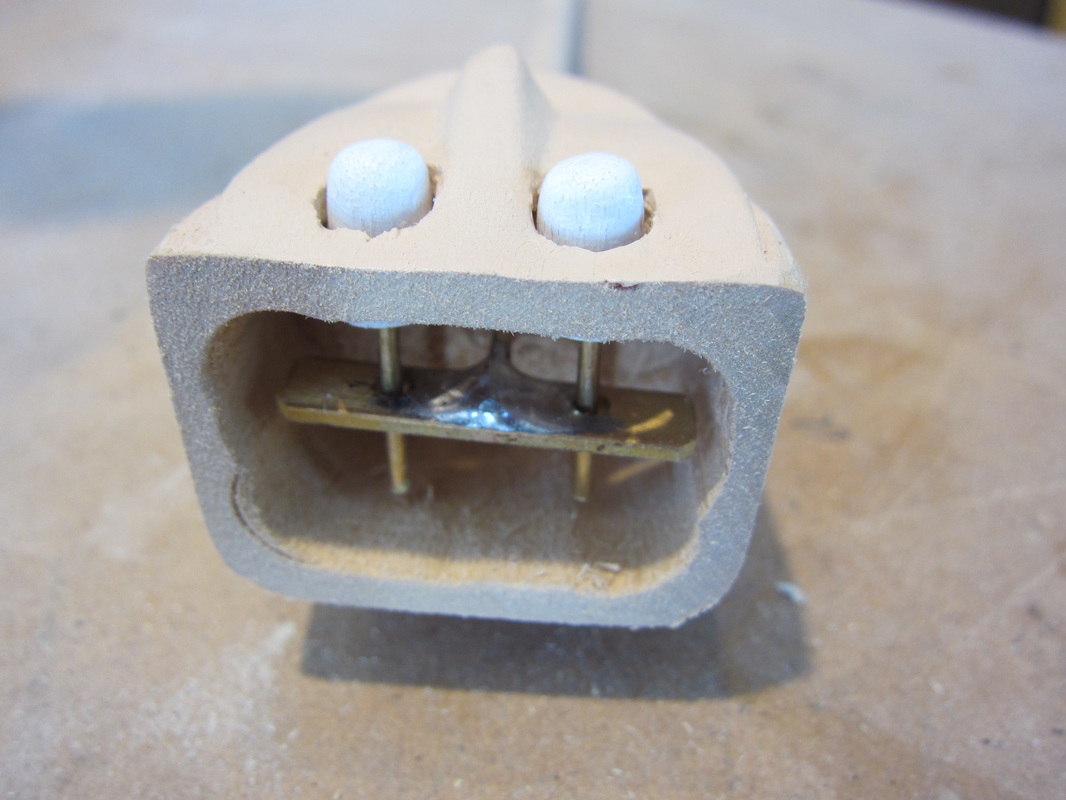
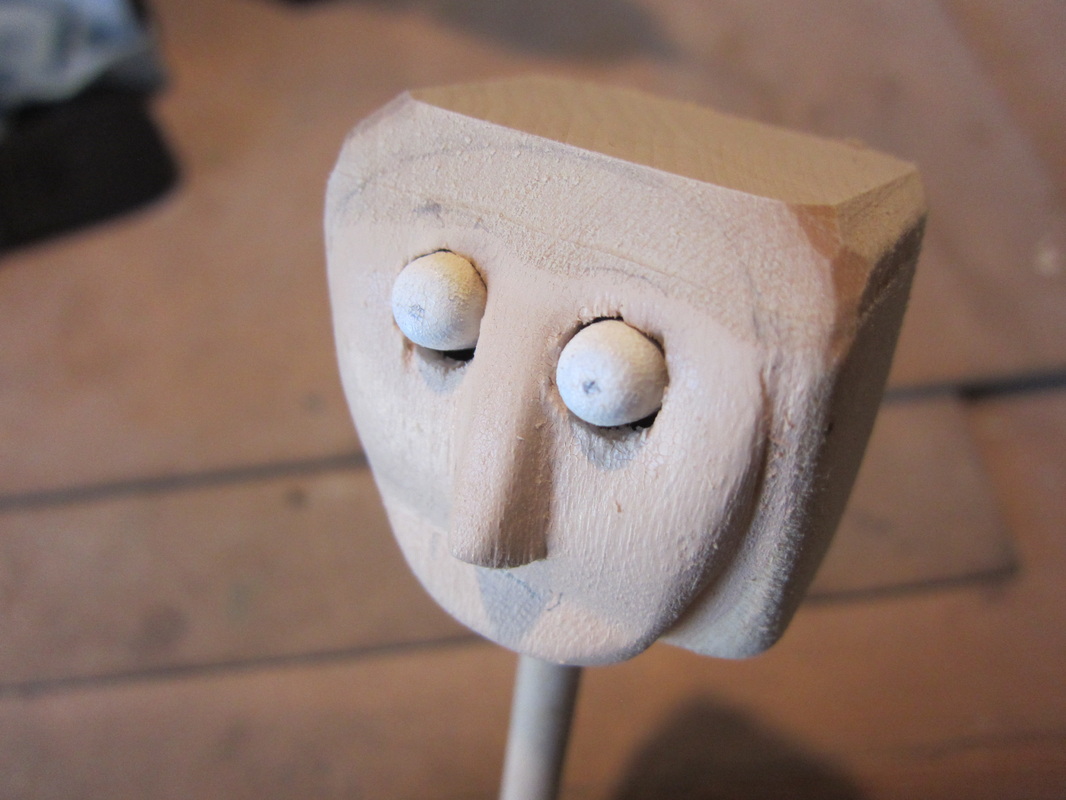
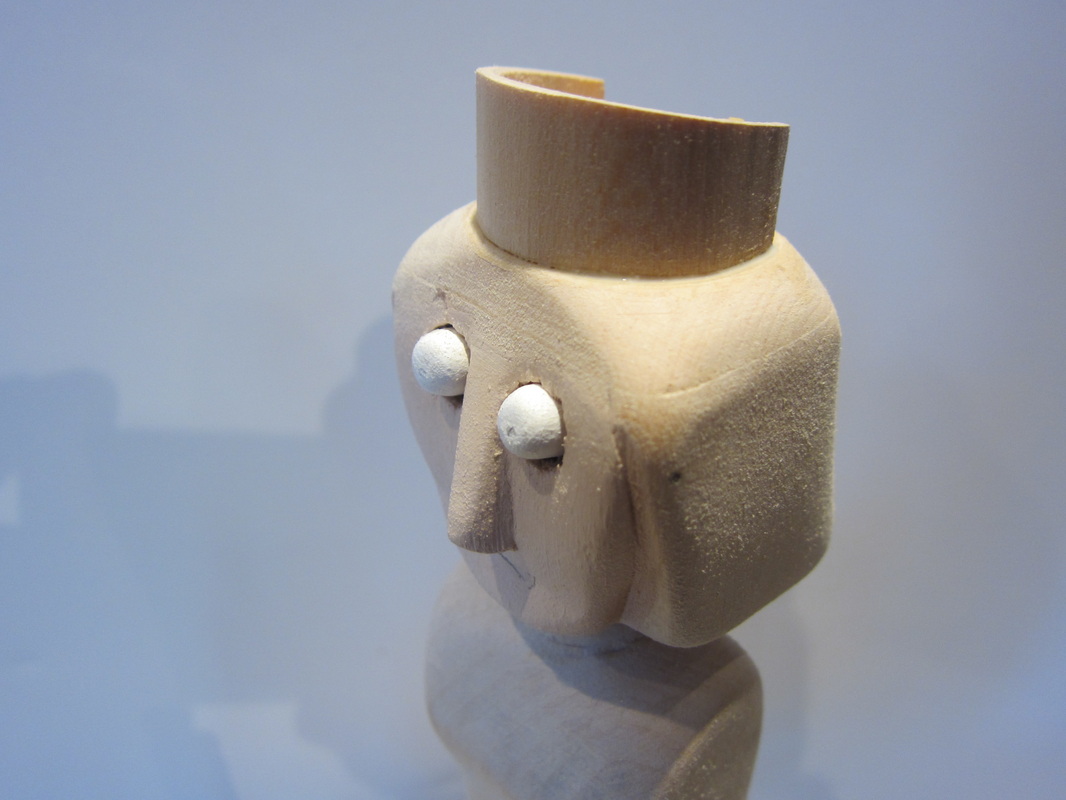
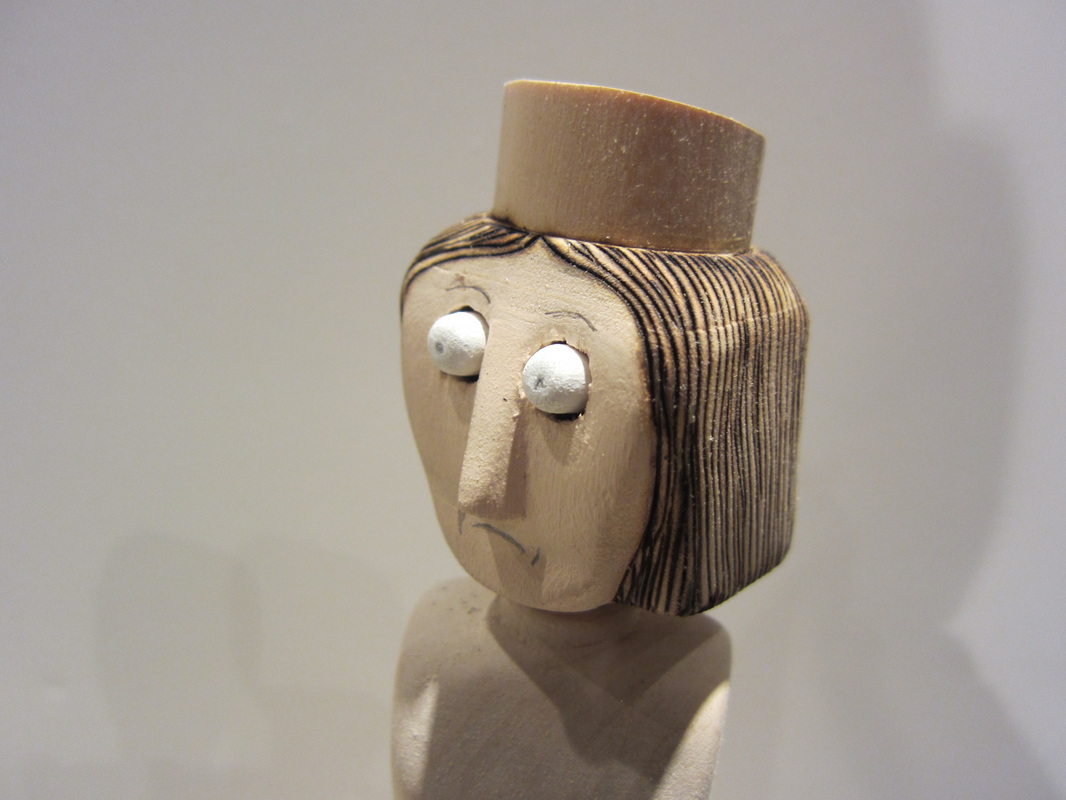
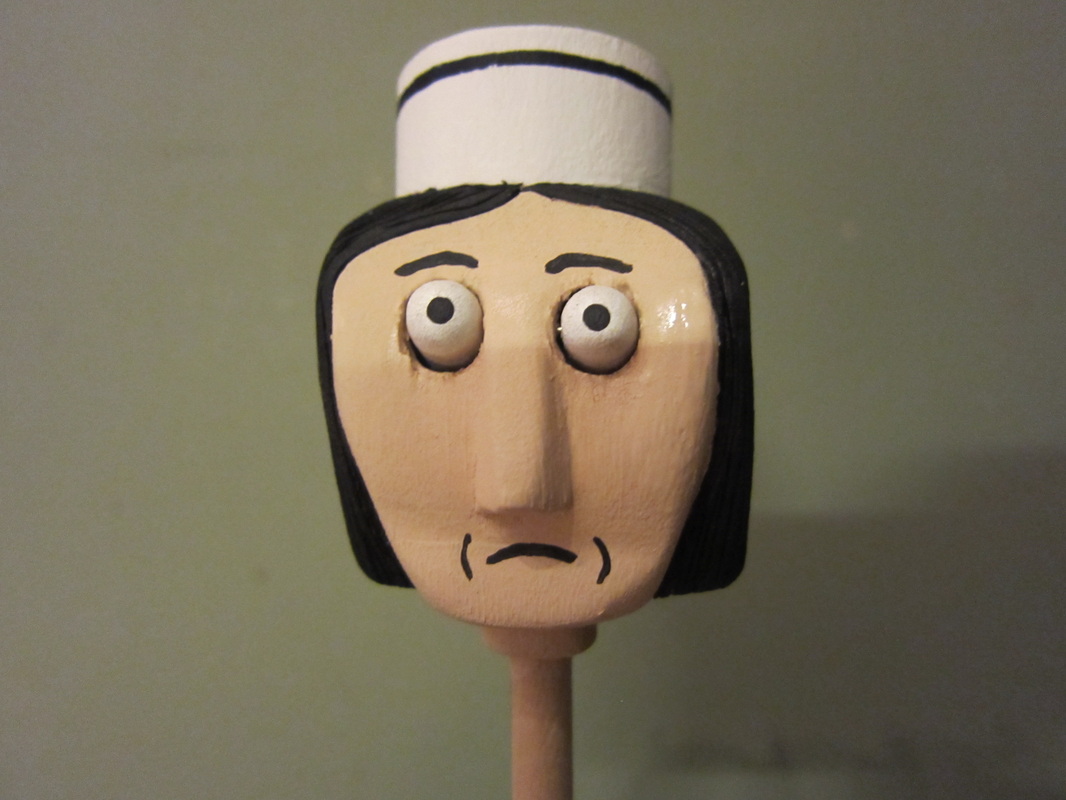
Continuing form the last post.... Here is the nurse's head with some surface sanding done around the eyes and the top of the head cut off in preparation for installing the eye mechanism. Next task is to hollow out the inside of the head to make room for everything inside. I use a small forsner bit in the drill press to do this while the head is anchored on a 1/4" dowel stuck in the neck hole to keep it perpendicular. Before installing the eyes I paint the eyeballs white and the inside of the eye sockets skin colour since it is difficult to do after assembly. With the eyes installed its time to glue the top of the head back on and begin work to reshape the top of the head by carving and sanding. In this case the nurse will have a cap on so I need to create an area to mount it on the top of her head. After making the nurses cap, I shape the head so that the hair looks natural coming out from underneath the cap. I wanted the nurse to have a stern look to her so I left her upper head angular in appearance. The last carving component was to use a wood burning pen to detail her hair. It appears brown in the photo because of the ash left from the wood burning. Finally a paint job adds facial details to give her the stern, disengaged look I wanted. I hope you enjoyed following how the nurse's head was made. It is a typical construction for many of my figures. As you can see I do not carve detailed facial features, but rely on painting to complete the expressions on my characters. I think it is a reasonable compromise against the details of the mechanisms in the pieces.
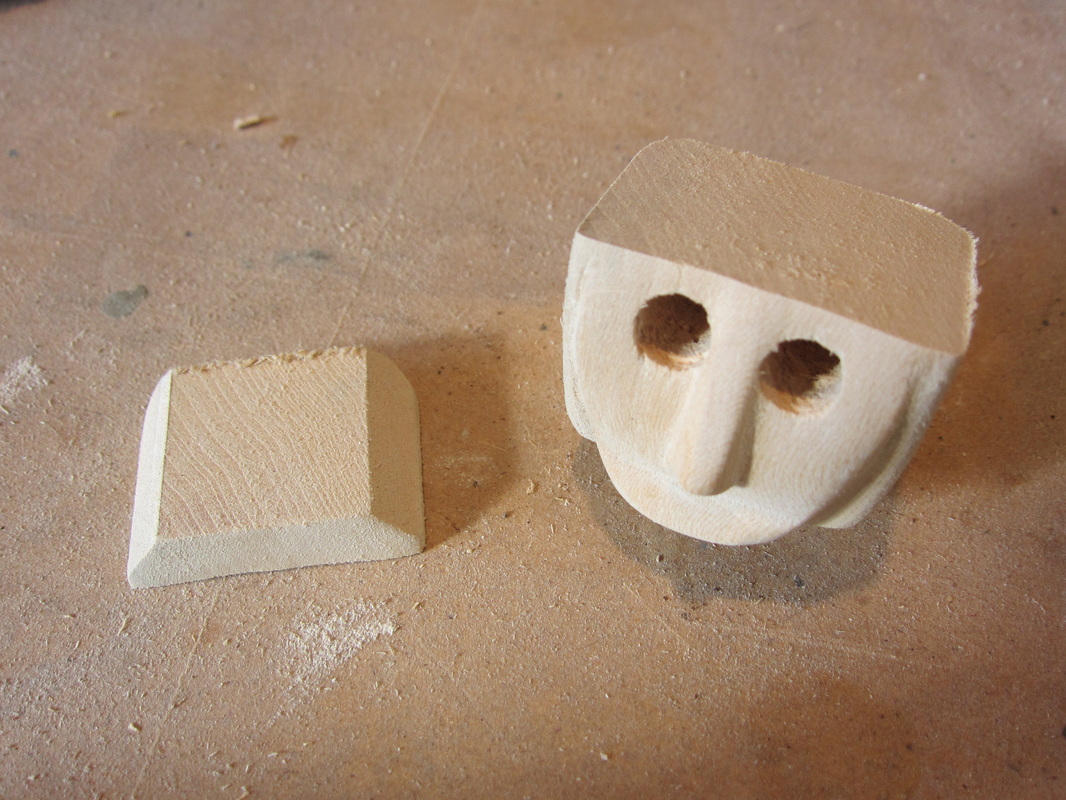
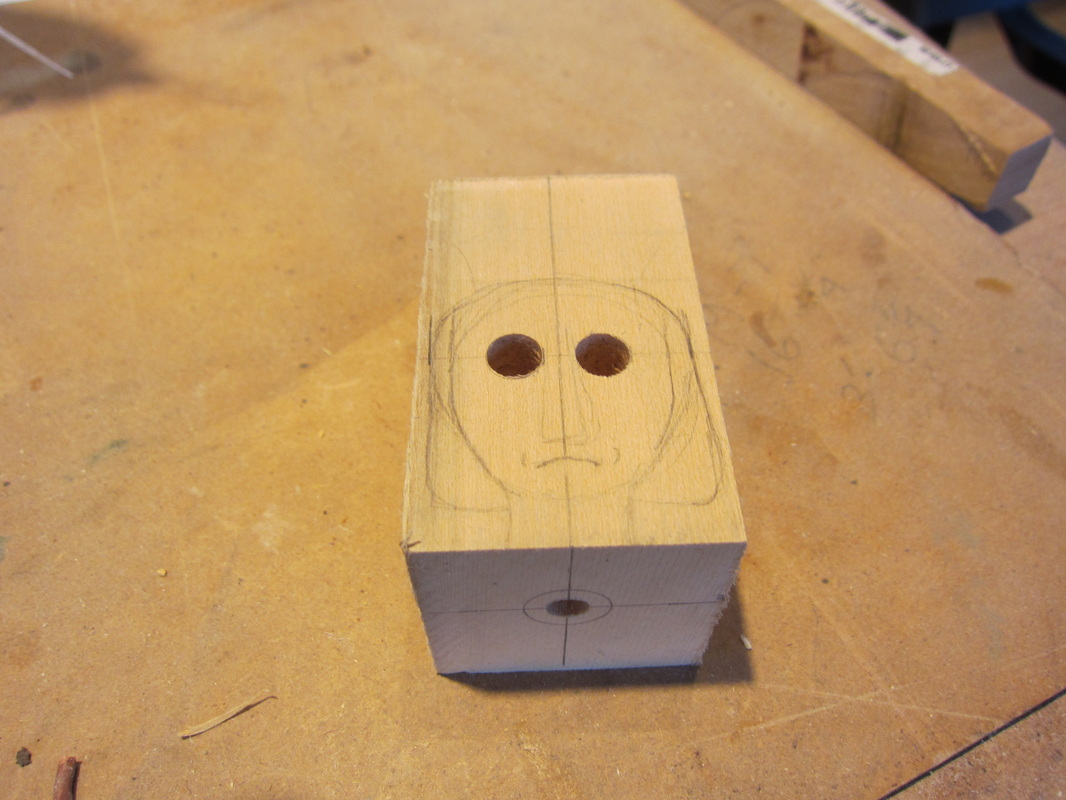
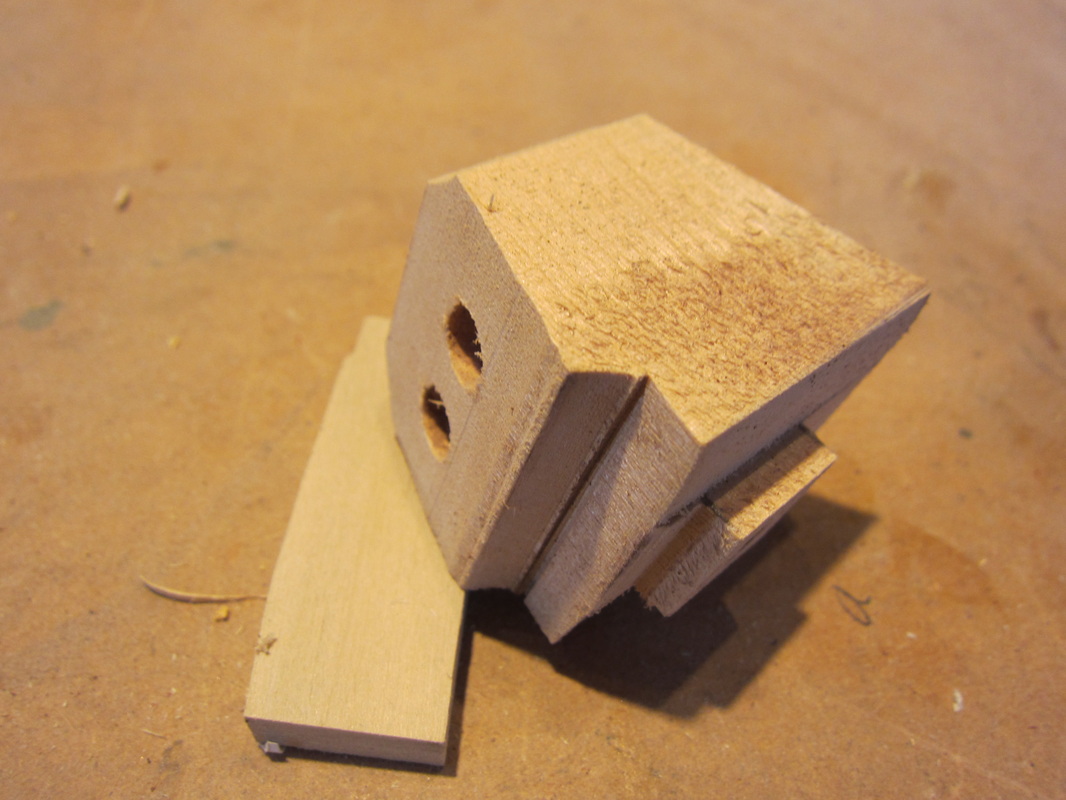
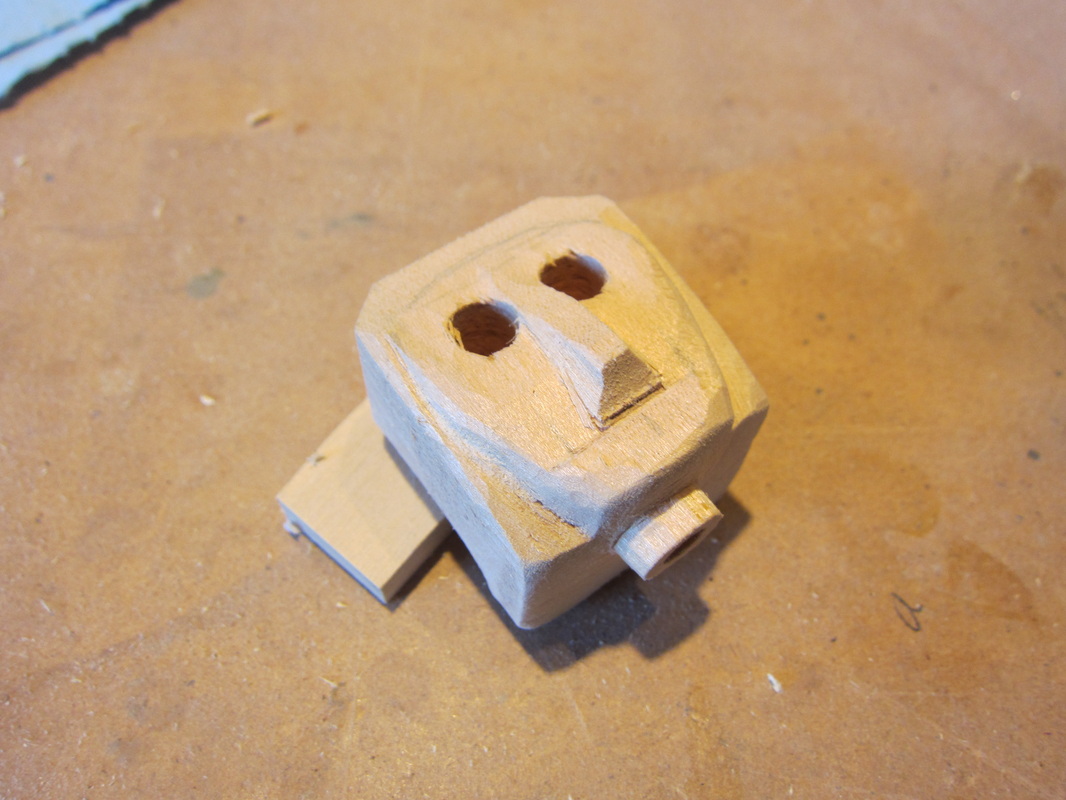
I was over working with the Caygeon Carvers group this afternoon. When I work with the carving group I try to take something there to carve, usually a character, or figure that I have roughed out in my shop. Today I completed the body for the nurse in my current piece. When I got back to my shop I went to work on her head. When starting a head I start with a block with square surfaces to allow drilling of the neck and eye holes before I do any carving. In this case she has a 1/4" hole for her neck into which a dowel will fit to turn her head, and two 5/16" holes for her eyes. Her eyes will be made from pieces of 1/4" dowel. Here is her head after drilling. After the drilling is done I cut out the rough shape of the head on the bandsaw. She will have a long nose and a "bob-like" hairdo so at this point she still looks a little odd. Following this I do initial shaping of the head with carving knives. The next step will be contouring the lower part of the head and neck to a place where most of the shaping and sanding is completed, particularly in the vicinity of the eyes. Then I cut the top of the head to install the internal mechanism, glue it all back together and finish the contouring. I'll continue the photo stream in the next blog post.
I have often mentioned that I draw most of the more complicated automata I make using a CAD system before building. This allows to use templates for cutting, avoiding interferences, and creating a template for reconstruction. I don't always use it to rough in carved characters but I do use it to locate their controls points so I can place the actuator linkages in the mechanism in the right place.
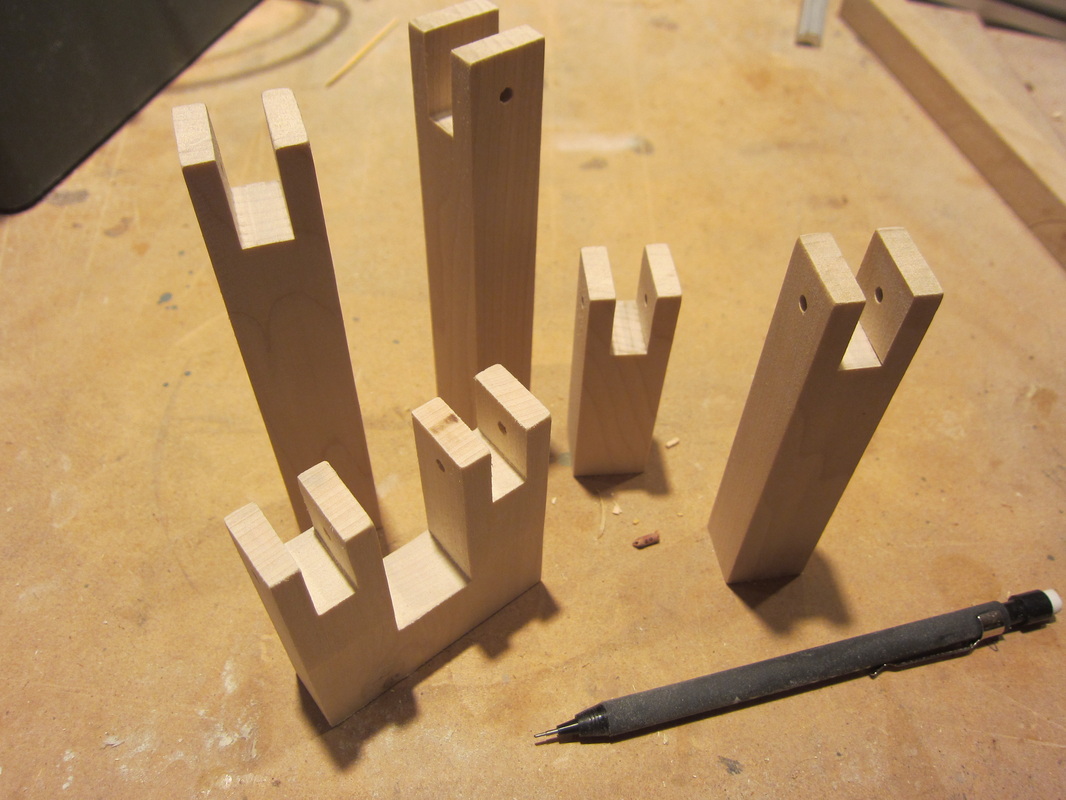
Here is a rendering of "The Waiting Room" automata in progress right now to give you an idea of how much work is involved. I've been locked up in my office on the computer doing CAD drawings of the inner workings of "The Waiting Room". Seems like a good way to strain your lower back and neck at the same time! Anyway I got back in the shop for an hour tonight and knocked off some of the follower pedestals I had designed. (or stands to make the pun in the entry title work). I make them out of popular for strength, and use 1/8" brass rod for the fulcrum pins. I add a little buttress block to the taller ones once they are set in position to help strengthen them. I contour them so they fit in under the cams without interference. Got a few more to make. I think they are 15 in total! Oh well maybe more tomorrow.
|
Why Automata?Automata is a creative blend of my life interests , engineering, art and woodworking. Archives
July 2022
Categories
All
|
 RSS Feed