|
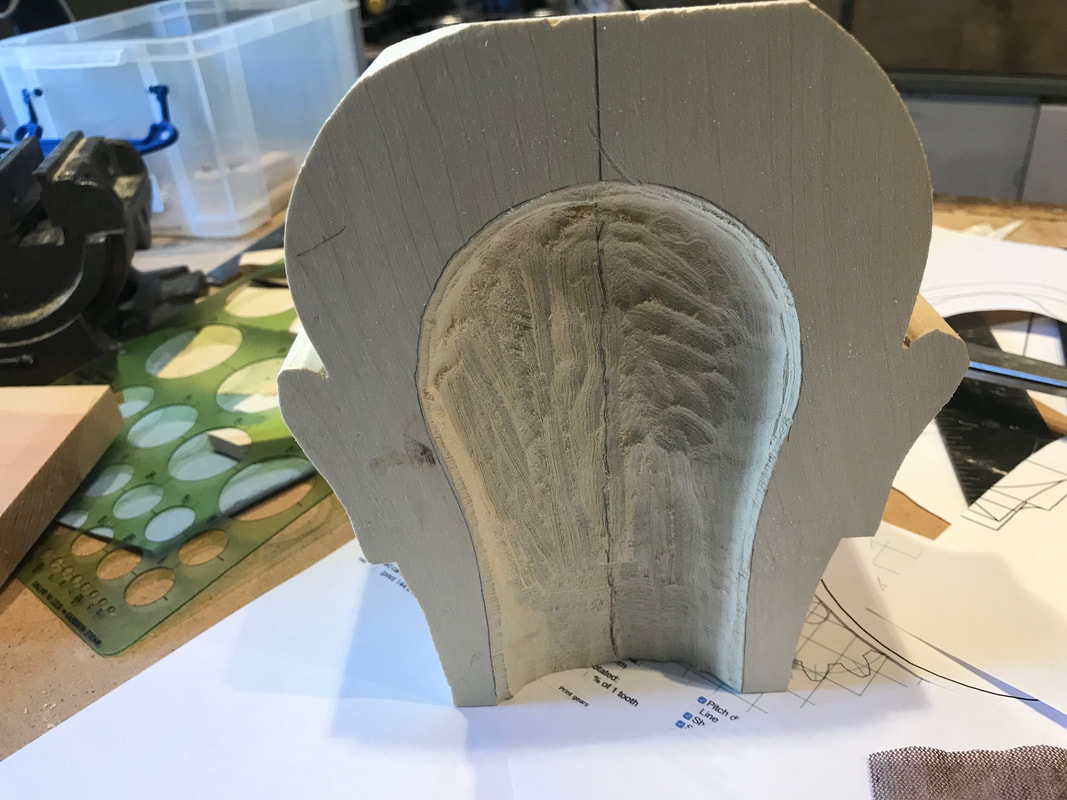
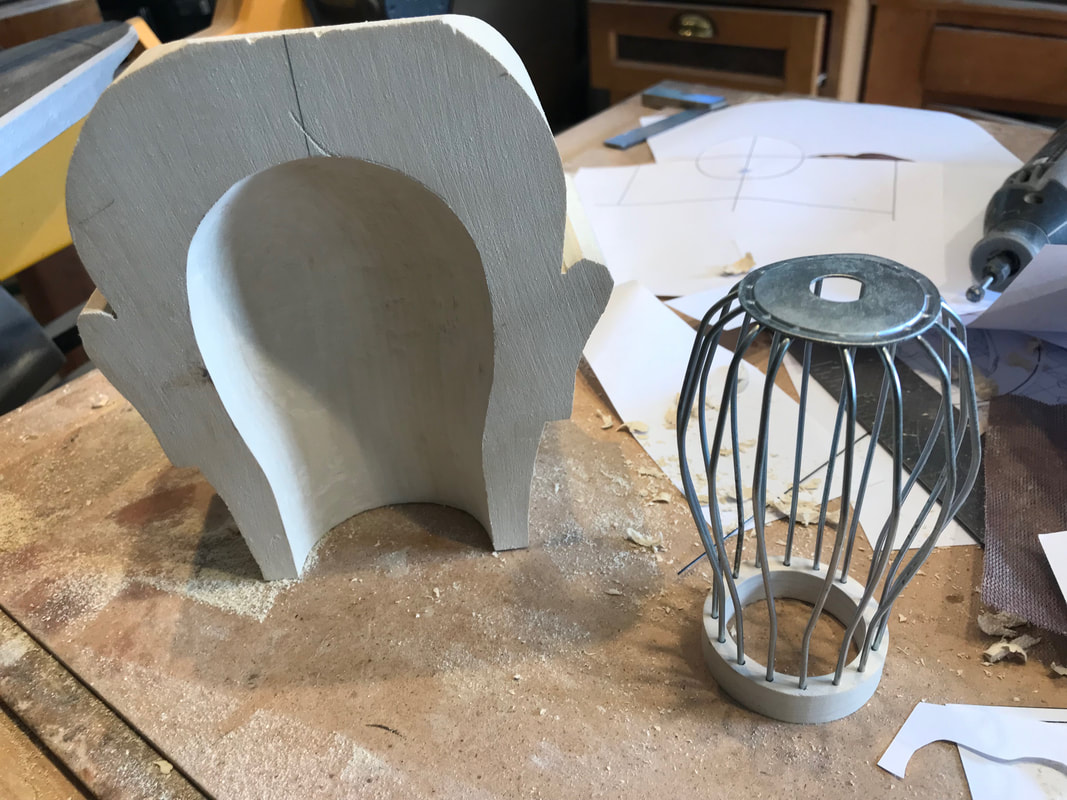
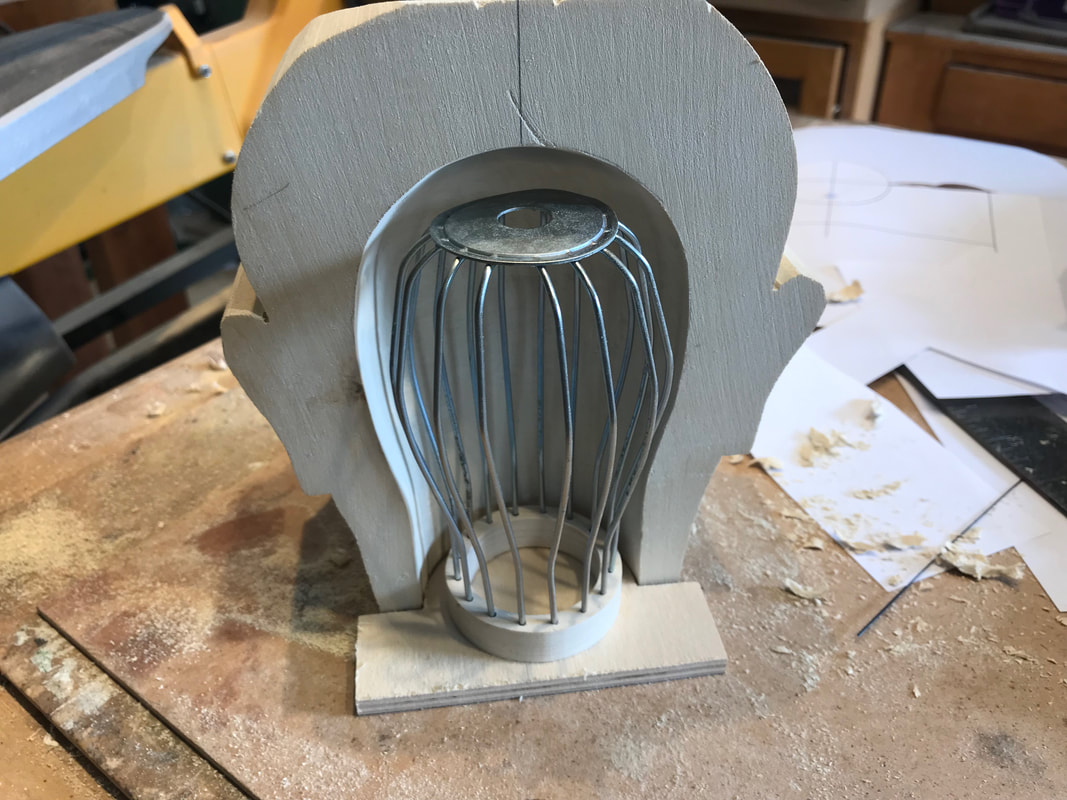
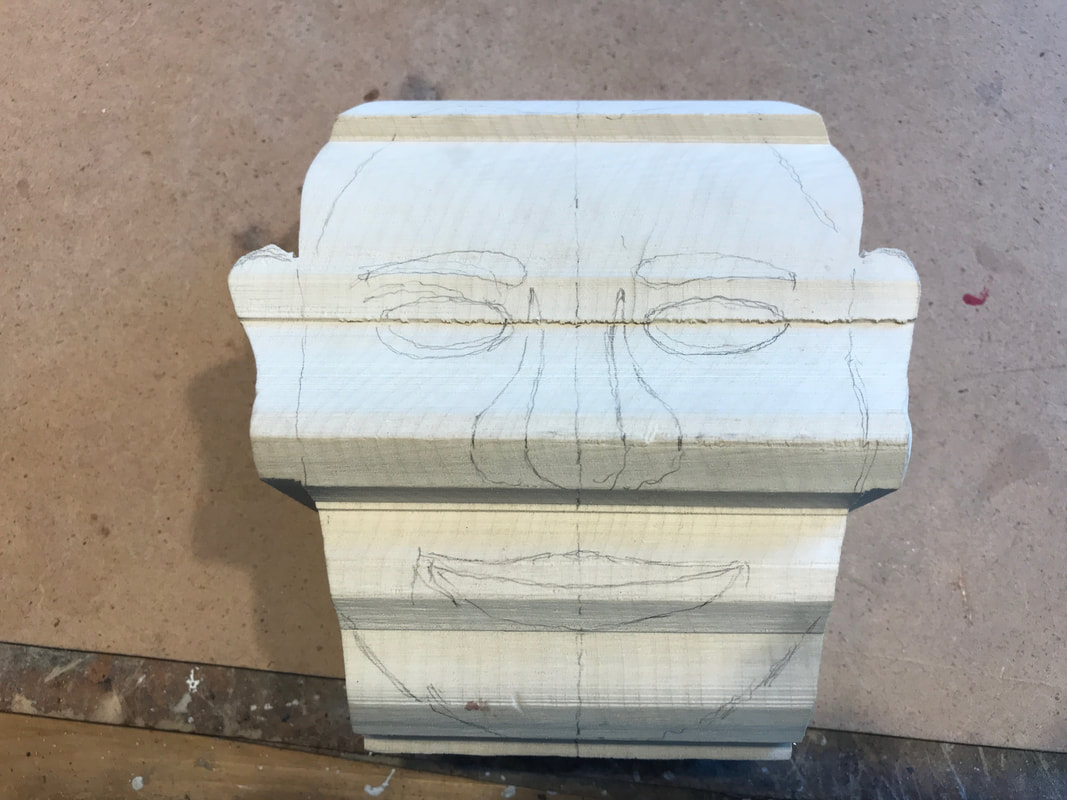
And now the time consuming part of the project, and that is to crave a head. It is always slow and steady for me when doing something like this. The first thing is that I am using a block of Tupelo wood because it is lighter than basswood. This head will spin around when done so lighter is better. Also I need to cut a larger cavity in it and I prefer to machine these kinds of space and Tupelo machines very nicely. A large block of Tupelo is a bit of investment so you don't want to rush things and screw up! Here are a few shots of cutting a cavity for this person's inner most thoughts. Next you can see the little cage in place that will contain the thoughts in his mind. The next step is the slow process of carving the face, trying to maintain symmetry, trying to capture some expression of personality and trying to make him or her actually look human. This will take some time. No rushing here. Not my best skill by a long shot!
3 Comments
An earlier blog showed a pair of right angle gears I was working on for a current project. The next step was to test them and build the base that hold them. The larger gear becomes a spinning platform for many of next components of the mechanism. Here is a quick video of the base and the gears temporarily put together. I am spinning the gears using my variable speed drill to “run-in” and test the gears. After painting last night I reassembled the pasta conveyor and this morning decided to add to the layers of the factory. It may a little premature but I thought it was safer to attach it to something rather than having it lying around the shop separately where it could get hurt. I made a temporary stand as things were getting off balance and I didn’t need it to topple over. There are a couple of clamps holding the piece to the frame.
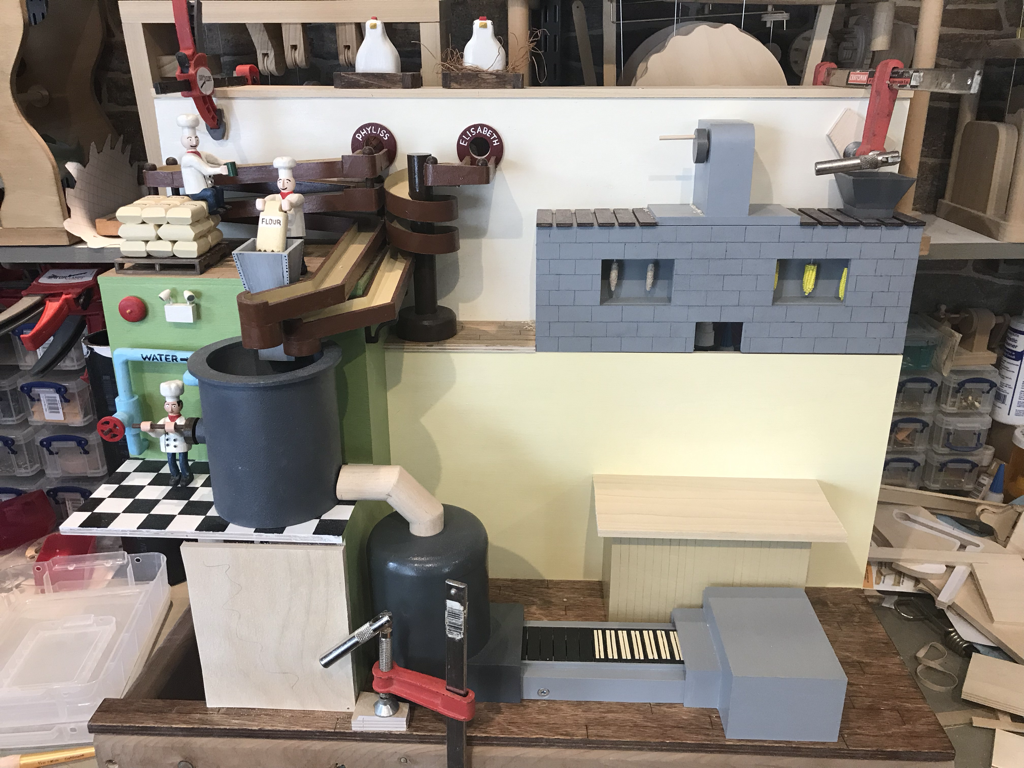
The pasta conveyor is at the bottom although I anticipate at least one more tier to come below it. The little stand behind the conveyor is for the cheese shredding operation. I also need to fit in a tomato sauce cauldron in somewhere. I think I’ll take a little break and do some CAD on another project for a bit. It’s a nice day to sit outside for a while. Anyway here is the factory nowadays! I’ve been approached by a client to make a particular automata piece for them based on something they saw on the internet. A large diameter gear is a prominent part of the mechanism. The one they saw had a large gear and small pinion operating at right angles. They were made as pin gears with brass pins. I have made many of these before but they can be noisy and a little jerky in motion. It might not fit with the “zen” mood of the piece so I decided to try to make wooden toothed gearing and set out to try my hand at a prototype.
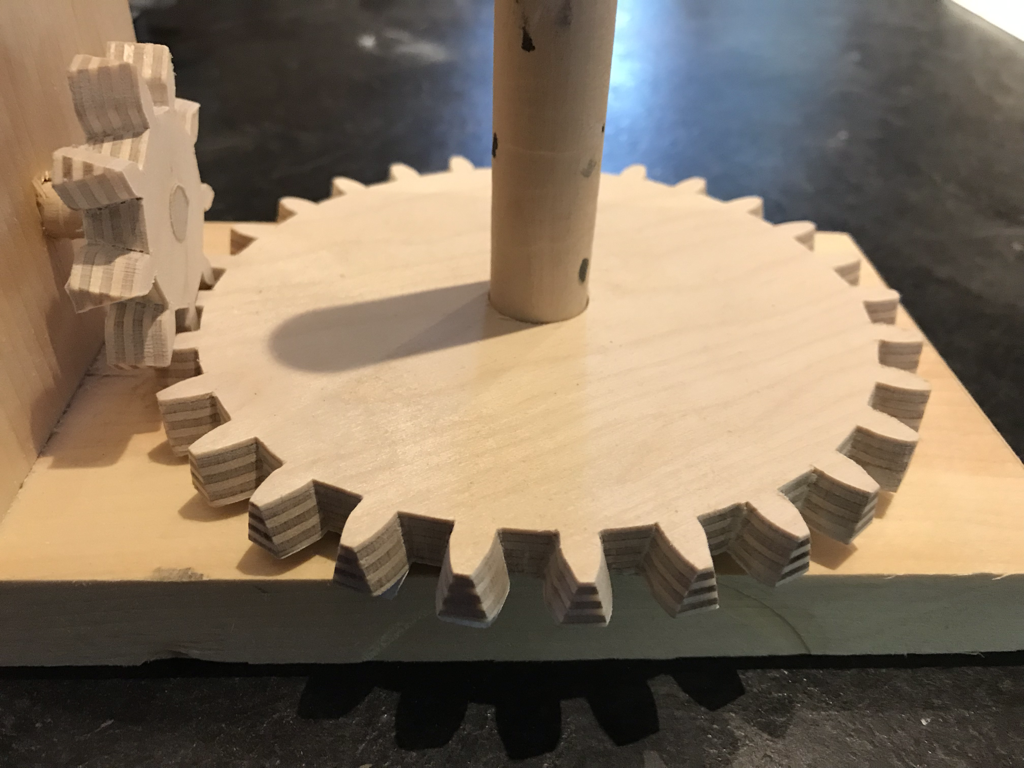
I went to woodgears.ca, a very useful site for automata gearing, and used the gear template generator program for direction. The teeth have to be cut on a bevel to work well. You need to make an adjustment for the thickness of the gear and adjust the height of the teeth as well. The bevels are cut at the pressure angle of the gears. I made a slight variation to the cutting technique, using a spiral scroll blade to cut the bottoms of the tooth gaps perpendicular to the gear face. The teeth do not run on this surface but they are very visible on the finished gear. I was very happy how the prototype turned out after a couple hours of setup, careful scroll saw cutting, and a little filing. Here’s a photo of the prototype. Part of the current automata project has a broad noodle pasta maker. The last step in the process is the pasta cooker. The output of this device is the conveyor that carries the noodles away to be mixed with the other ingredients. Here is the working, but yet unfinished, conveyor. Well, I'm not sure where they all go, but his one finds himself headed off the Marvin's Marvellous Mechanical Museum in Farmington Hills this week. A little break is always good for the soul and what better place to find inspiration than a place like Marvin's in this part of the world. I'm headed off later in the week. Should be fun!
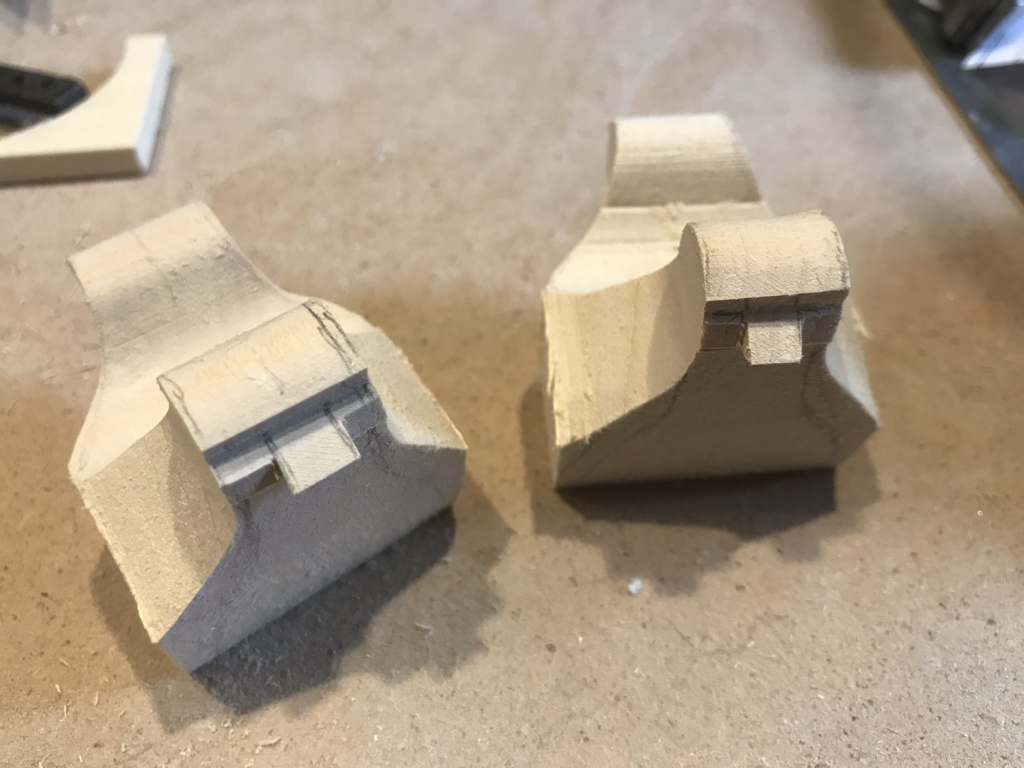
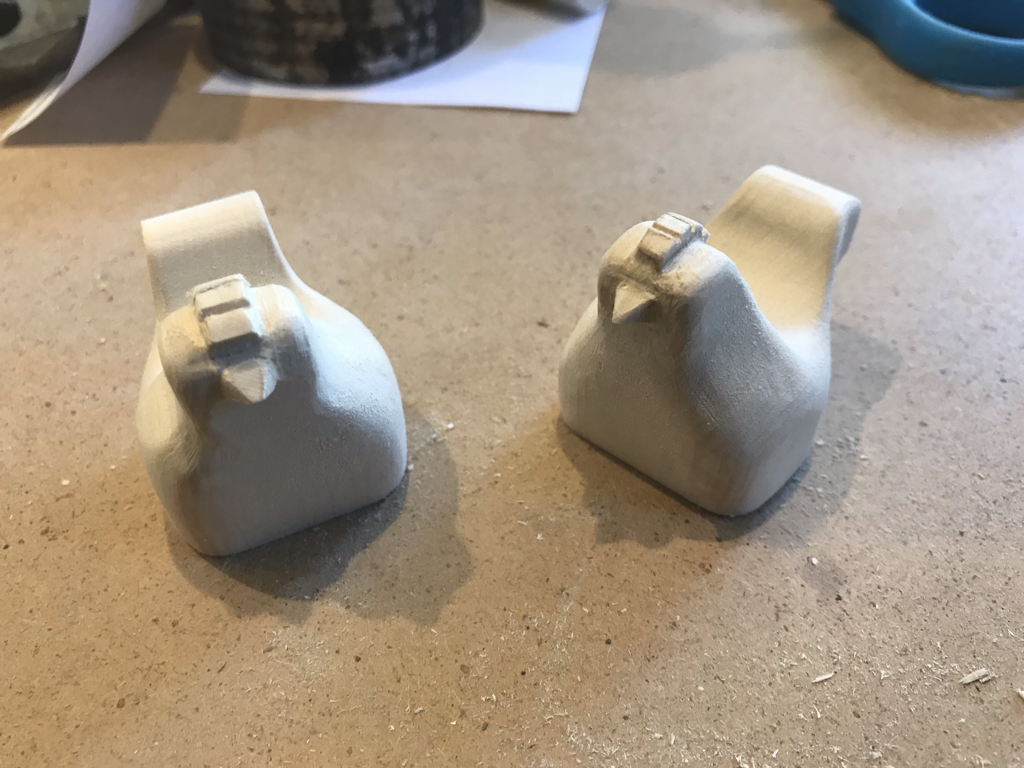
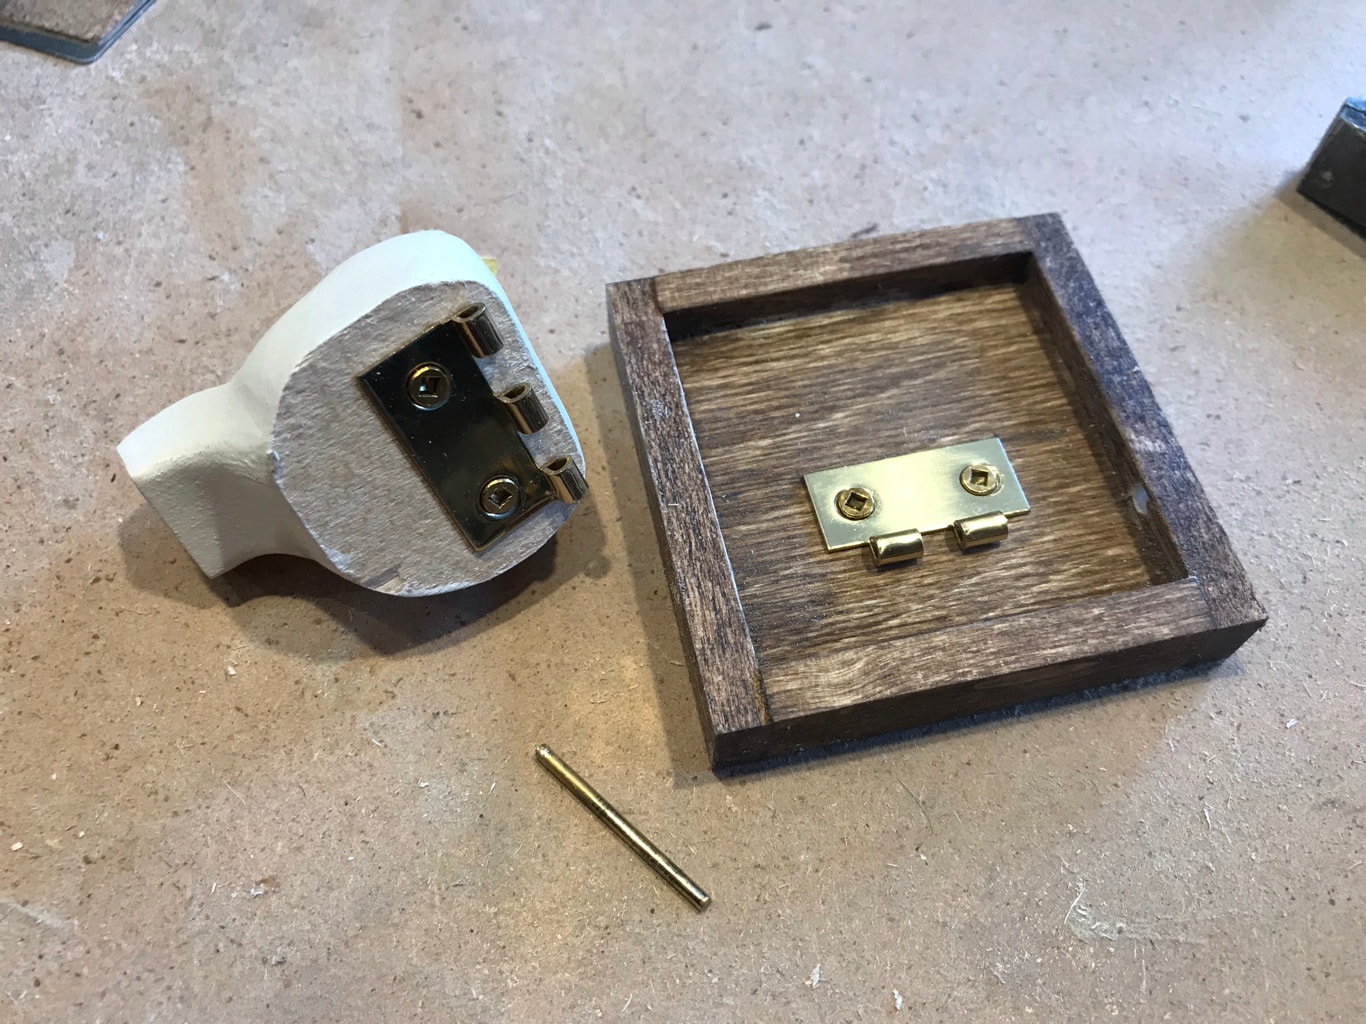
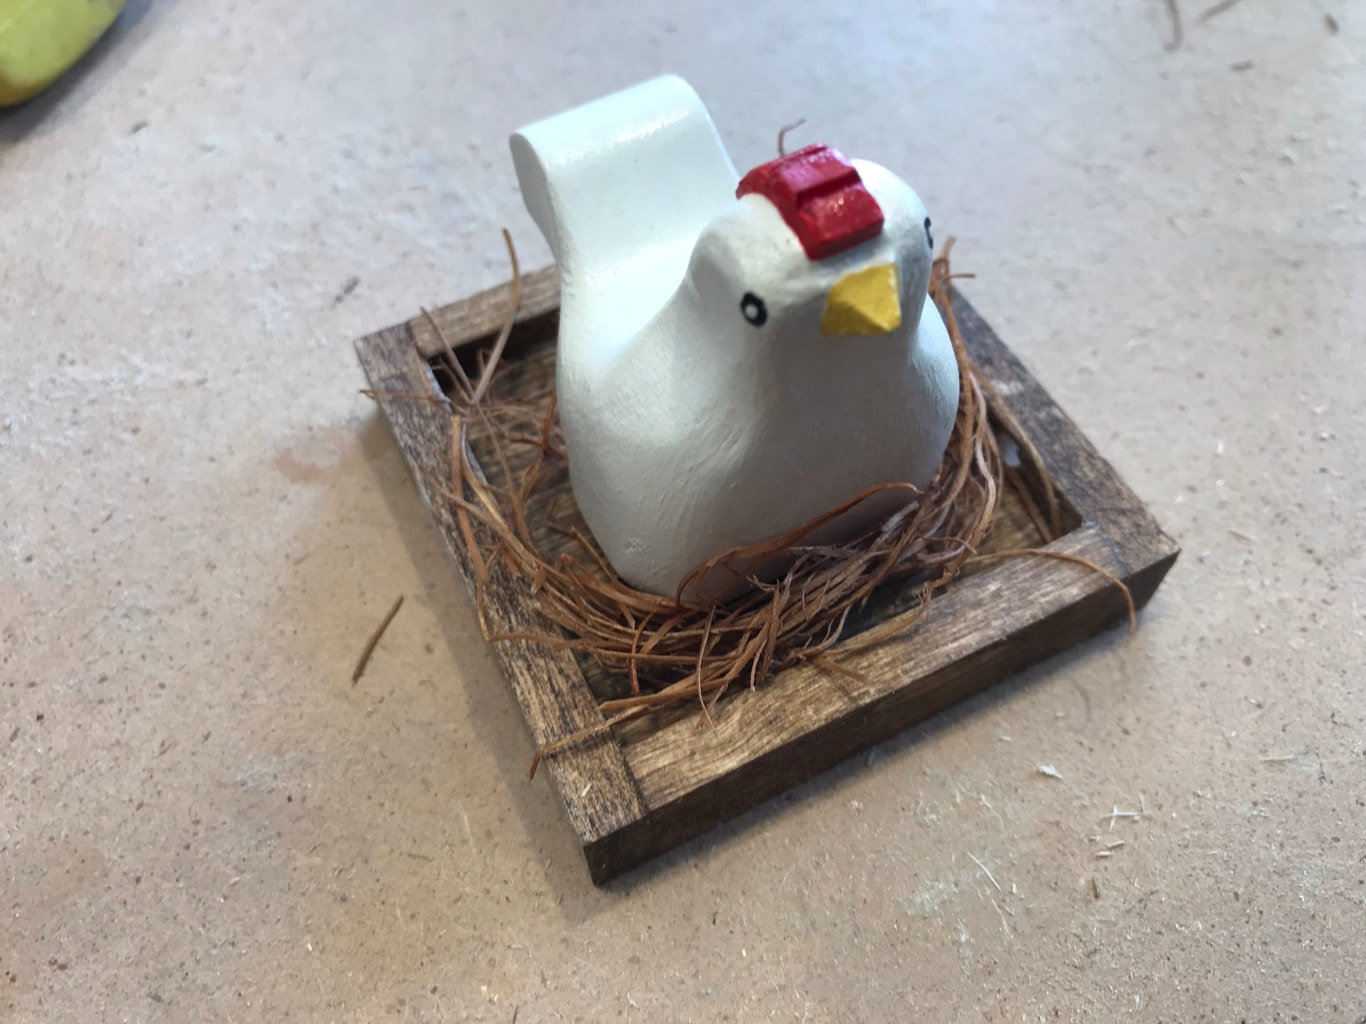
Phyliss and Elisabeth are the two chickens that provide fresh eggs to the pasta line in the casserole factory. Here they are starting out as basswood cutouts. They have the same shape as chickens in my “Poultry in Motion” automata, but half the size. They are art folk art looking and have no feather detail which would be a little overkill for their part in this piece. Here are the girls after shaping and detailing their beaks and combs, a few simple features that and interest and allow the addition of a little colour. They will bounce their butts up every time an egg is laid. This action is facilitated by adding a small hinge to their undersides. A small rod will poke up from below causing them to tip forward. It is a simple hinge from the local hardware. It will be well hidden. Here is the nesting box with the two halves of the hinge installed. You have to disassemble the hinge to install the pieces by pushing the hinge pin out. There are two small holes on either side of the nesting box where can push the pin through to reinsert it into the hinge. I put holes on both sides in case I have to dissemble things to put the push rod in. In the end they will get a little nesting glued in and they can get on with the business of laying eggs for the factory.
|
Why Automata?Automata is a creative blend of my life interests , engineering, art and woodworking. Archives
July 2022
Categories
All
|
 RSS Feed