|
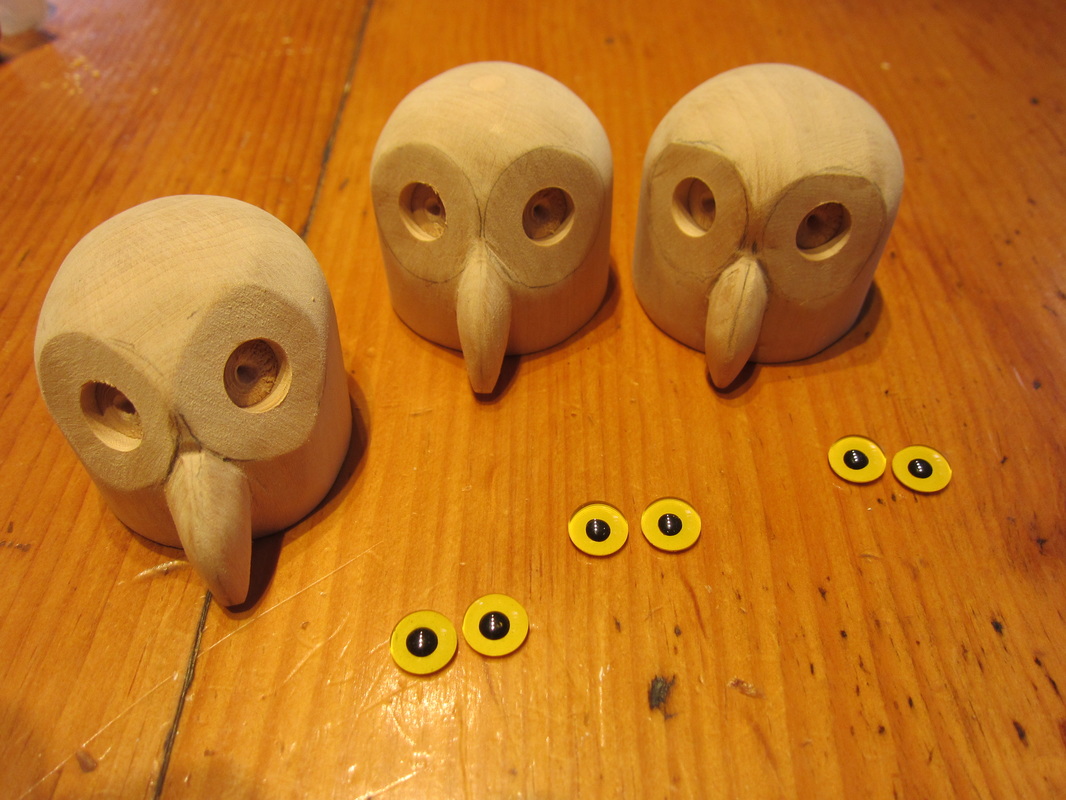
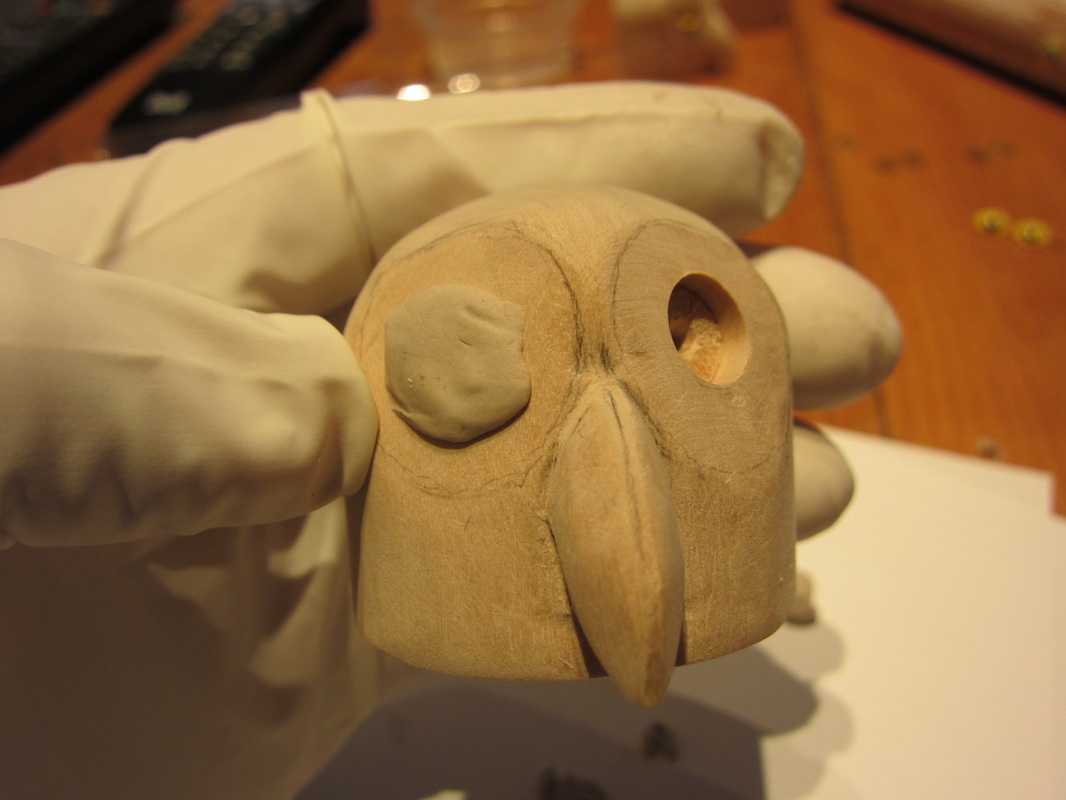
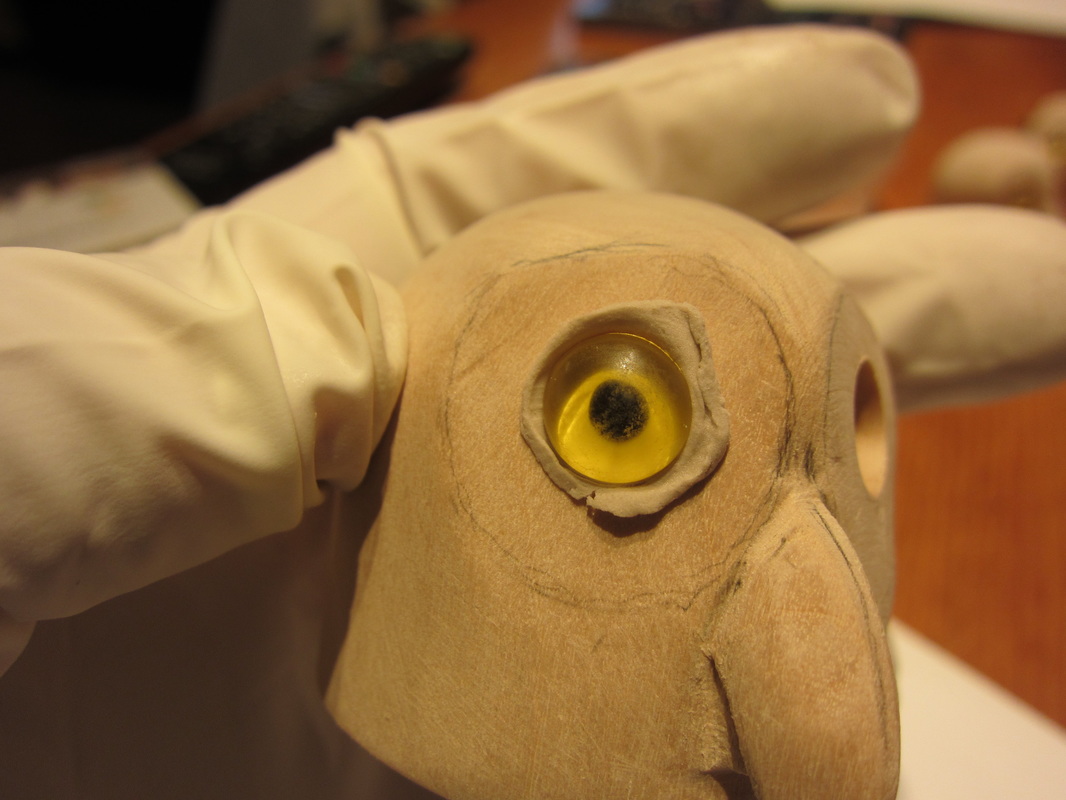
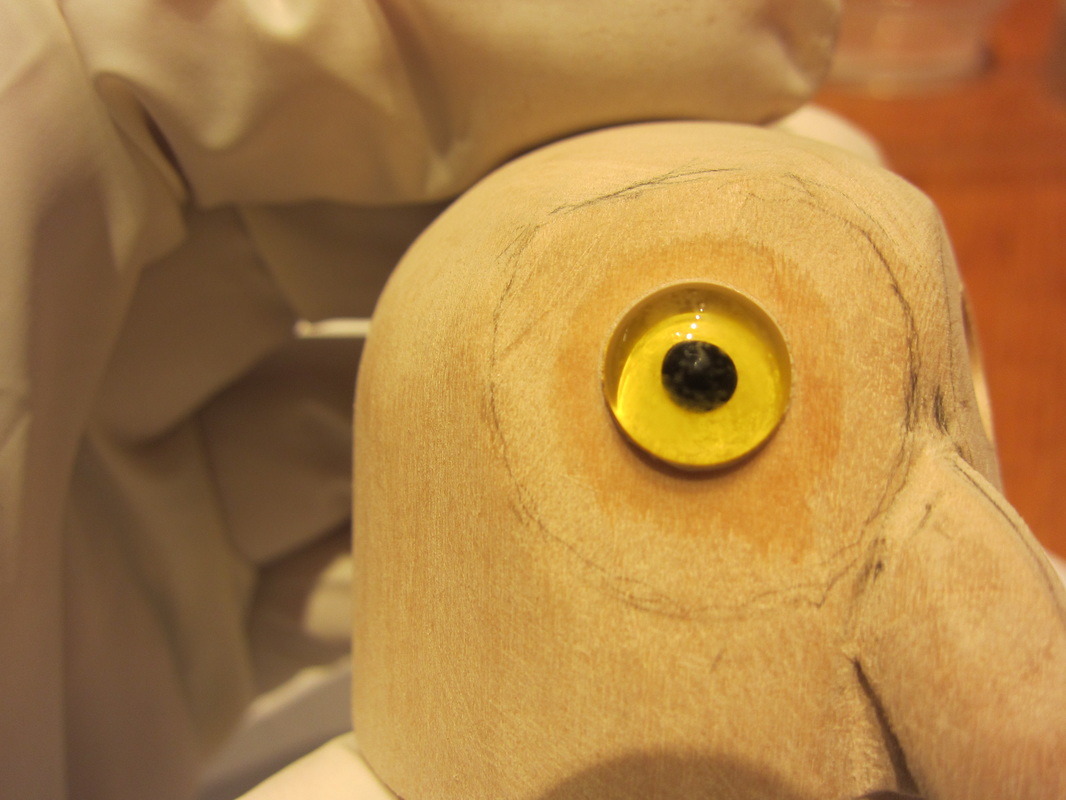
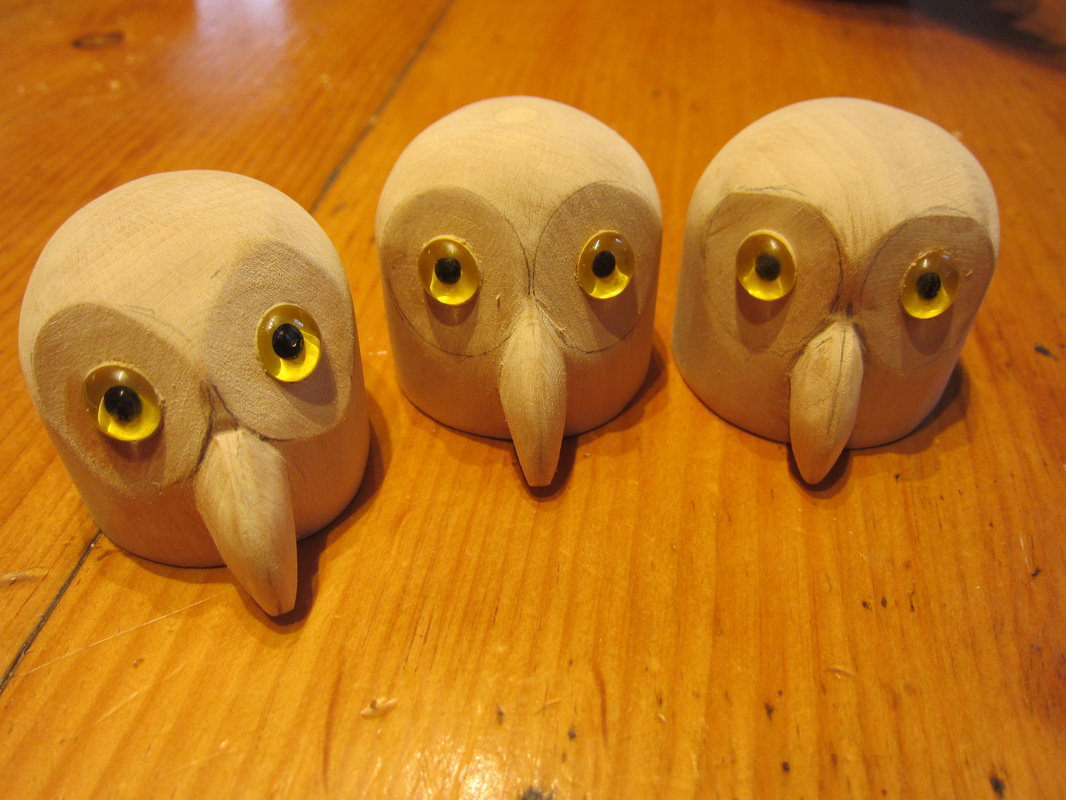
Probably the most fascinating thing about an owl is it's piercing eyes. It just didn't seem right to just paint the eyes on and diminish this feature. So I adopted the practice that many decoy carvers use to get realistic looking eyes and that is the purchase and installation of glass eyes. There are many sizes and colours available for a variety of birds. These owlets will have yellow eyes with black pupils, a common colouring. Here's how it is done. First drill holes in the locations of the eyes that are a little larger than the glass eye itself. In this case I drilled a 3/8" hole with a forsner bit for 9mm eyes. Drill the holes a little deeper than the thickness of the glass eye. Here's the heads of Curly, Larry, and Moe with the eye sockets drilled and the glass eyes waiting installation. Select a head and push a little wad of epoxy putty into the eye socket. Next push the eye into the putty in the socket. Use a flat strip of some kind to push it in to a depth you are happy with and remove the surplus putty. See the photo below. Next use a Q-tip soaked in water, or a similar device to smooth out the epoxy around the eye. Then starting in the centre of the eye wash the epoxy residue off the eye. It might look something like this. You can still see the water mark around the eye from cleaning. So below is the result; three owlets with a glassy eyed look. A little paint and these little fellas should look even more interesting. As I have said before I try to make my characters look somewhat realistic but not necessarily real. This allows some room for whimsy and cuteness! With light from above as below they actually look meek.
0 Comments
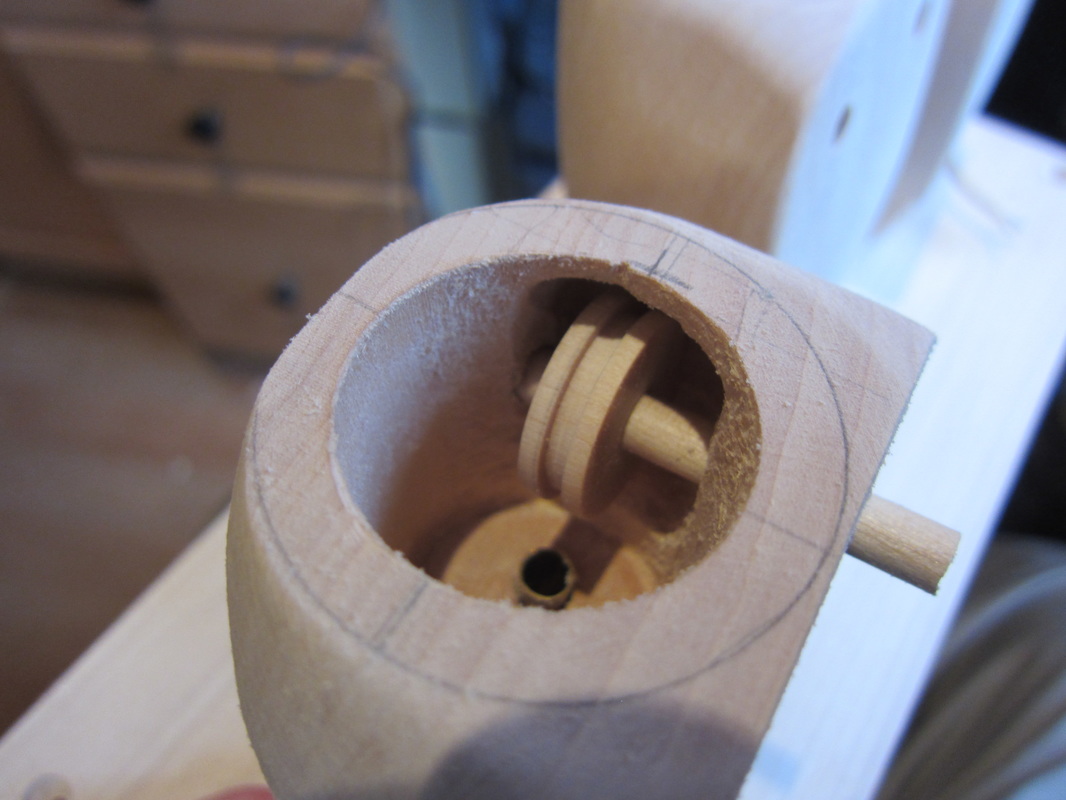
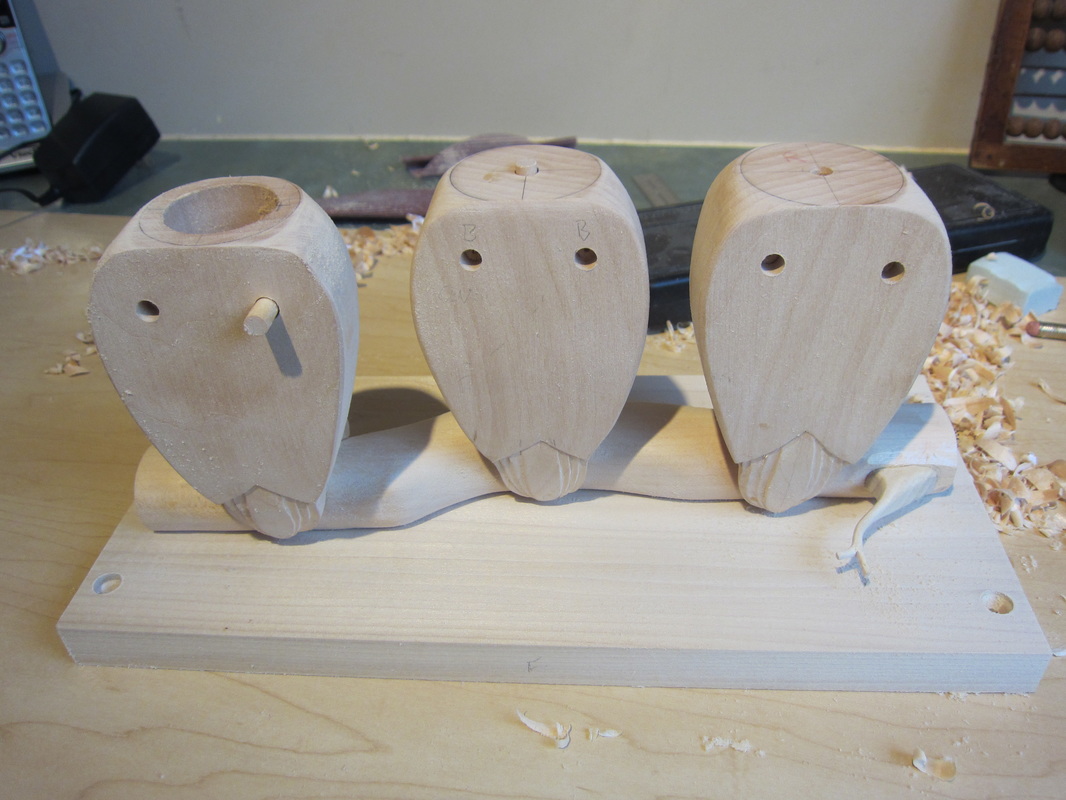
In the current piece an owl on the left side raises his wing to tap the centre owl on the opposite shoulder. Here's a photo to show the simple mechanism that will make this work. In the photo you can see a 1/4" dowel that extends through the back of the body. The wing will be glued onto the end of this dowel. The hole for the dowel has been drilled straight through the body before shaping. The front will be filled with a 1/4" plug and smoothed to match the chest, and should be invisible from the outside when completed. Enough length will be left on the inside of the front to act as a bearing surface for the front end of the dowel. I made a small wheel with shoulders on my lathe so a pull cable can wrap around it without coming off. The cable is not installed yet, but I will use a small screw to secure a looped stainless steel braid cable. I will coat the termination with a little epoxy to ensure it will not pull out. This is a little excessive. If the cable wheel is fixed in the correct position the termination will never feel much pull from the cable.
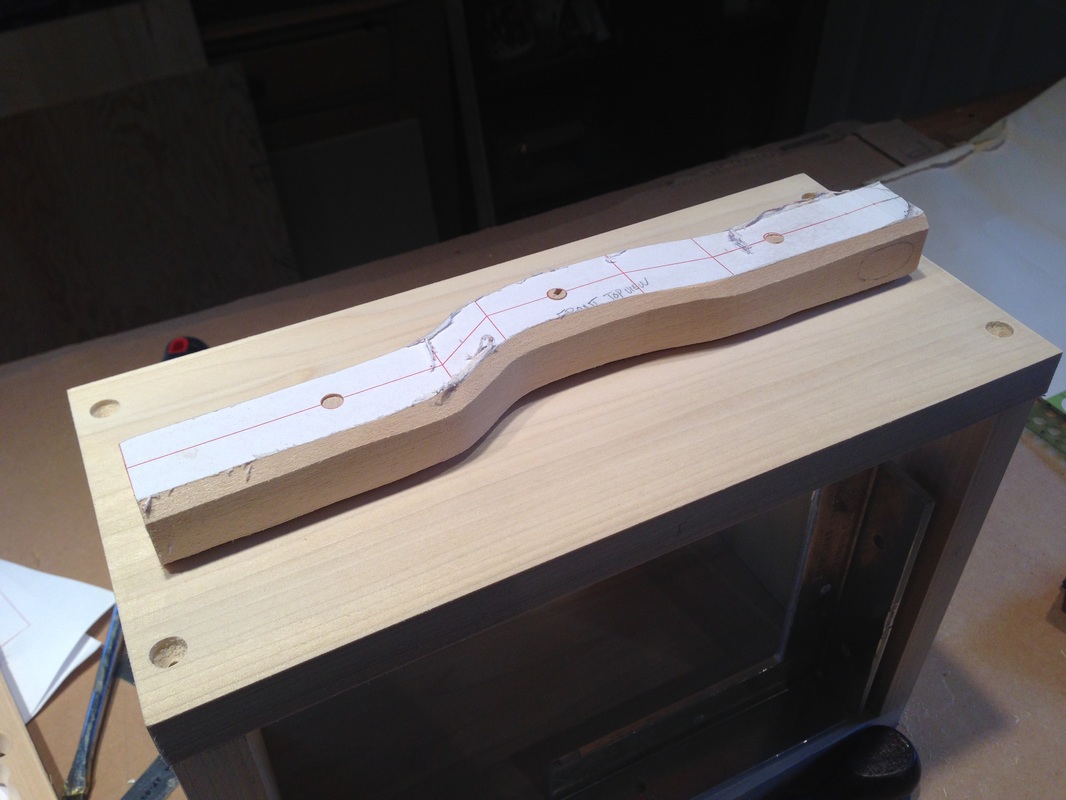
You can see a short lentgh of brass tube that is stuck in the top of the hole through the body. It is secured with CA adhesive. It will prevent the pull cable from abrading the wooden block. The last piece will be a little keeper wheel that will sit toward the back shaft, and bear on the inside of the body block. This will keep the dowel from sliding toward the back of the owl and maintain alignment of the cable over the hole and maintain the size of the bearing surface on the front of the shaft. The branch that the owls in the next automata piece sit on is finally taking shape. I've decided to put a stylized bark on it and a small twig with a few leaves protruding from it. Here's the blank before starting to shape it. A little while later things are taking shape. There is still sanding to do before detailing the bark and some fitting of the owls so that there is good contact for gluing. In this photo the twig is has been fitted but not completely shaped.
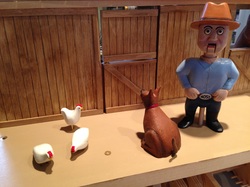
One of the fun things at the recent Magic in Wood show was delighting a few visitors with the changing colour horses in the "Horse of a Different Colour" automata. From the rear of the piece you can tell which colour horse will appear when the stable door next opened. By choosing the corresponding colour of what they might be wearing or by asking what their favourite colour was I could make it seem as if the horses' where magically changing colour on my demand! It was delightful to see the mystery and amazement in their eyes and share their excitement with other visitors.
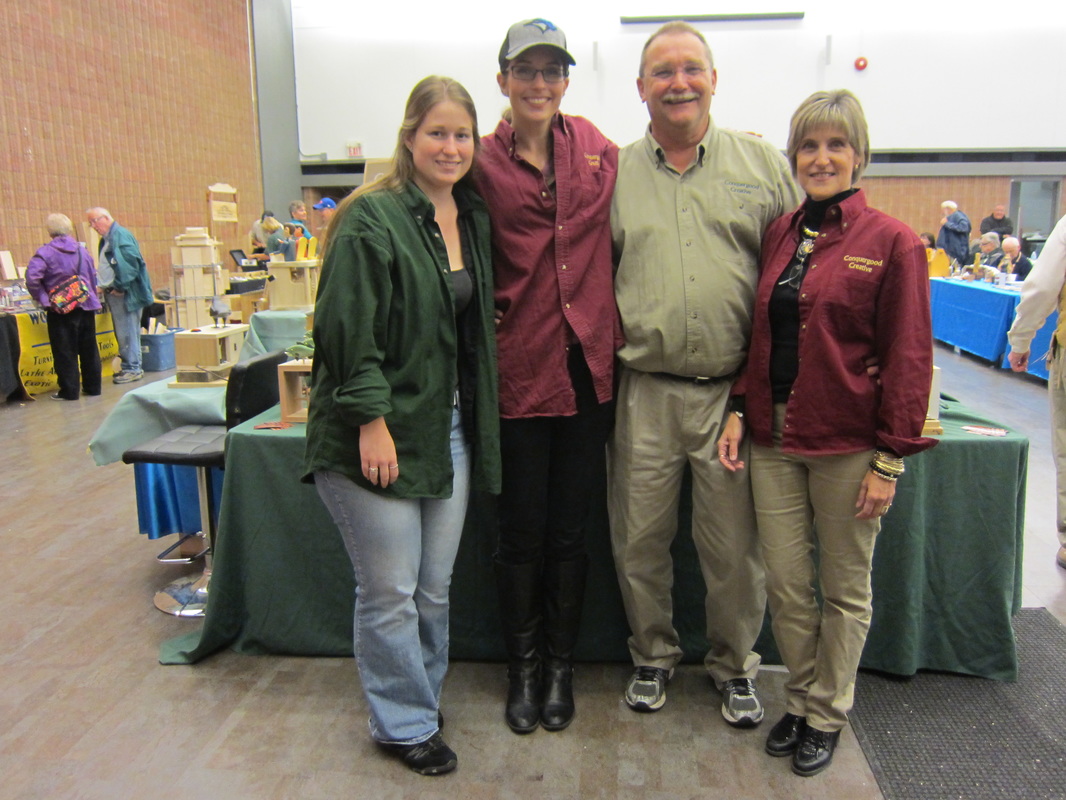
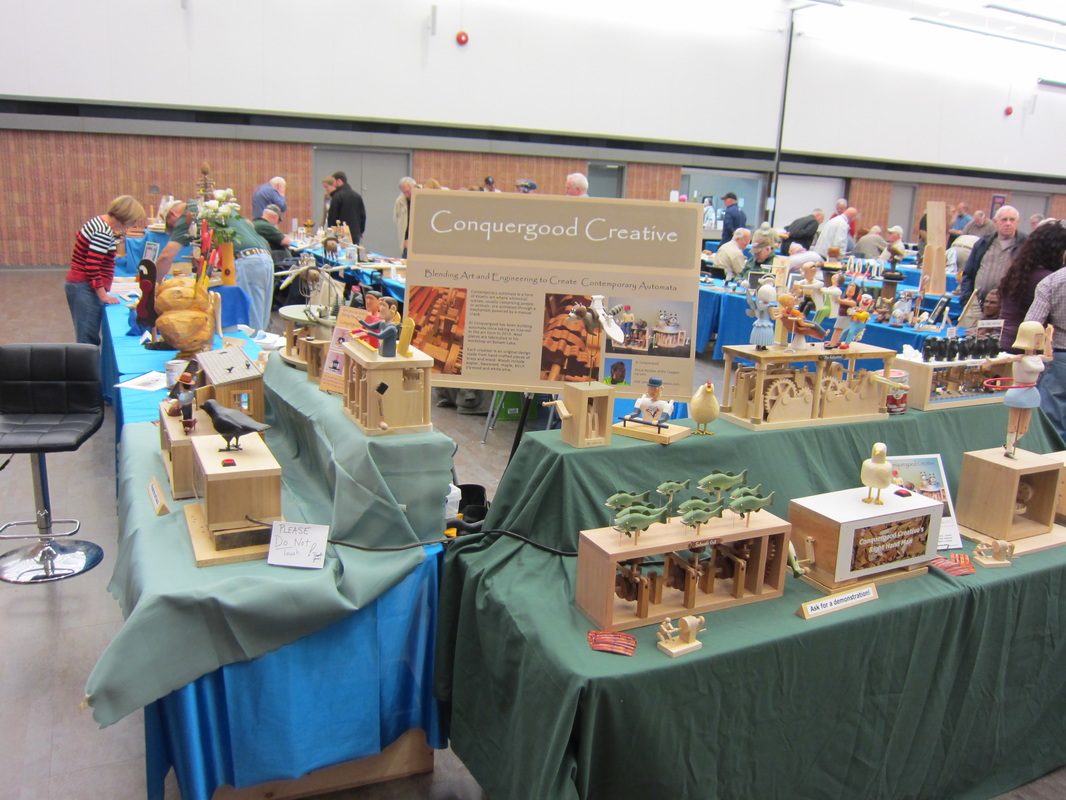
Despite still limping around with sciatica I had a great time talking to folks and seeing some of my regular visitors again. I'm glad I persevered and pushed myself to go despite my aches and pains. I could not have done it with a the help of my wife and a couple of enthusiastic volunteer helpers. Often a few bodies are needed to fend off the hands of groups of little visitors! A big thank you to Jocelyn and Caitlyn for help. Many of the carvers around us were trying to encourage them to take up tools and join the carving community! And of course extra kudos to my wife PJ for her continued energy and assistance. (I think many folks my be coming back to see her, not me!) Here's a photo of the team in action! To anyone who picked up a card off the table and have found him themselves reading this blog, thanks for stopping by it was a pleasure to see you. I hope you will become a regular visitor to my site. I will be back in the shop and blogging more regularly now. Feel free to comment on a blog or send me a note through the "Contact Us" webpage, I am always interested in new ideas and enrolling others in this quirky art form.
My current automata project involves several cables to actuate the character's movement. There are some tricks to make what seems simple in concept work efficiently. A lot has to do with the tolerance of the components.
To make a 90 degree rotation it is easy enough to calculate the theoretical amount of cable that runs off a wheel of diameter D. Length=(Pi*D)/4, this of course if the diameter truly is made as D" and that a cable fastener does not alter the arc of the cable path. Translate this down to where a follower runs on a cam to pull on the cable. Any variation in the cam diameter will cause a little movement on the cable which will potentially move the character. For example the roller on the follower, if used, must be round. The size of the cam itself can have a significant impact on this sensitivity. You most cut the diameter steps on the cam to pull the cable precisely D". Often the pull point of the cable is different than the point where the roller rests on the cam and a multiplier for the correction cable length movement is used to determine cam diameters. Tightening the cable to the exact length can also be a challenge. Usually the best method is some kind of crimp fitting that can be adjusted on final fit up. All in all I find it finicky and usually experience many moments of frustration before being satisfied. Such is the life when toying with automata. |
Why Automata?Automata is a creative blend of my life interests , engineering, art and woodworking. Archives
July 2022
Categories
All
|
 RSS Feed