|
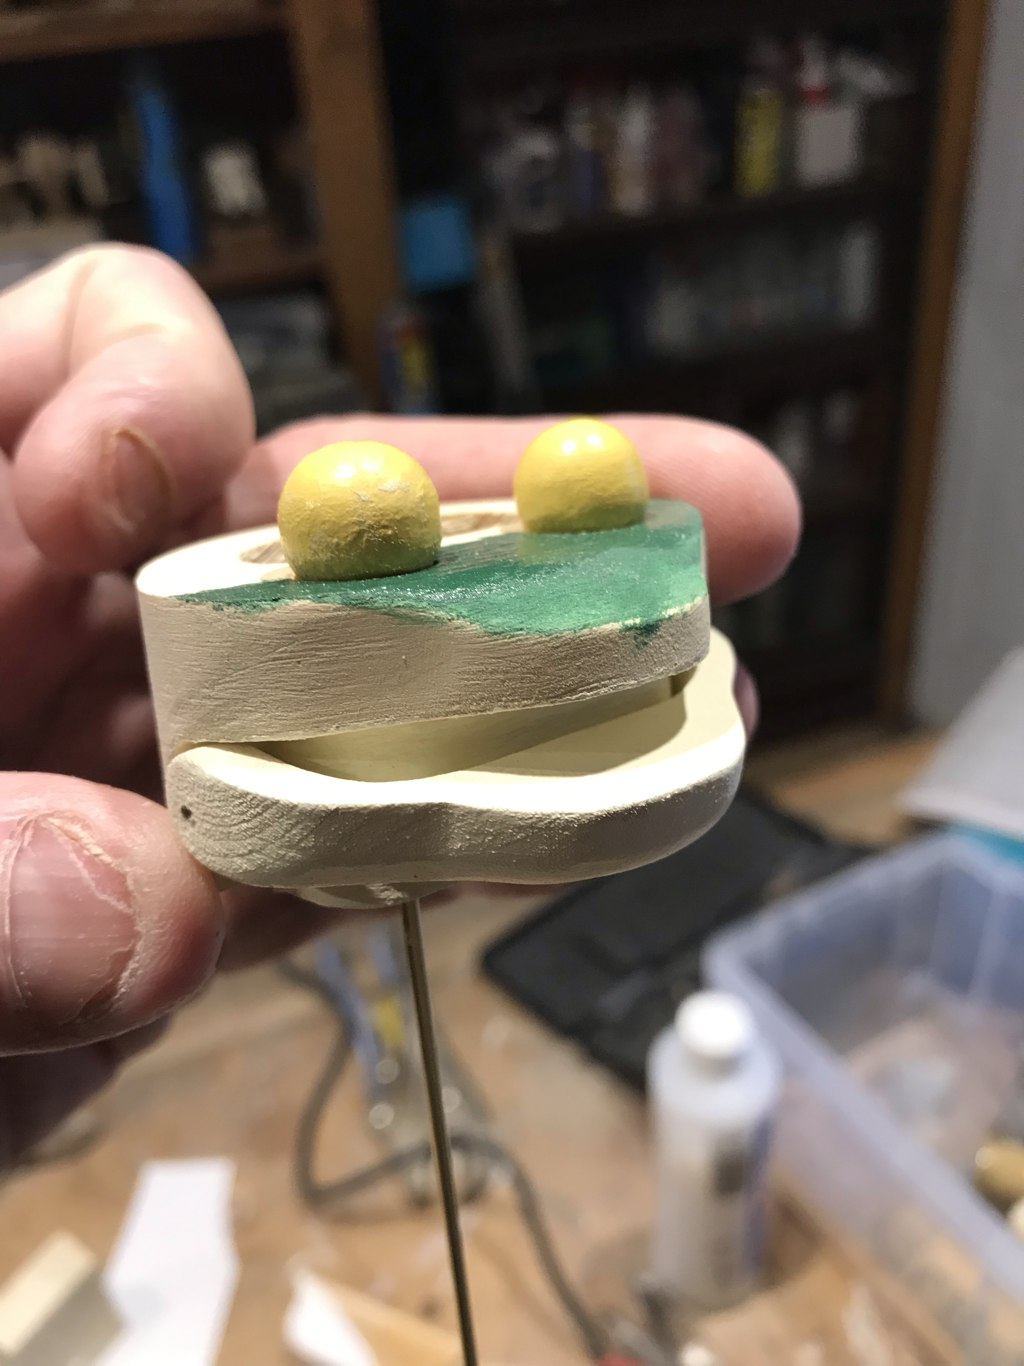
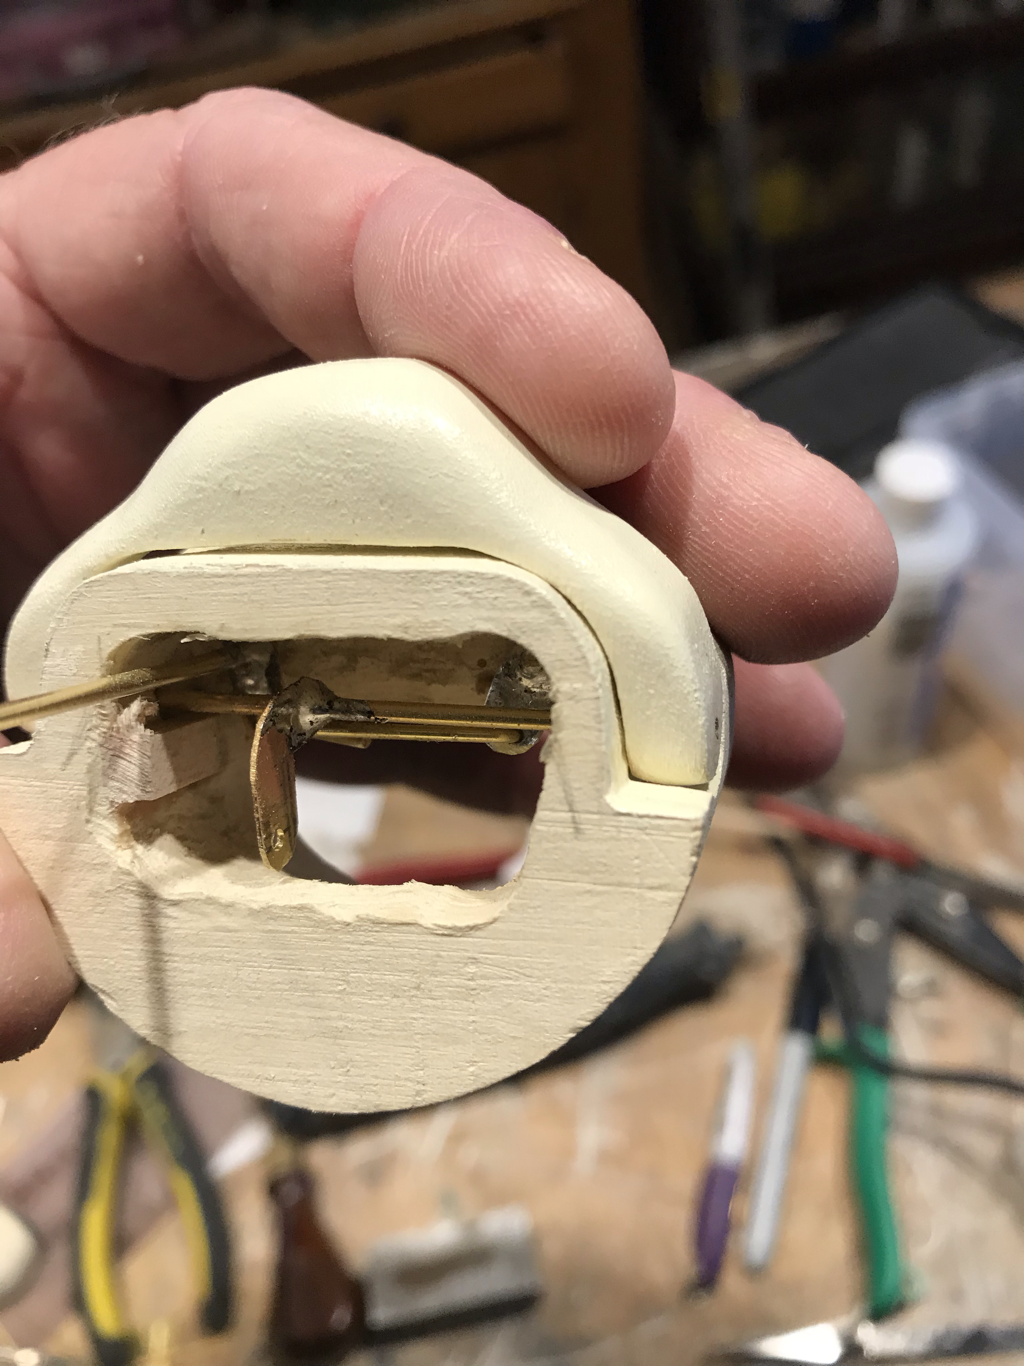
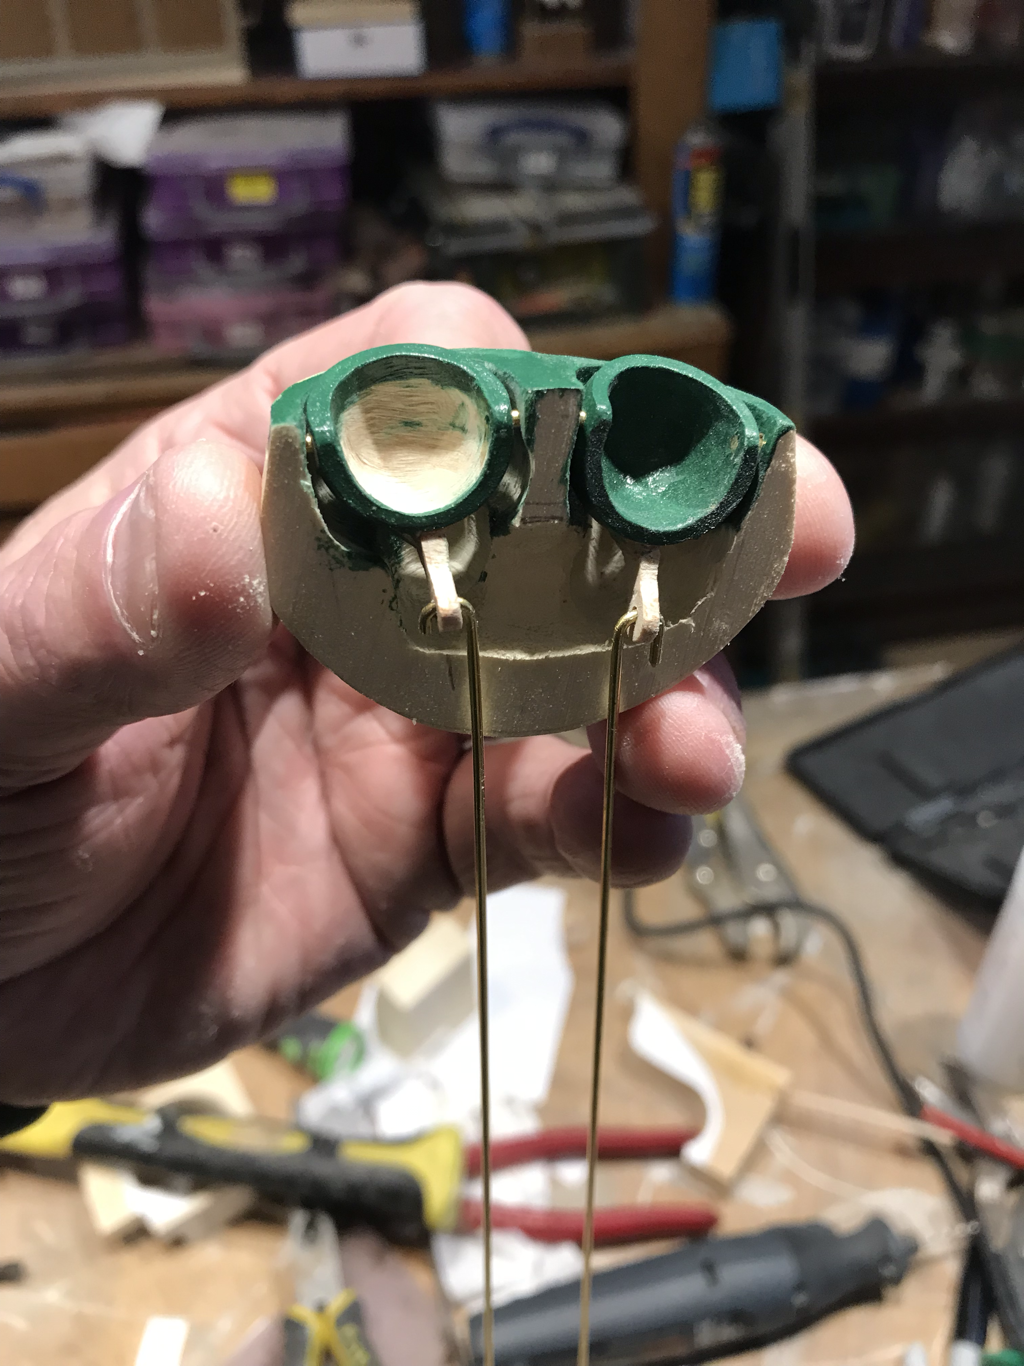
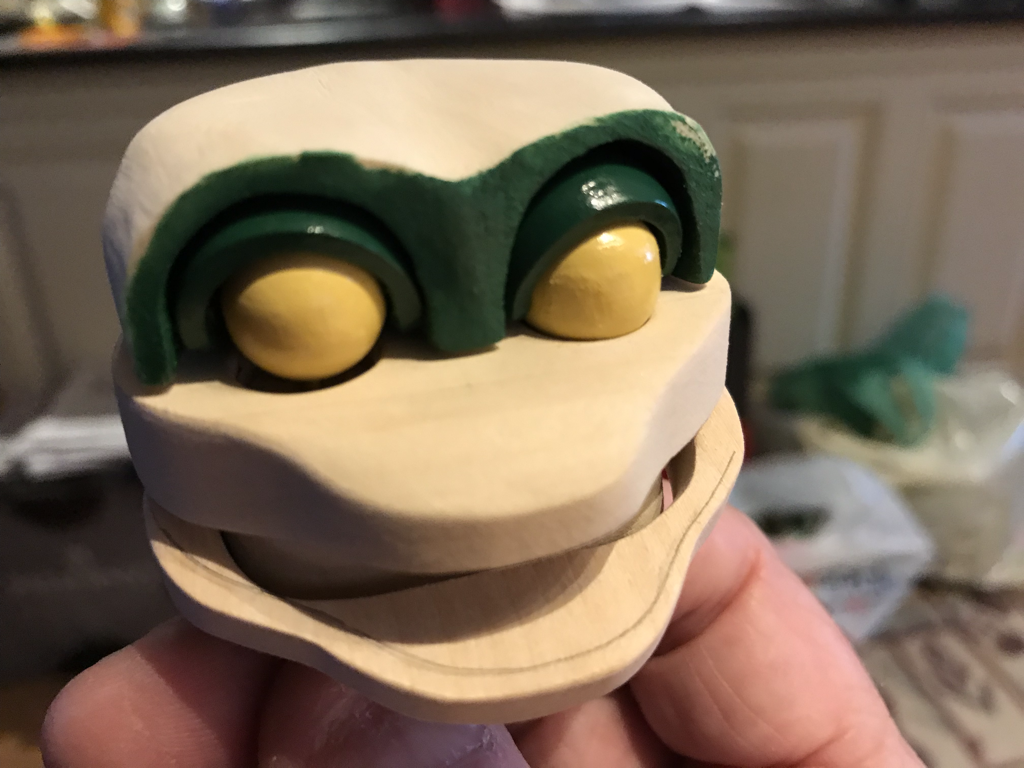
Just to review what is being built I’ve posted these three photos of parts just before gluing things together. The first is a view of the frog’s head with the eyes in place. The second is a view of the underside of the same piece. You can see the brass links which control the eyes and the mouth movement. The eyes will move by twisting one rod which goes directly into one eyeball and linking across to the other.
The last photo is the upper head piece with the eyelids installed. The long links need to be installed now before gluing parts together. You can see some sanding marks where I removed some material during test fitting. It’s important to check that everything works well now. Follow up later!
0 Comments
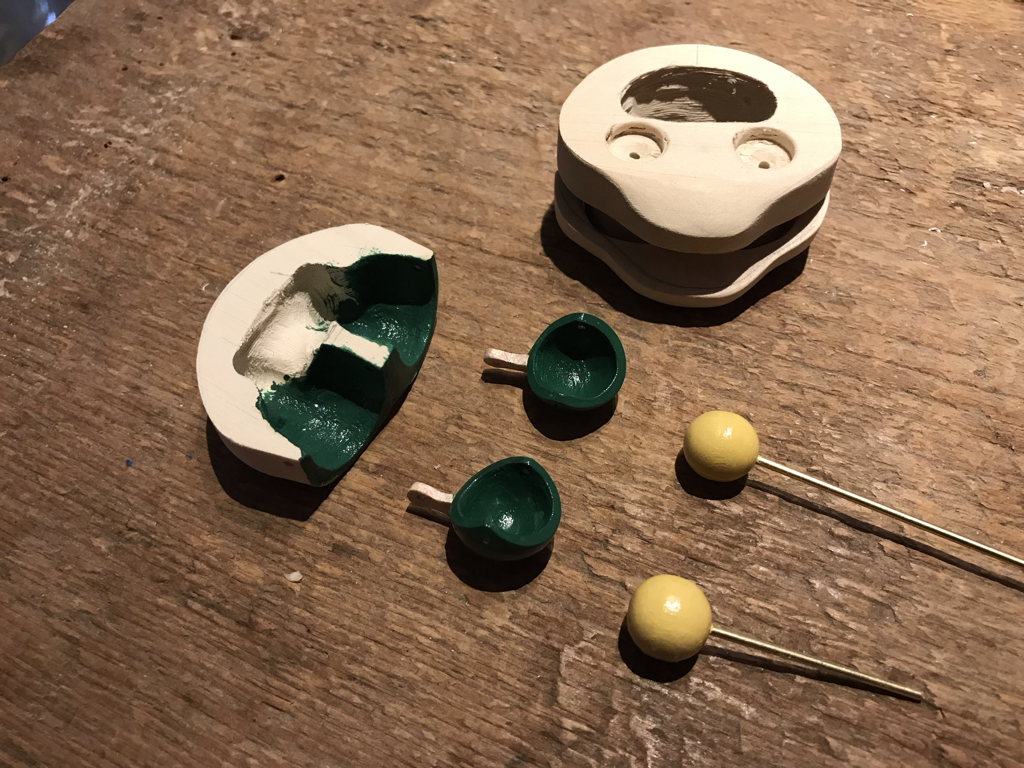
The last post showed a chunk of wood with little description. Well here is the scoop. Often when making automata characters I find it necessary to assemble things as I go to hide mechanisms. This means, of course, that you won’t get at them ever again so you’d better have things right. In this case this little automata frog has eyes at move side to side, a moth that opens and eyelids that go up and down. There is no way to assemble all of this with the body together. This frog body is three pieces, an abdomen, a lower head piece, and a head top piece. The eye, blink and mouth mechanisms have to be assembled before the head pieces are put together. Here are eyeballs lids and top of head with some paint done laid out in front of the lower head piece before assembly. The jaw is temporarily in place, not painted yet. The next photo is a view of the pieces held together to check all the clearances before assembly. The linkages required inside the head can now be fitted. It is often challenging to continue to work to finish the body with linkage wires sticking out.
When I was at Automatacon this spring I saw a wonderful automata of a boy trapped in a glass jar. I was impressed and filed the idea of trying something similar away in the back of my brain. Well it is finally starting to dribble back out.
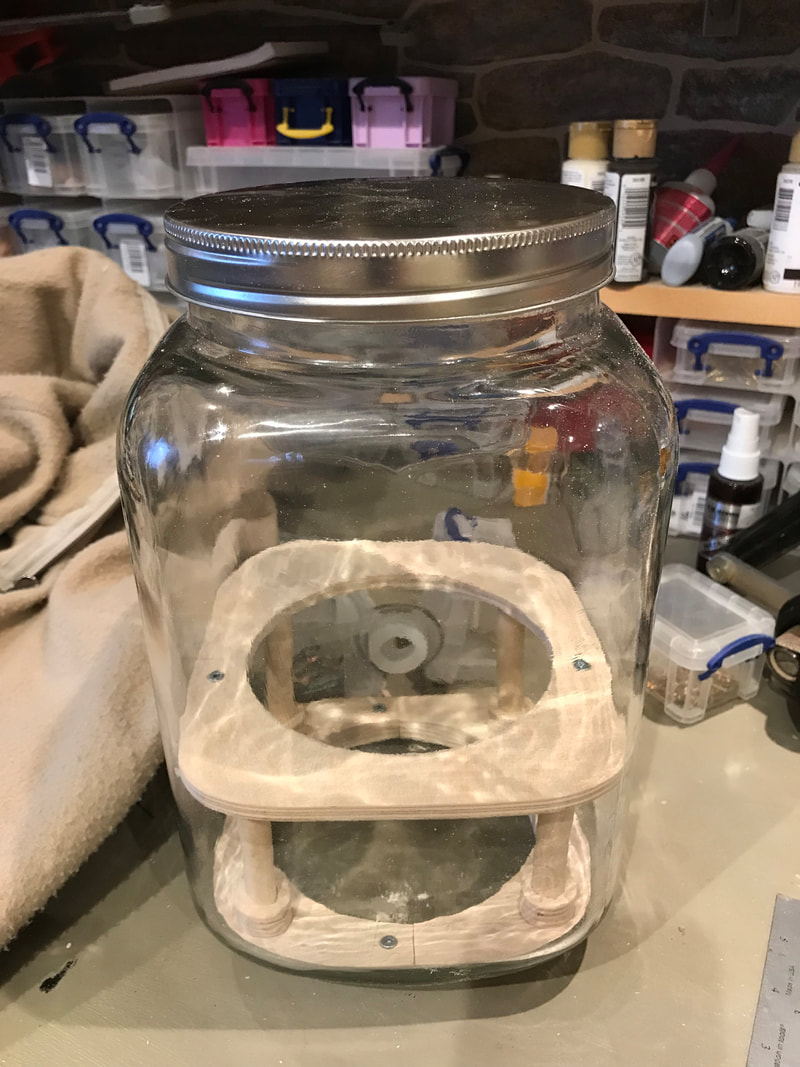
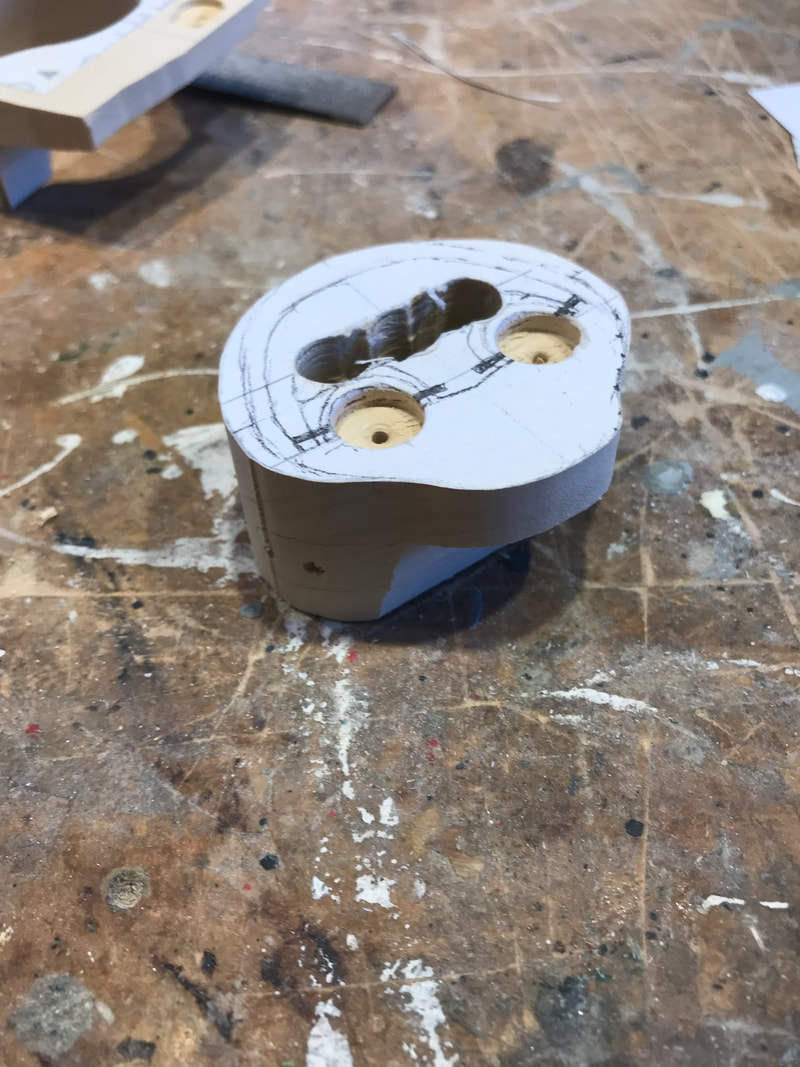
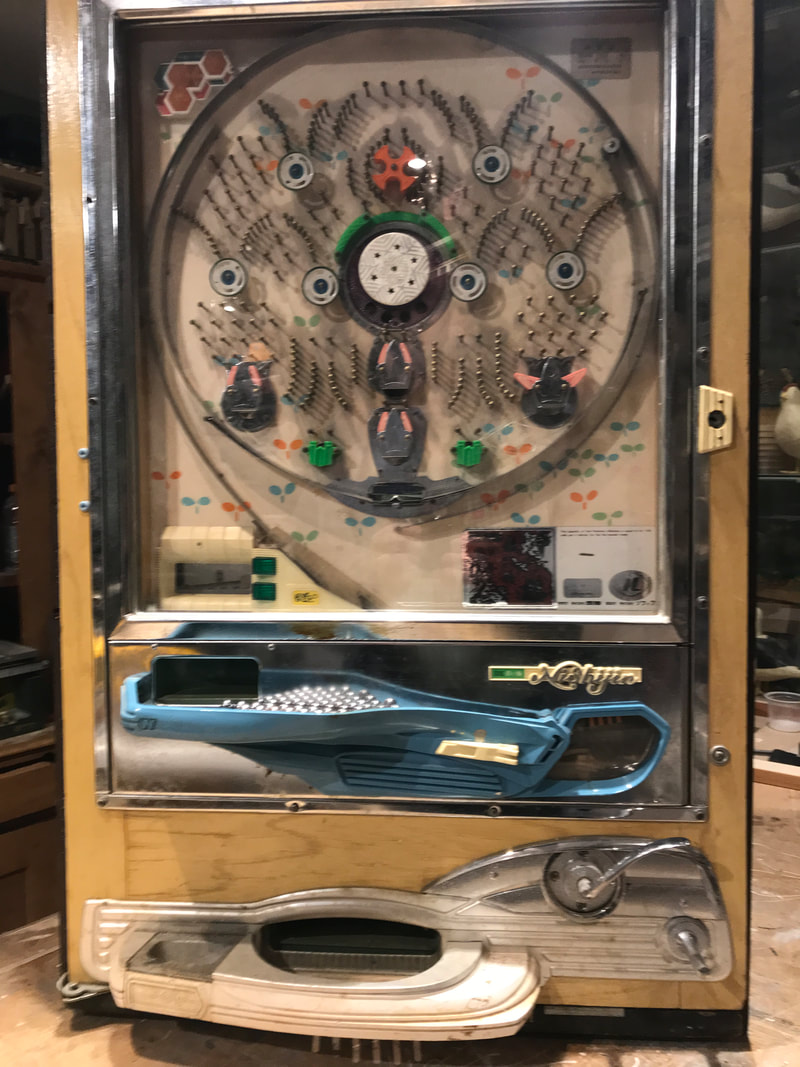
This is a gas container I have found to try something out. It is actually a lemonade urn, the convenience of which is that it already has a hole in the side where the spigot fit in. This will be the entry for my hand crank. Not sure how this will turn out yet. I am sort of making it up as I go along. I don't know the space requirements for the mechanism or the character until I progress a little more so nothing is permanent yet. For now I made preliminary internal structure that will hold the contents that will be fitted in through the lid. Here's a photo of the first steps. For those who love a mystery, the second picture is the start of something that I hope will end up inside. I won't declare anything yet in case it all goes haywire! As my last automata project was nearing completion my brother passed on a Pachinko Machine that had been hiding in his basement for numerous years. It was a fixture in his house in the seventies and amused his three children endlessly. Video games were just getting stated back then so it was quite a novelty!
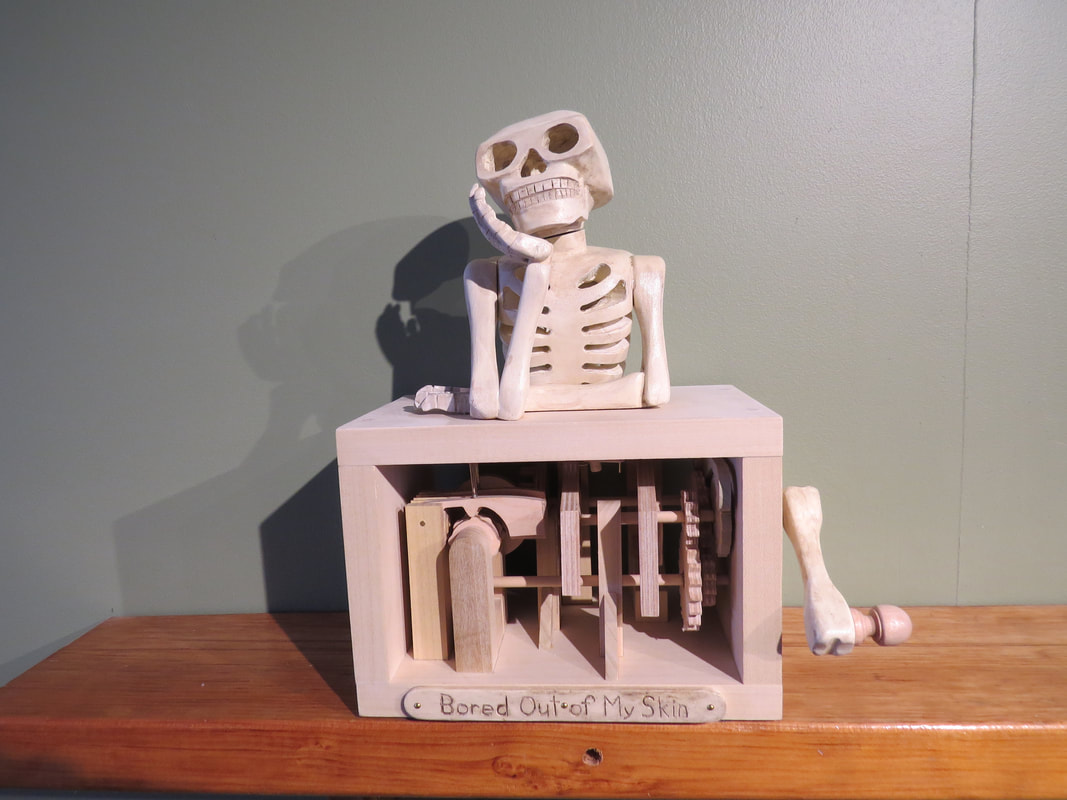
With a little TLC and cleaning it now has been resurrected to former glory and Pachinko balls are clanging around again! You can never have enough Gizmos around! The webpage for my latest automata - "Bored Out of My Skin" is now posted on the website. Navigate to it through the Automata Gallery page.
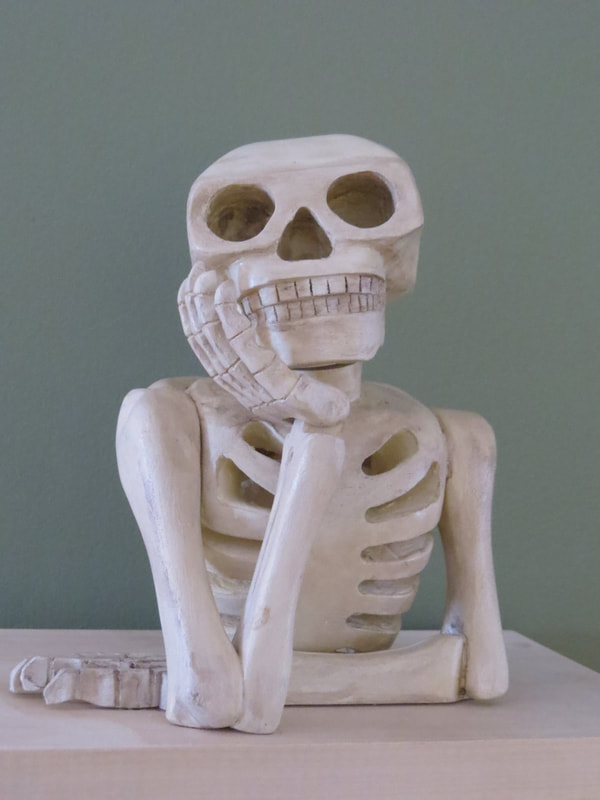
My bored skeleton is now completed. Here's a quick photo of it. I have taken videos and I will post something once I have edited pieces together.
He sits staring into space, idly drumming his fingers contemplating who knows what. He is momentary distracted from his boredom and turns to look at something, but it is of no interest and he returns to his former pose. It’s always time consuming do the final assembly. It was even a little more complicated this time since I miss drilled a bunch of holes in things Sunday! Anyway it’s always a battle for me because I want to see the finished piece work but I know to hurry now can be disastrous.
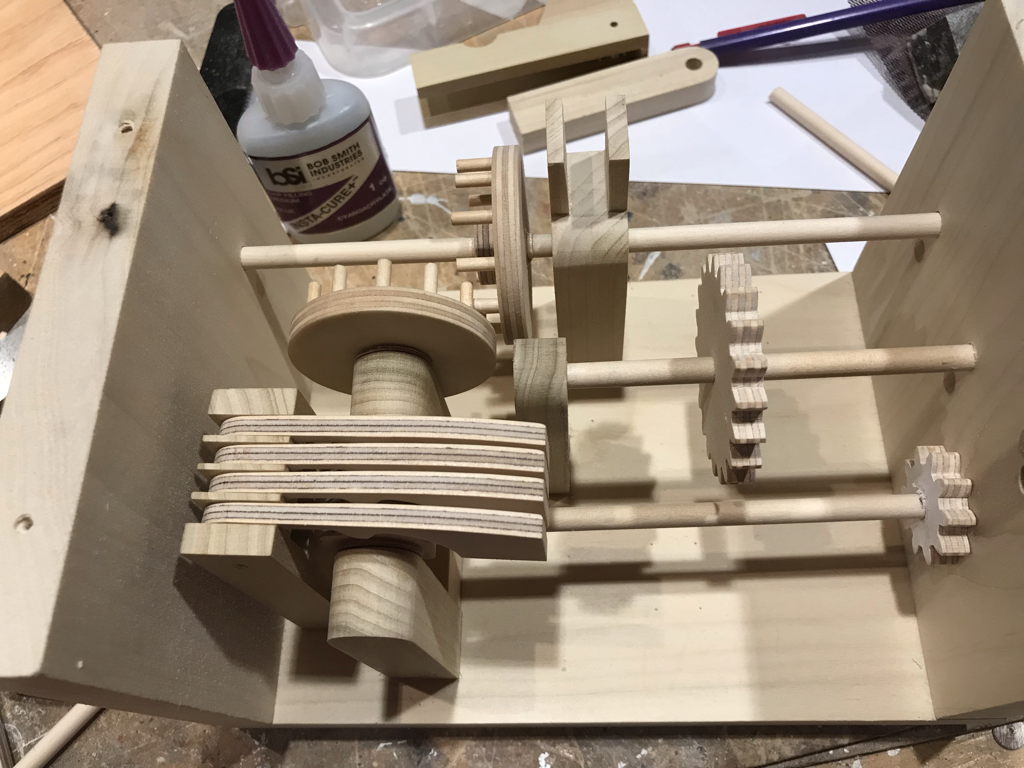
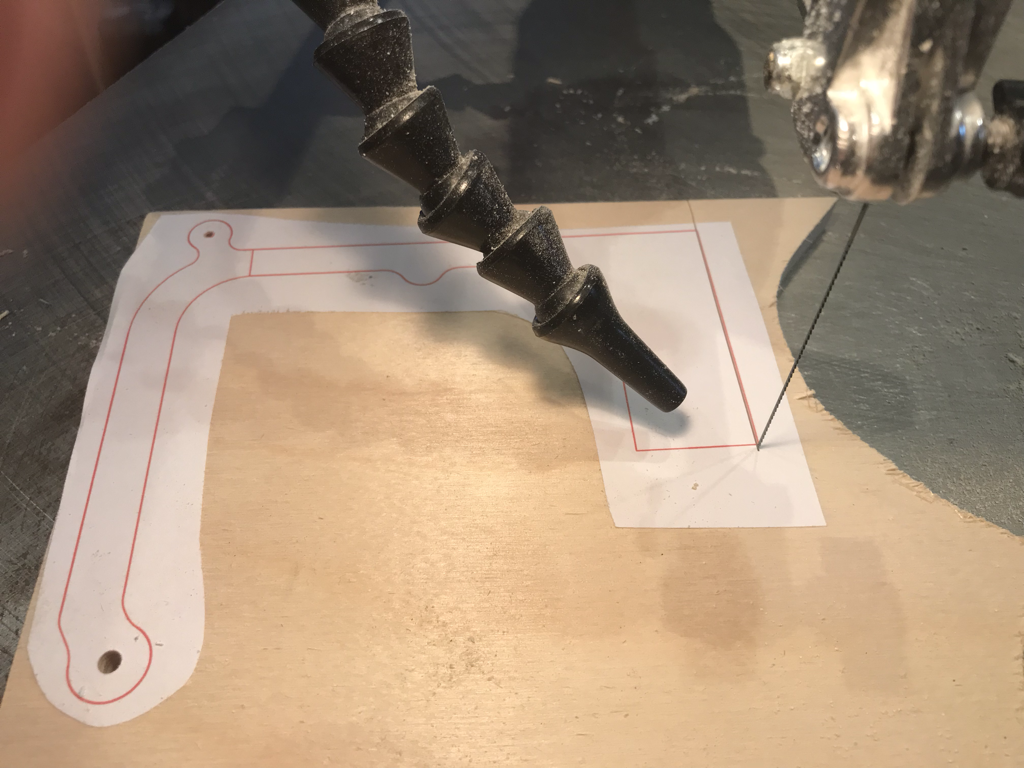
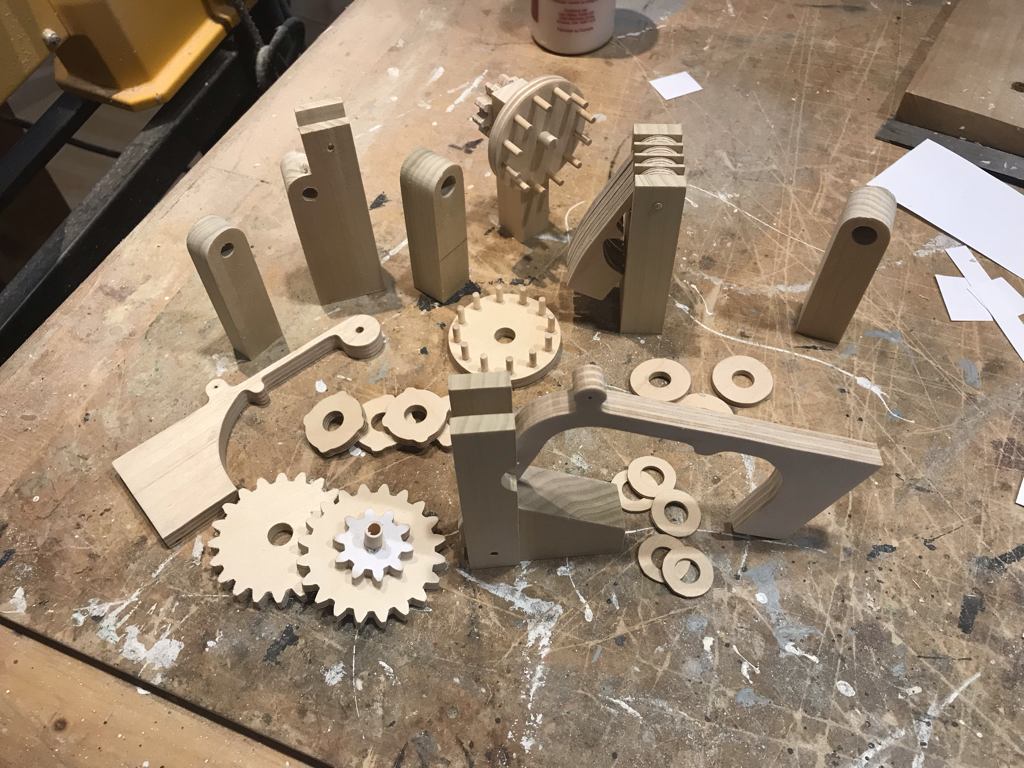
Putting things together in the right order is crucial and I often don’t have it a figgered out until I after I start assembling. I assemble things in clusters making sure things move smoothly. I made gears smaller than I usually do and I had to correct some sloppy shaft centres to get the gears meshing nicely. Up above you can the days progress before I had to head out on other missions today. Back at it tomorrow! Yes I have been working on my “Bored Skeleton” but as I dodged the remnants of previous projects strewn around, I decided it was a time for a major shop cleanup. Two days later a clean and ordered workspace emerged. I even took time to clean and reset my chop saw! But soon I was back at the scroll saw cutting pieces to finish the skeleton mechanism. I always advocate printing templates in red for ease of cutting - easier to follow the line due to good contrast with the blade. You can see that here. Here’s the collection of bits.
|
Why Automata?Automata is a creative blend of my life interests , engineering, art and woodworking. Archives
July 2022
Categories
All
|
 RSS Feed