|
I have finished the design and built the first Raving Fan, an automata piece that I intend to make a plan available to those wanting to take the plunge into building automata. This first Raving Fan configuration is a relentless Toronto Maple Leaf hockey fan. The last time Toronto saw the Stanley Cup was in 1967! The piece is big enough that most hobbyist woodworkers should be able to easily make it from the plan. I've attached a quick preview video of the piece below.
0 Comments
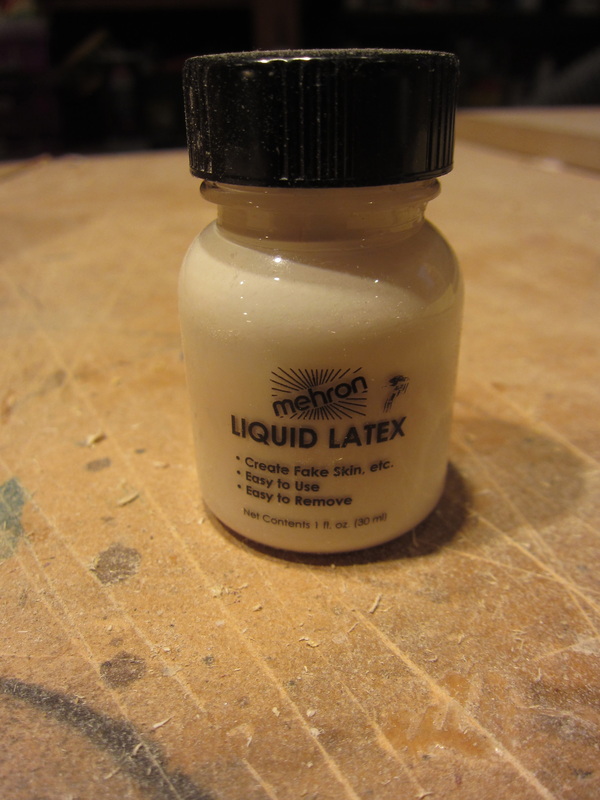
A key step in making automata is assembling the designed piece and ensuring that it lives up to expectations. It is often necessary to provide temporary adhesives to freeze gears and cams in place so the entire mechanism will work. I was unable to find a supplier of a latex adhesive used to England for this purpose and I could see paying to import such small amounts of product to Canada.
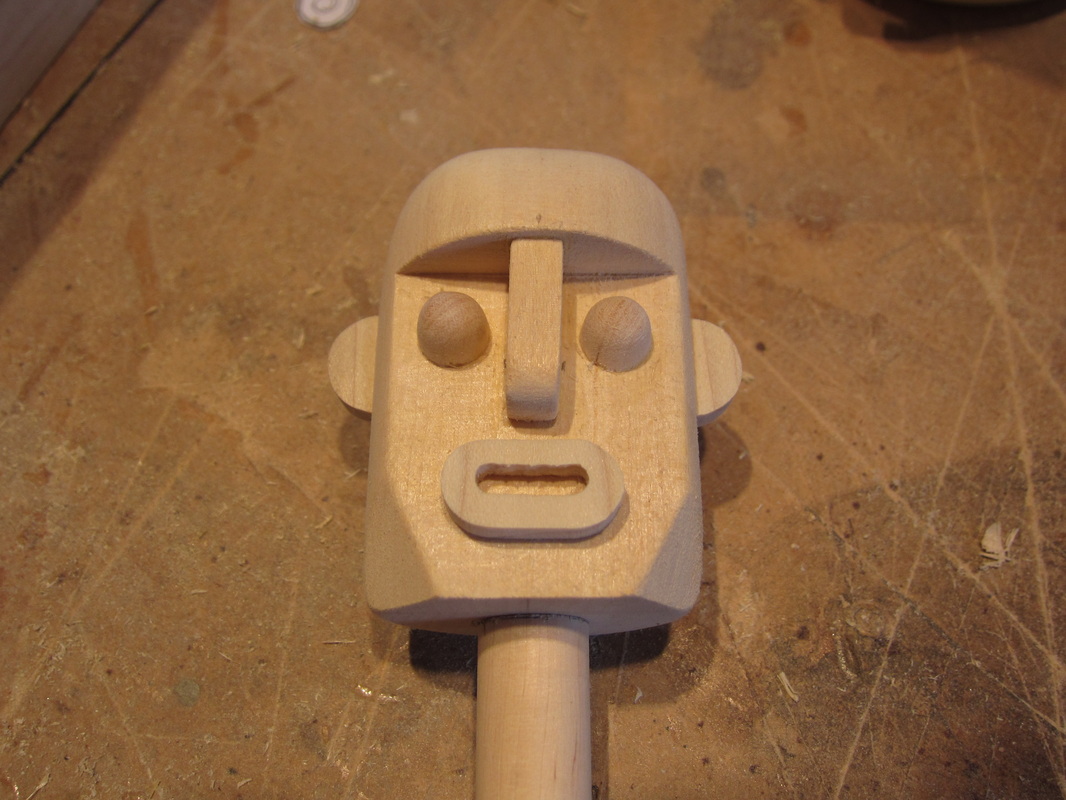
I am often asked about what I use myself so I decided to share my system on the blog site. I use a product called Mehron Liquid Latex. It's most common use is to glue latex masks onto to actors faces. You find small bottles of it at many party or costume stores. Just to help you find it here is a photo of a 1 oz. bottle of the product. I found this one in a blister pack on a product wall in a store. I'm currently working on a simple plan that will allow woodworkers of various skill levels build a simple automata. This is one of the simple head designs that will be an option in the plan for those who are shy of carving. He, or she, will come with different mouth choices. More to
As mentioned in an earlier blog I had the honour of being invited to meet with members of the Durham Woodworking Club to share my experiences in building contemporary automata. On Monday night this week, I spent a couple hours with club members and thoroughly enjoyed myself discussing woodworking and how they operate their very active club.
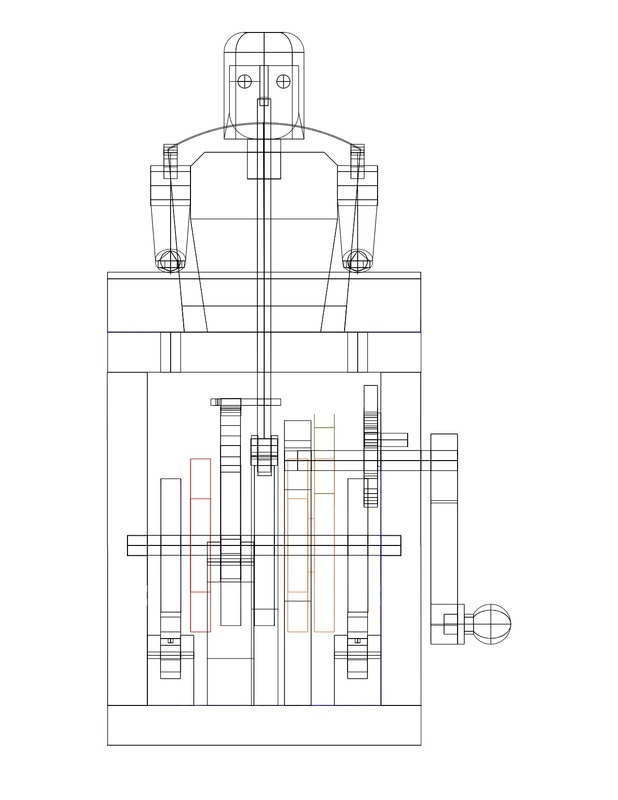
A memorable moment was when I hooked one of my own automata on display and brought it crashing to the floor! (&*#@%$!) Fortunately it landed well and survived the adventure. Thank-you to the members of the club for their interest and the lovely memento of the evening. While I have a few days between other projects and away from my shop I have put the finishing touches on a basic, fairly simple automata design I intend to sell a plan for. I have been getting numerous requests from woodworking folks for something they could build themselves, given some basic woodworking skills. I have come up with a simple person that could be customized to different skill levels. The character can be assembled from cut wood pieces, or carved, depending on the builders skill. The patterns for all the components will be part of the plan. I have finished the CAD work. My next step will be to build one myself to photograph the process for the plan, and to ensure everything fits as designed! The piece is driven by hand cut wooden gears that gives smooth and reliable operation. When completed it will be about 6" wide, 7" deep and about 13" tall.
Two new web pages with the waiting room automata video and photos images have now been posted on the Conquergood Creative website. Enjoy!
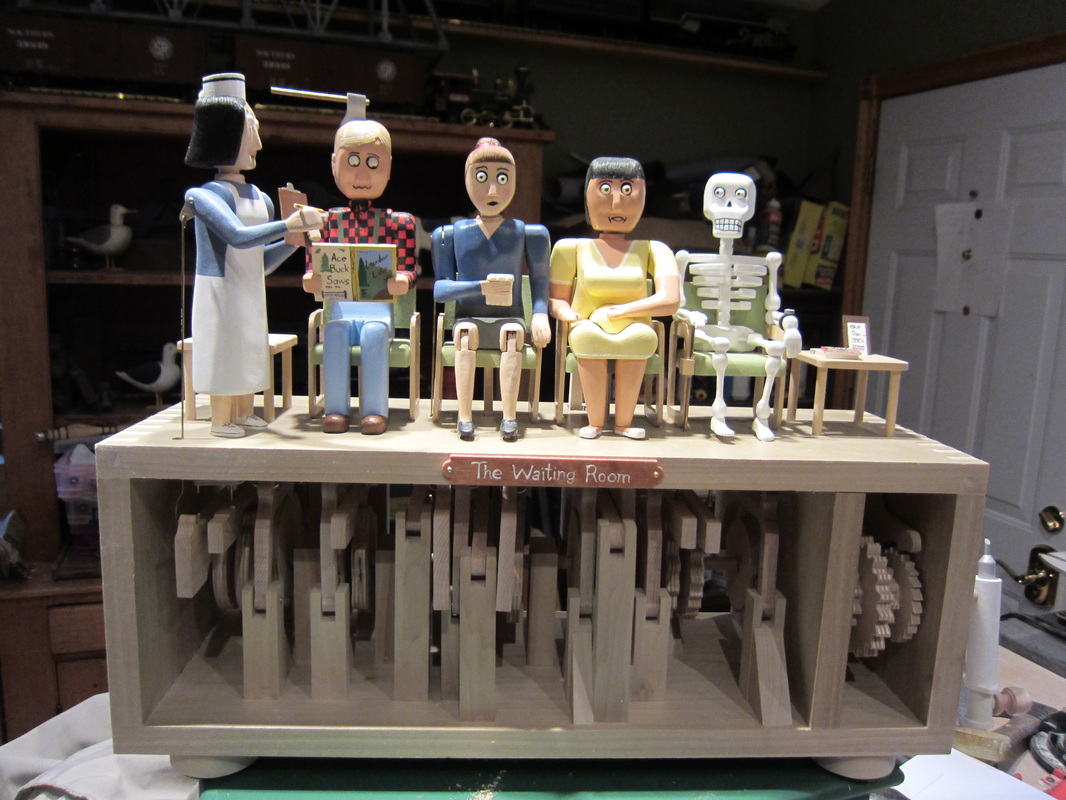
Well after what seemed to be an eternity this week at times my "Waiting Room" automata is completed. I will shoot some video this week and post it to a dedicated page for the project in the Automata Gallery on
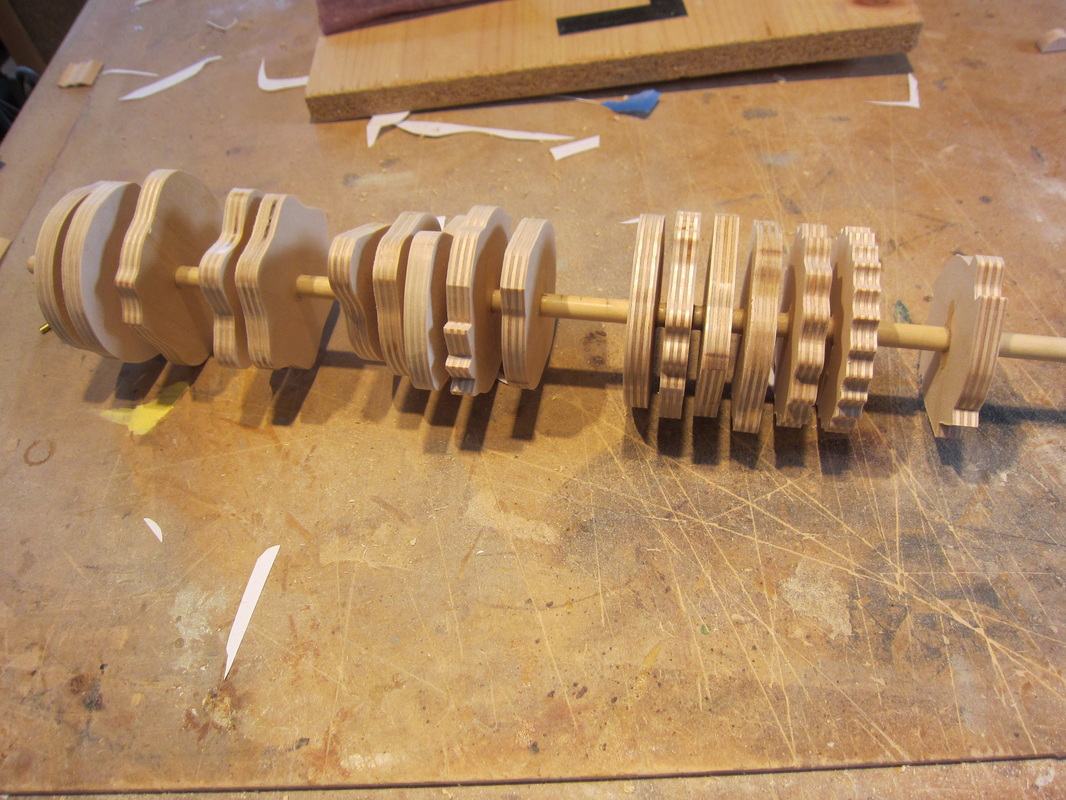
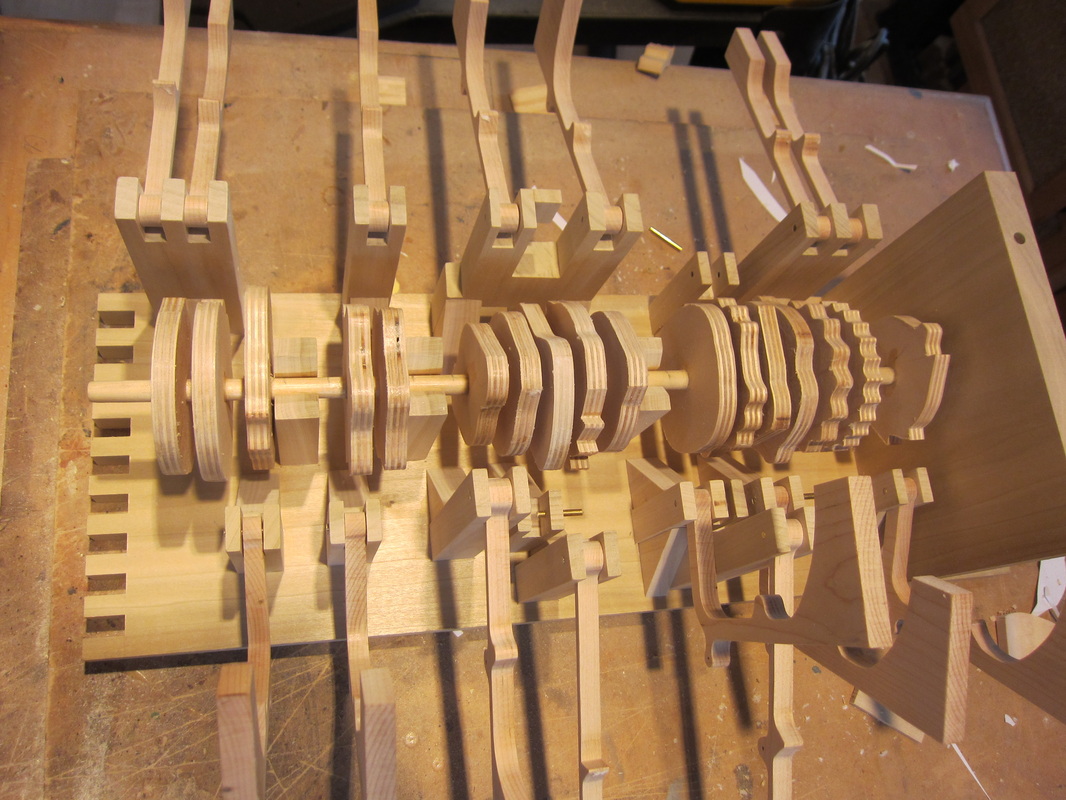
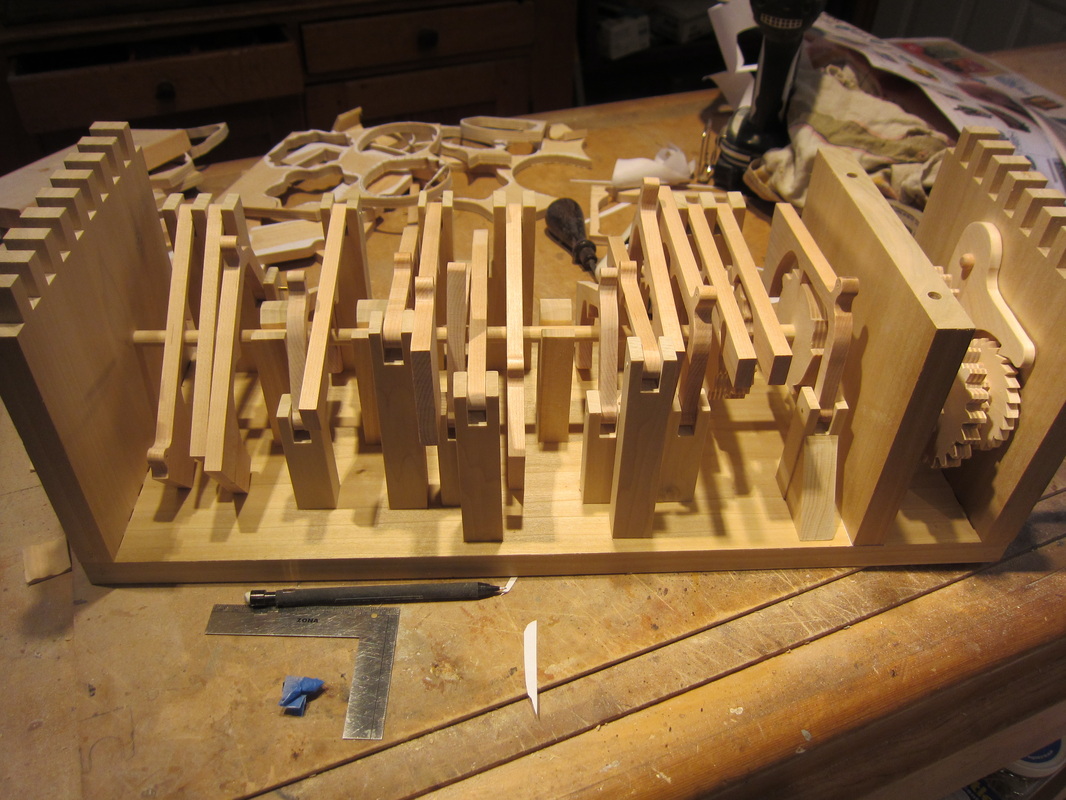
Got the bugs I discovered yesterday worked out today - at least I hope so! I won't know for sure until I install the top works and install the linkages to each of the characters. Here's a short video I took while breaking in the mechanism to check for alignment and and "rough spots". The top has since been temporarily placed on the mechanism and several linkages have been installed. It looks like I will need to adjust the nurse's head movement a little by trimming the cam. Always tricky at this point! Back at it tomorrow! I've also added a few photos taken during the assembly. The first is the camshaft with cams installed. The second is the camshaft installed in the case with the followers opened up to allow assembly. The gearbox is to the right side of the photo behind the the partition wall. The finger joints that fit the left side of the case can be seen on the left.
It always seems to me that things are getting easier on my automata builds, and then just because you thinking it, things go awry. This has just occurred on the assembly of "The Waiting Room". I am having to reconfigure two movements that I had designed - seems there is always a chance to learn from your mistakes.
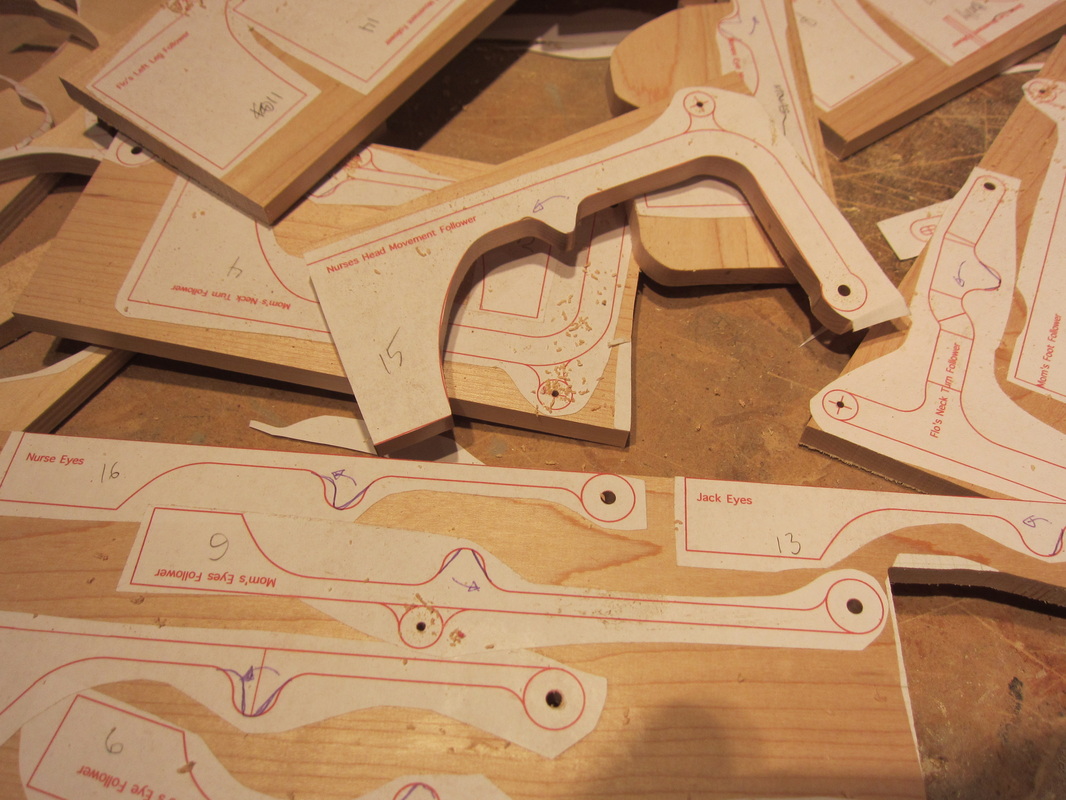
Here is the lower part of the project. The pedestals and followers are shown installed, waiting for the remaining cams to be inserted. Hopefully after a break I'll get all the remaining problems sorted out tomorrow. After cutting the cams for "The Waiting Room" the next step was to curt the remaining followers. They are the arms that ride along he cams and impart motion to the linkages that make the characters move. In this piece the followers are all cut from 3/8" thick maple. I often use either hardwoods or plywood for the followers. This pile is waiting to be cut after the templates from my CAD system have been "tacked" onto the stock.
|
Why Automata?Automata is a creative blend of my life interests , engineering, art and woodworking. Archives
July 2022
Categories
All
|
 RSS Feed