|
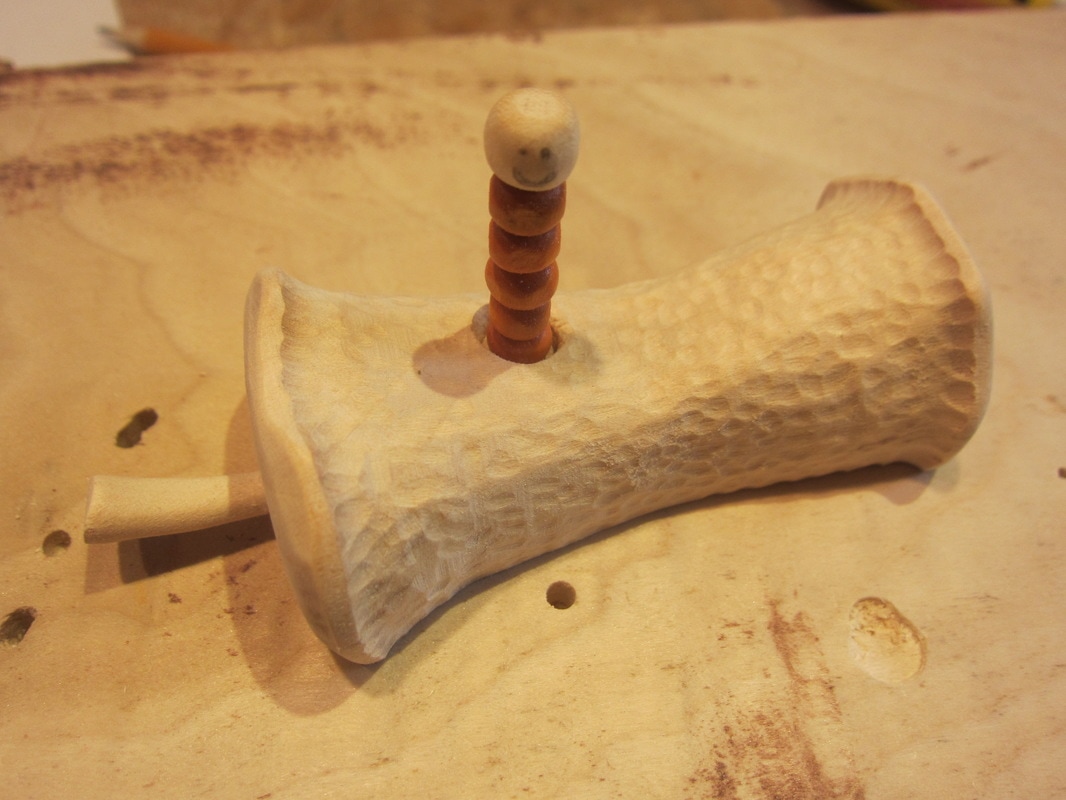
I expanded the scope of the project to include a second baby bird, (a few posts ago), a discarded apple core, and a few more worms. Here is the apple core, waiting paint, with a prototype worm in place.
0 Comments
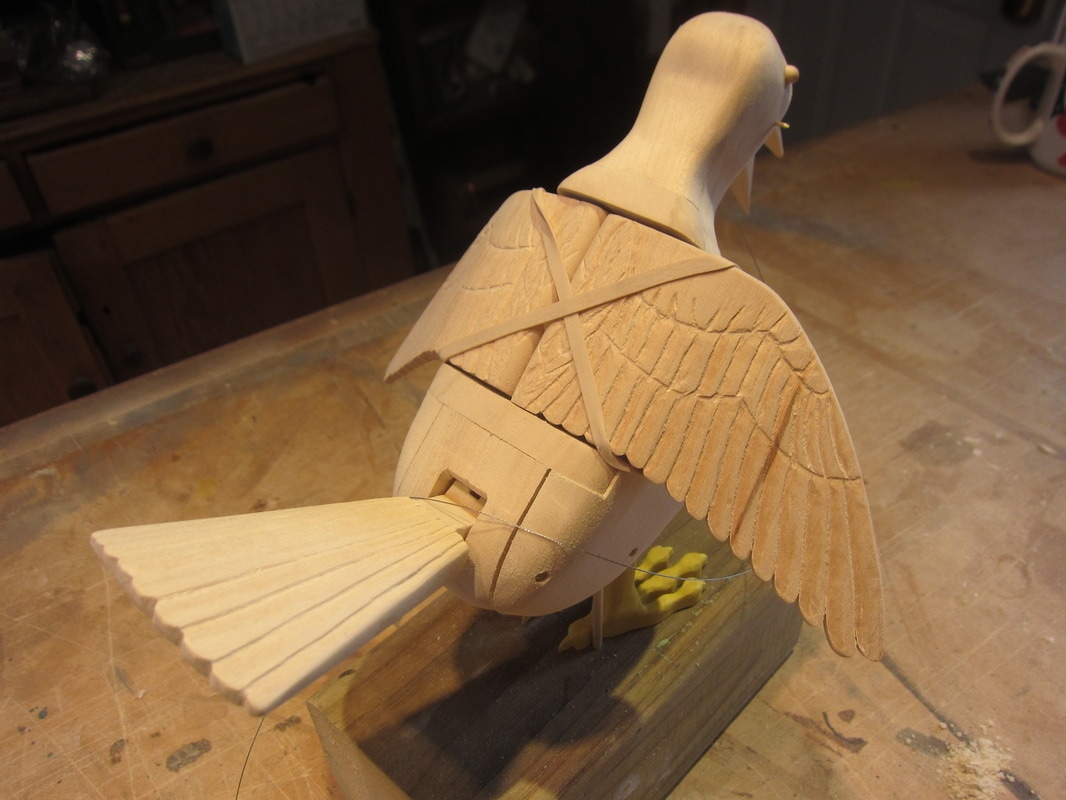
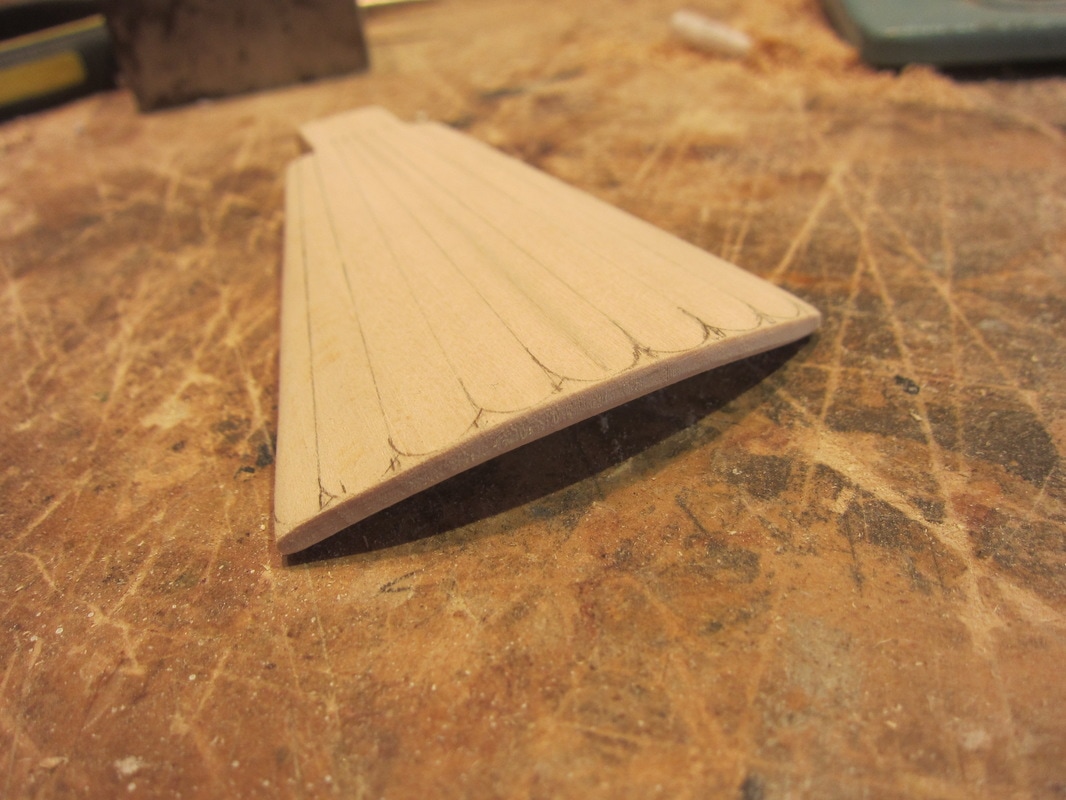
aI know I haven't shown any photos of the wing construction, but here is a view of the Sleptin beginning to take place. ( I'll followup later with a post of the wings.) I put some detail on the wings for effect, but as I have stated before I choose not to go too far since the rest of the character is not as detailed. The elastics are holding the wings in place since the hinge pins cannot be installed until later.
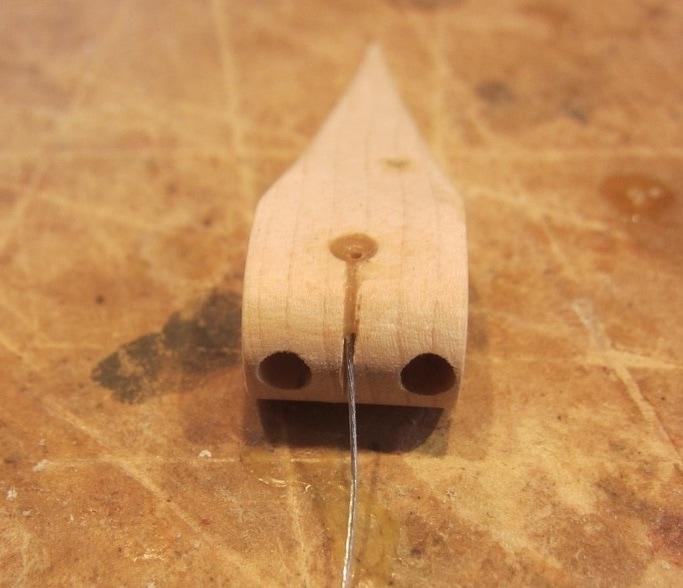
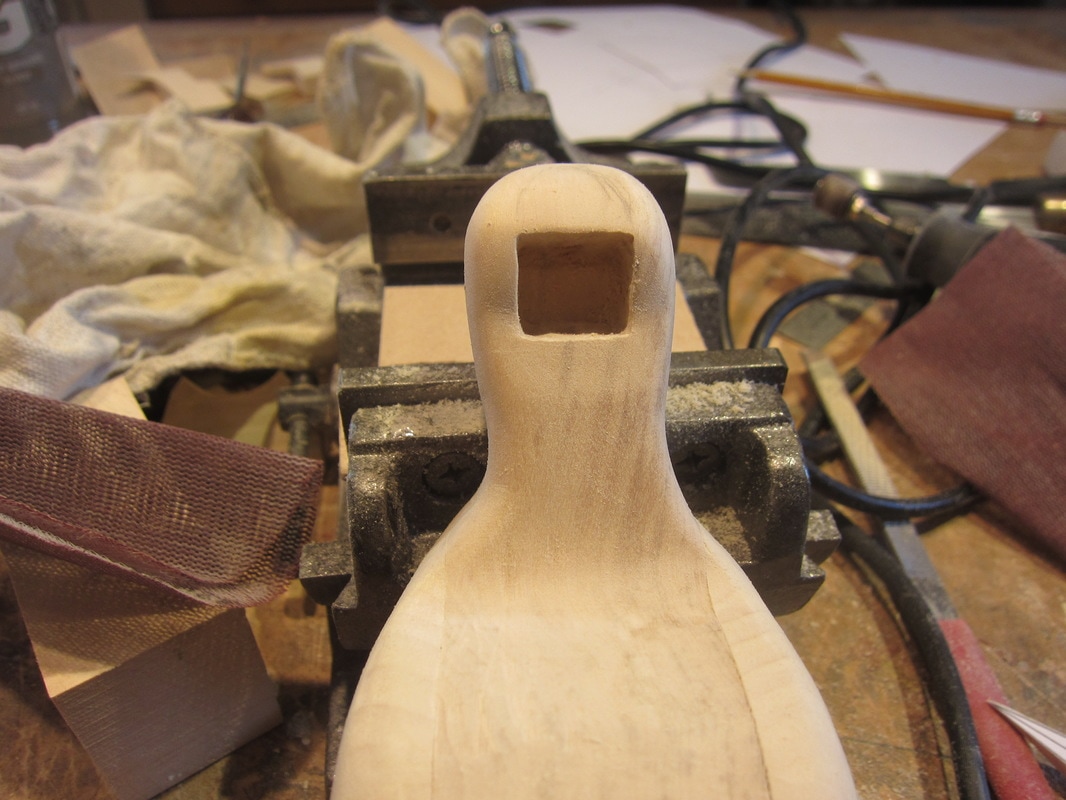
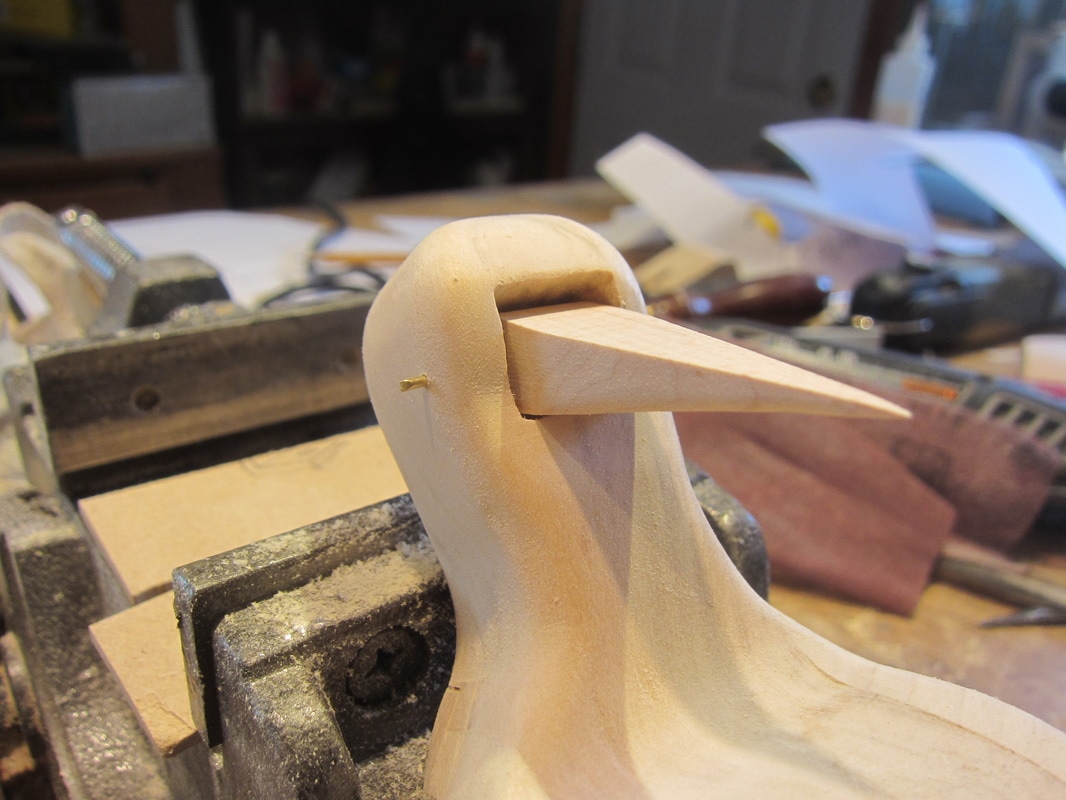
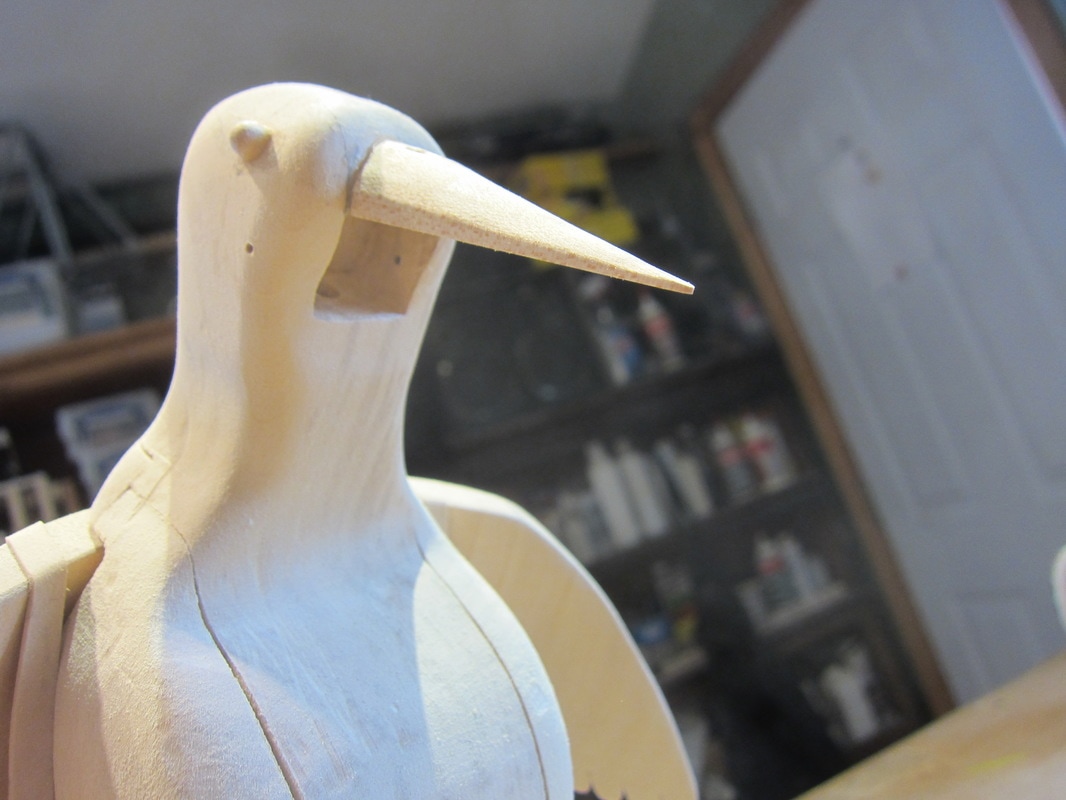
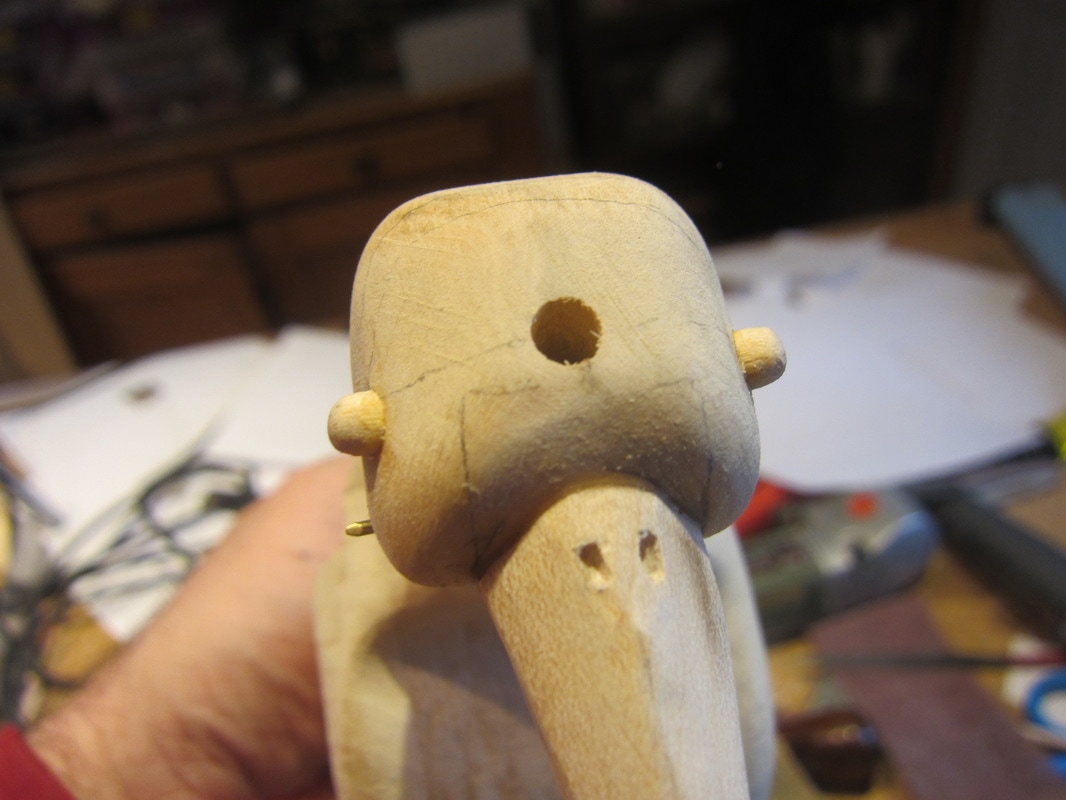
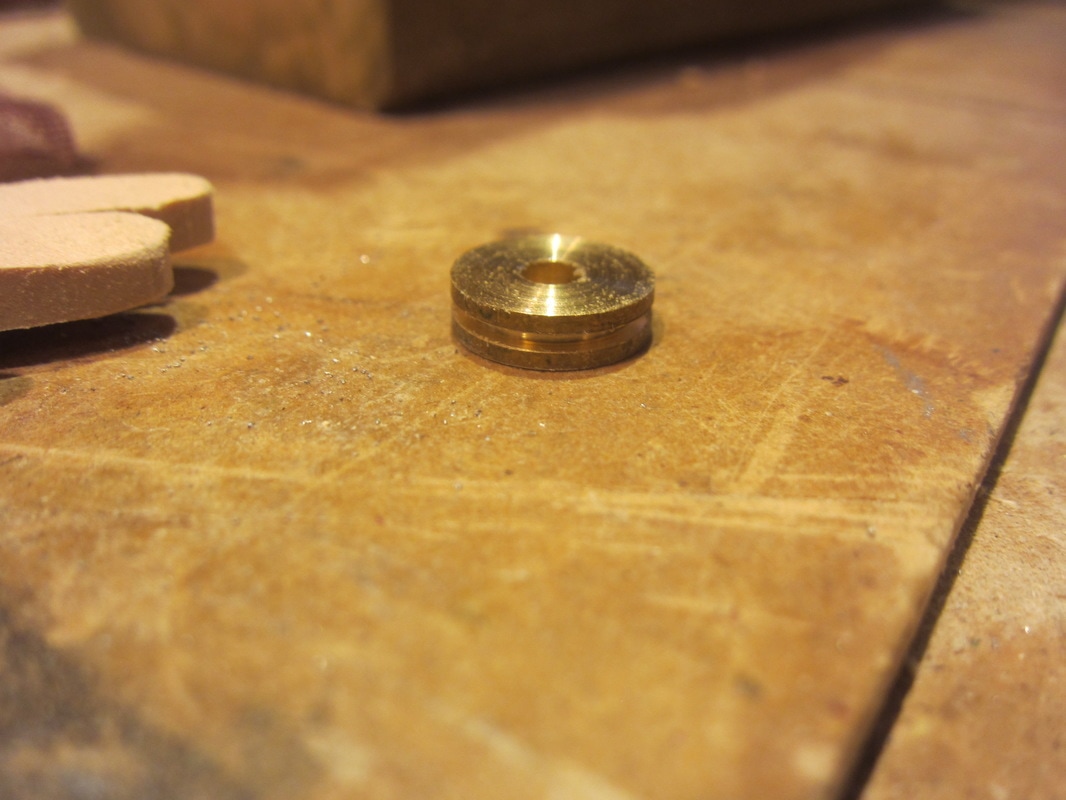
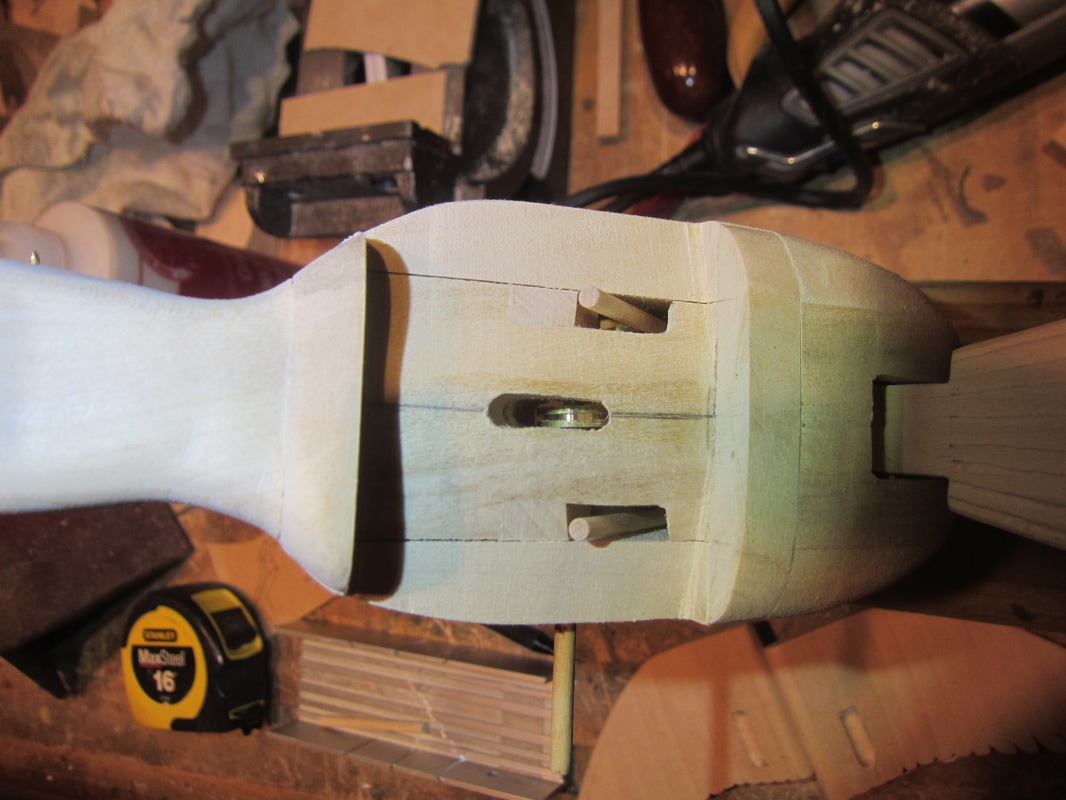
In the photo you can see the beak wire loosely wrapped around the bird. I'm going to switch things up for a bit and give the bird a rest. I'm going back into the shop to build some pieces of the mechanism. Talk to ya later! The Sleptin will have a mouth that opens and closes to snap at a worm. As with a lot of automata movement it is helpful to use gravity in the design to move things. Sometimes though, as in this case, the lower beak is very light and will not be heavy enough to fall open easily by itself, so the trick is to add pieces of weight into the beak to add to its weight. In the photo below you can see the lower part of the beak with two holes drilled into it from the back. They are just over 1/8" in diameter, the same size as little lead weights I frequently use. The weights are slid into the holes to a point past the fulcrum of the beak. There is no need to fill the holes as they will not be visible when in place. I always put a few drops of glue down into the holes to secure the weights in place. When this photo was taken I had also secured the cable that will operate the beak. I use a teflon coated stainless steel wire that is available from a local craft store where they sell beading supplies. I pass one end of the cable through a crimp ring, loop it around and through again, and then crimp the ring, and then I cut off any cable end remaining. I drill a small hole in the upper part of the beak and cut a small slot for the wire to wrap over the back. Once in place I bury the crimp and a little of the cable in glue to secure them. The first operation for installation is to square up the hole in the front of the head for the beak. It must be shaped to allow the beak to go to an open position easily and close onto the top beak The next job is to make the upper beak and glue it into place above the lower one so they align went shut. In the photo on the right you can see the hole that was drilled down from the head into the body for the cable. this hole will be filled in and finished during assembly. The last little piece of the beak operation inside the bird is the roller for the cable. It is located on the axis of the tipping action, redirecting the cable down into the mechanism. This piece is made fro brass. Sometimes I make wooden rollers, but as this will rub on wood to constraint it I opted for brass for this difficult to get to place. The photo on the left below shows the roller, and the one on the right shows it in place in the bird. So when done thread it all together, pin in the beak, and voila! - pull the cable and close the beak! gravity pulls it open when released. I love it when a plan comes together.
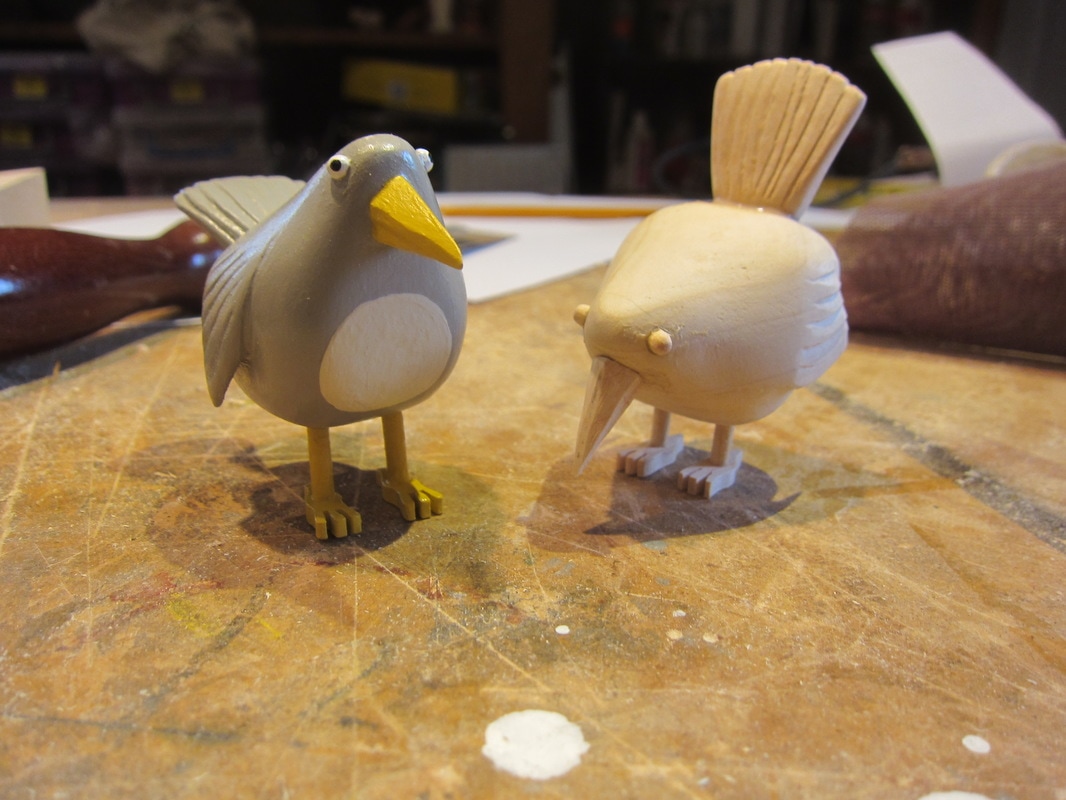
I decided to add a little more activity to the project which incorporates another baby bird and a few more worms! Here's the latest little bird, yet unpainted, with their sibling. He/she has their nose to the ground. Neither have names yet.
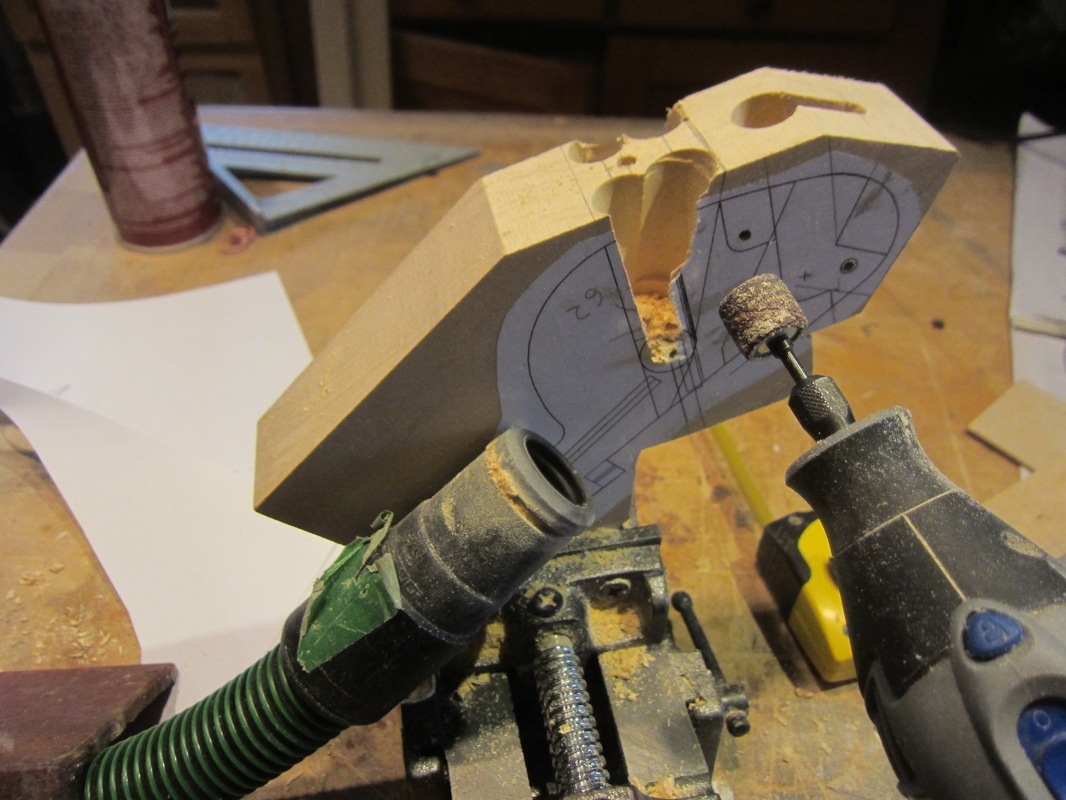
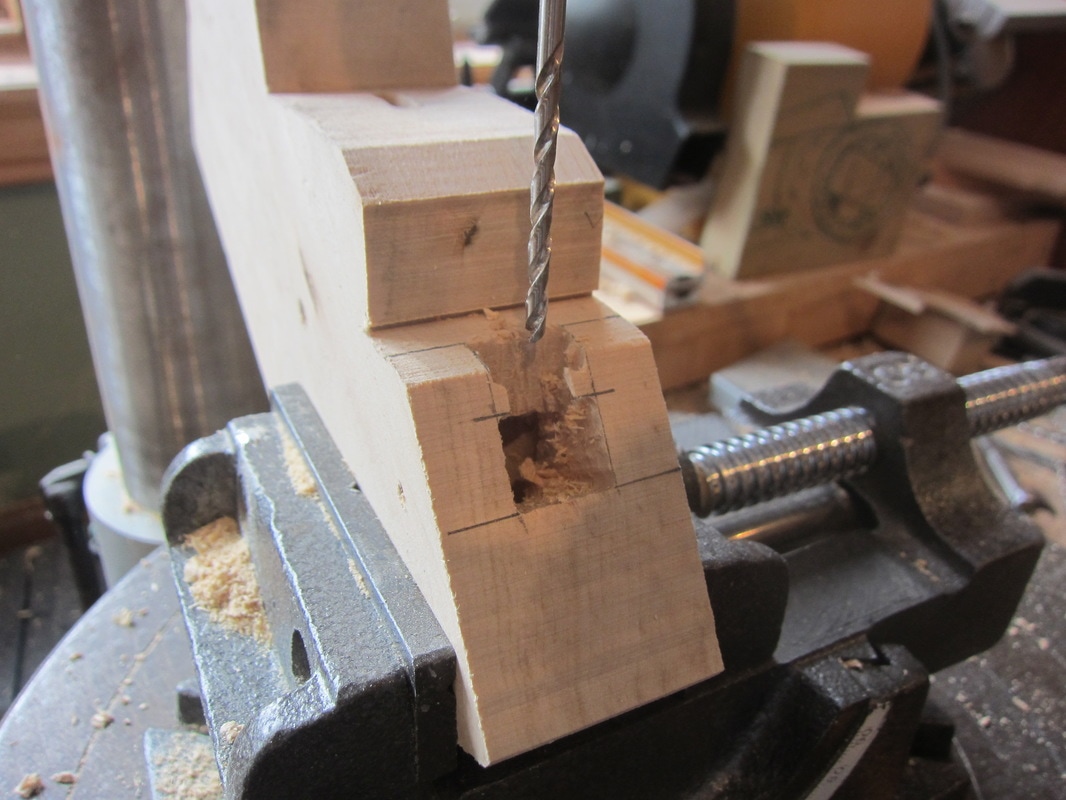
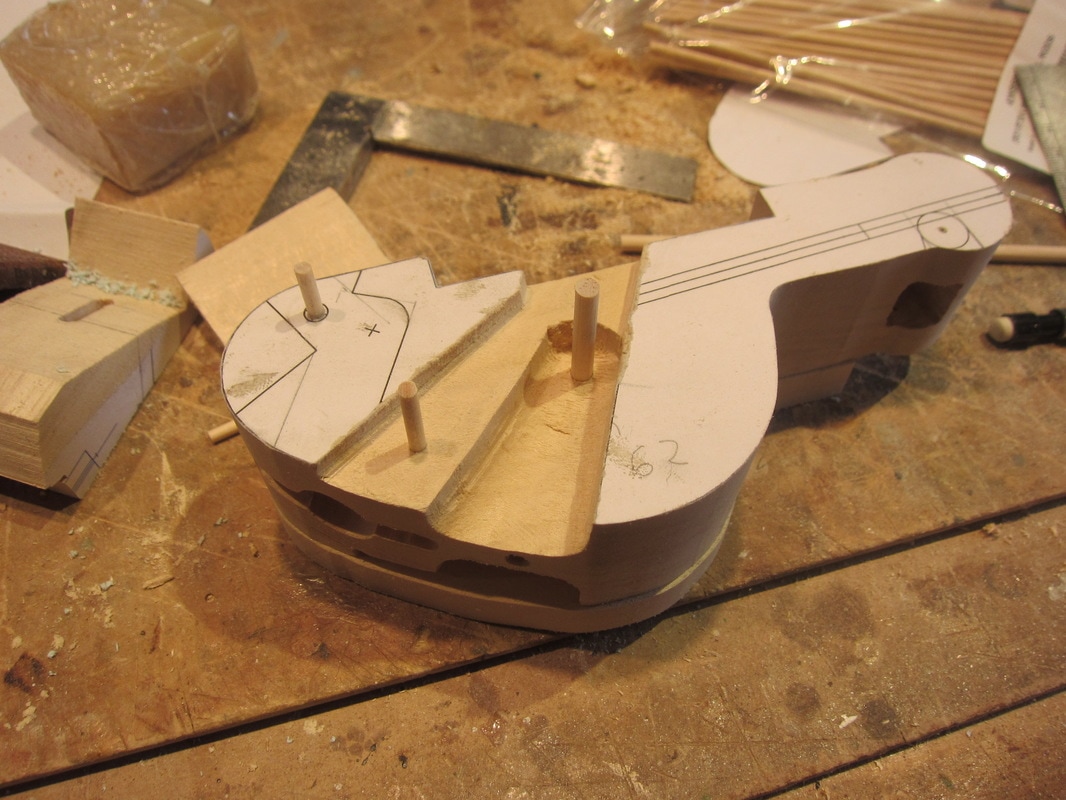
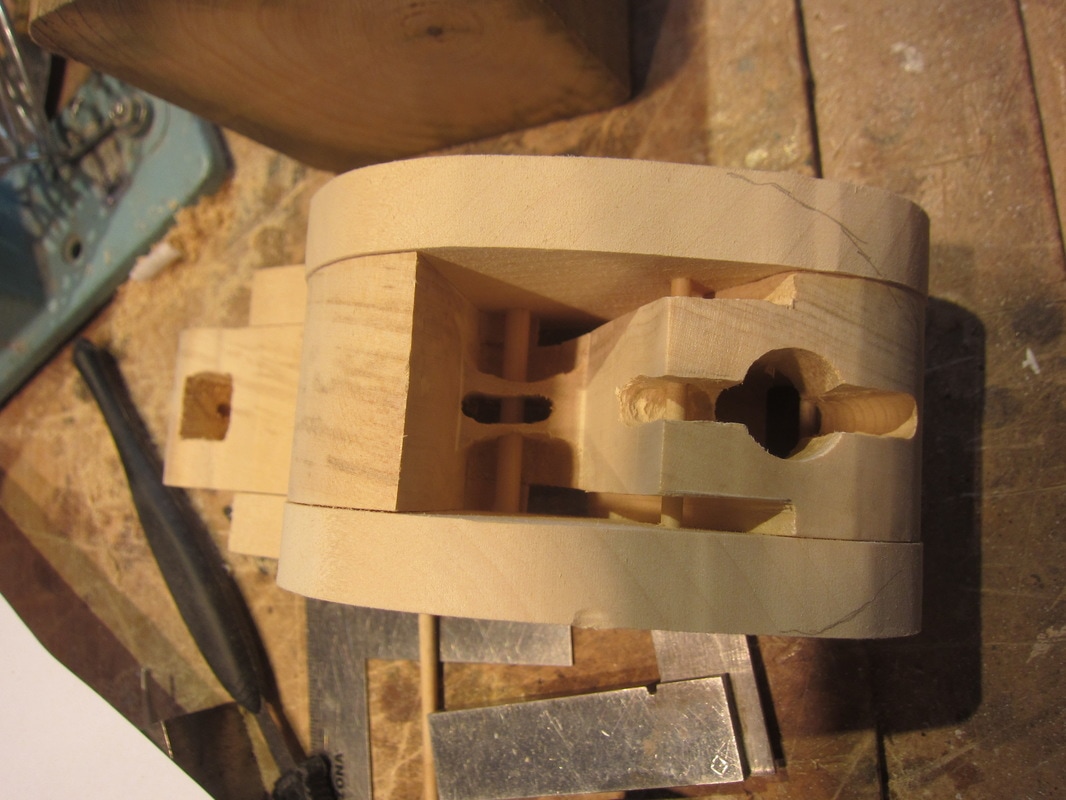
As promised I was working in the shop on my current project, busily snapping photos along the way. However in a classic seniors moment I forgot to take my camera with me on a short sojourn which meant I could not download pictures to the blog. I wasn't idle though as I spent more time working on CAD dimensioning of some critical parts. Anyway here is a collection of photos taken while building the big Sleptin bird. There are lots of cavities for linkages and moving bits. It took about four hours of patient drilling and cutting to avoid any serious miscues. It's not a time to hurry. More to follow.....
Back from Kitchener/Waterloo. Had a great time despite having a debilitating cold. Sorry to those who came by late in the day when I had lost my voice. Regardless we met lots of great folks, saw some beautiful carvings, and introduced automata to some new folks. Special thanks to Zenon Gawel for hosting us at the show. 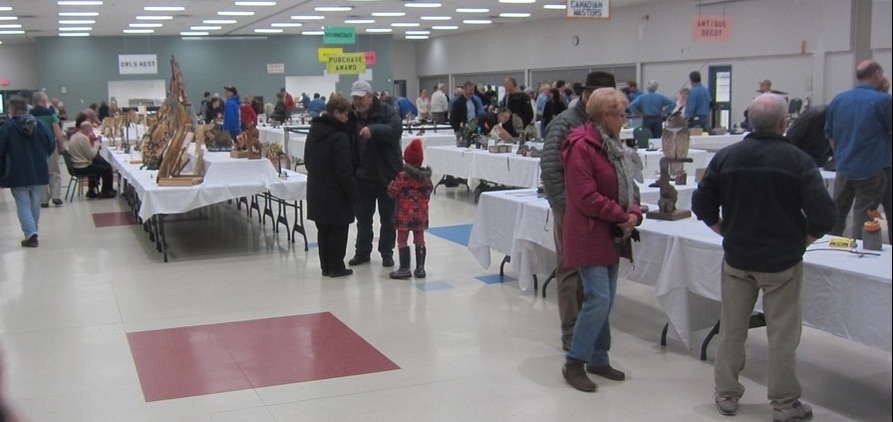 Still suffering a little from my cold so I'm working on my CAD design of the detailed Sleptin mechanism for the next few days. There's nothing worse that filling yourself with sawdust when you have cold! I expect to be back not the shop in a few days.
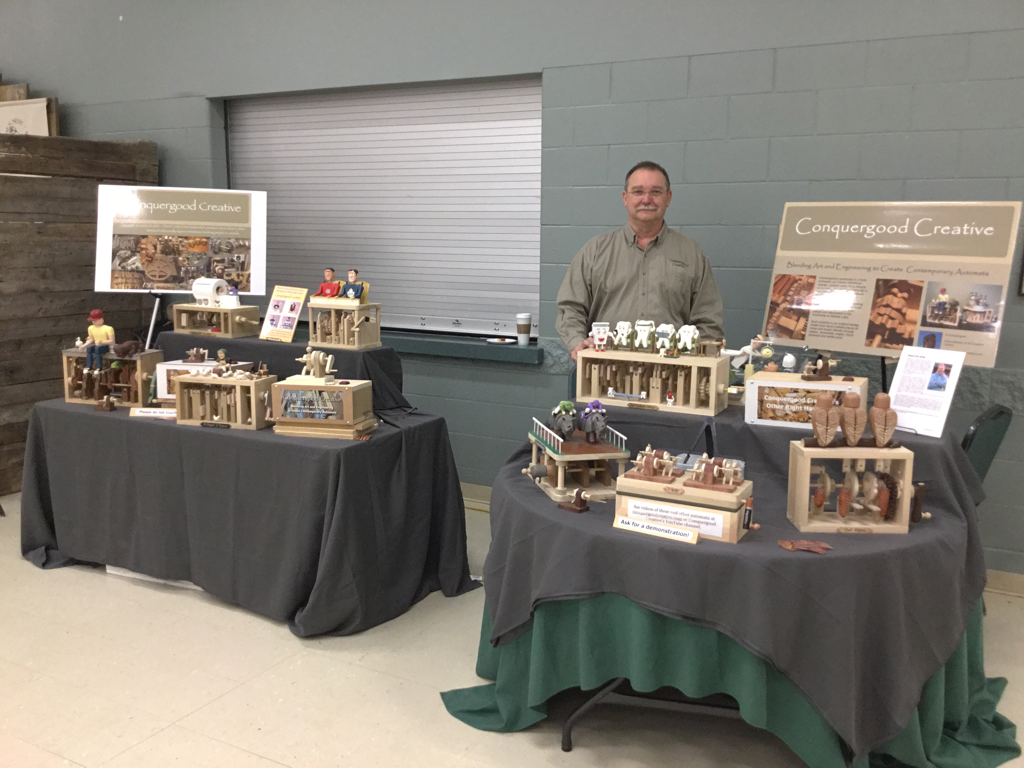
So here is the Conquergood Creative setup at the Canadian National Wildfowl Carving Championship/Grand Valley Carving Competition in Kitchen/Waterloo in Ontario. I don't compete here but attend just to show my automata and chat with folks about the craft. My wife and I enjoy meeting people curious about the craft.
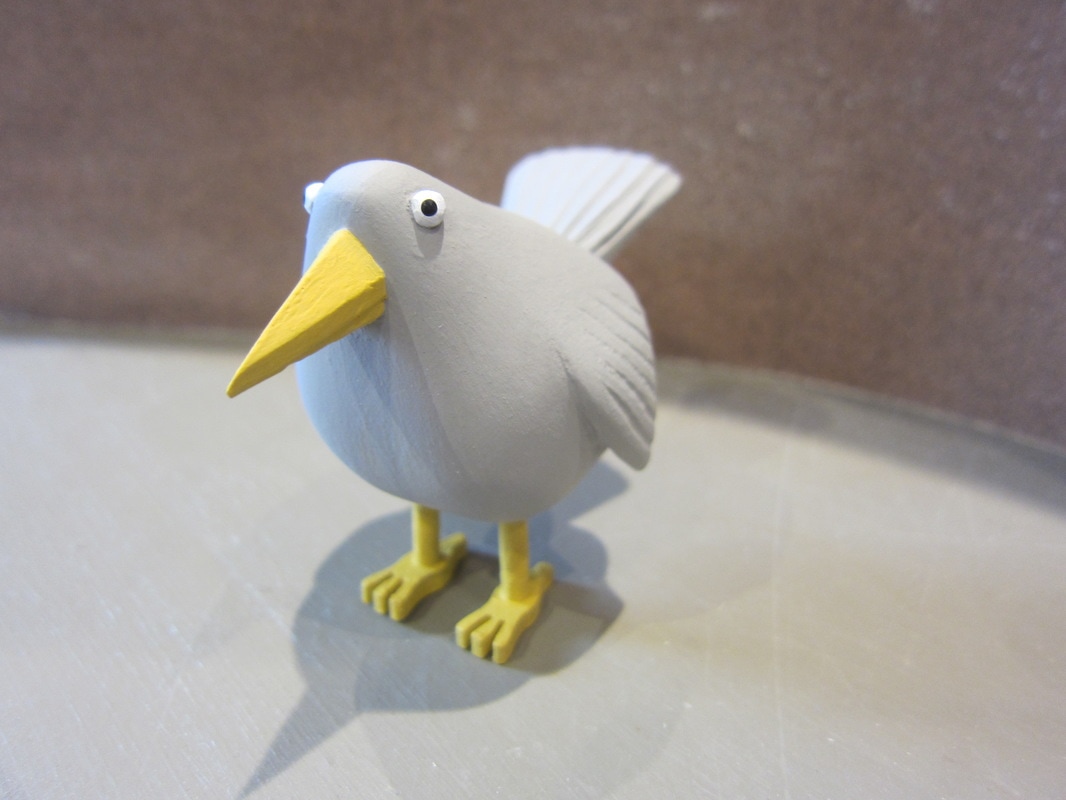
It seems as if a baby North American Spletin has appeared as an addition to my current project. I spent a few days on the weekend building boats and helicopters for my grandson's epic simulated battles only to find this little baby Sleptin emerging from the scrap basswood bin. Immature Sleptins don't display the longer necks and knobby knees characteristic of the adult birds.
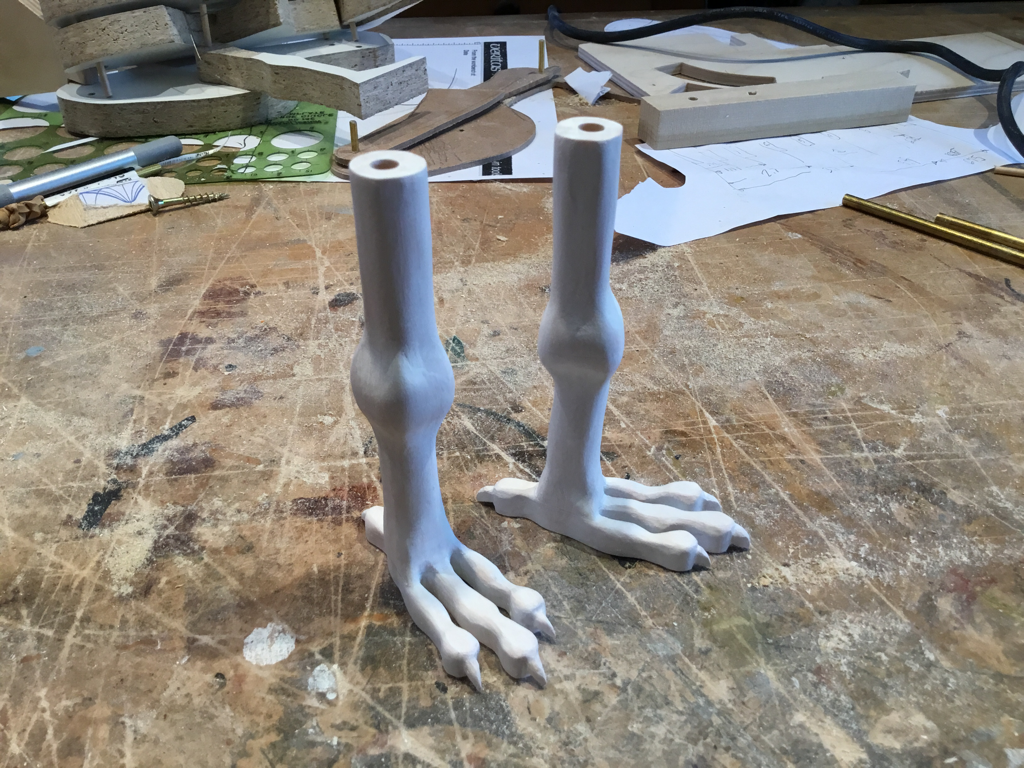
There is a rumour among video gamers that Baby Sleptins are the birds that inspired the look of the popular "Angry Birds" characters. It might have some credibility since some video gamers seem to stay up late to play and therefore can be a little sluggish in the morning, just like the North American Sleptin. Oh well, it's just a rumour! A little time in the shop this morning and I was able to finish my second Sleptin leg and apply a sandable sealer on both. A North American Sleptin has particularly large feet. It is an evolutionary feature that allows it to hold down wrappers when feeding in Fast Food restaurant parking lots. It's easy pickings for someone inept at catching worms. Unfortunately you still have to arrive early to beat the seagulls.
|
Why Automata?Automata is a creative blend of my life interests , engineering, art and woodworking. Archives
July 2022
Categories
All
|
 RSS Feed