|
Here's a prototype component for my current project. It is not often I paint a prototype, but for some reason this time I was motivated to do it. There's only a hand here so the executioner remains a mystery, although the victim is a little more obvious. Now I've got to get back to making more chickens and working the mechanics out! Happy New Year! Al 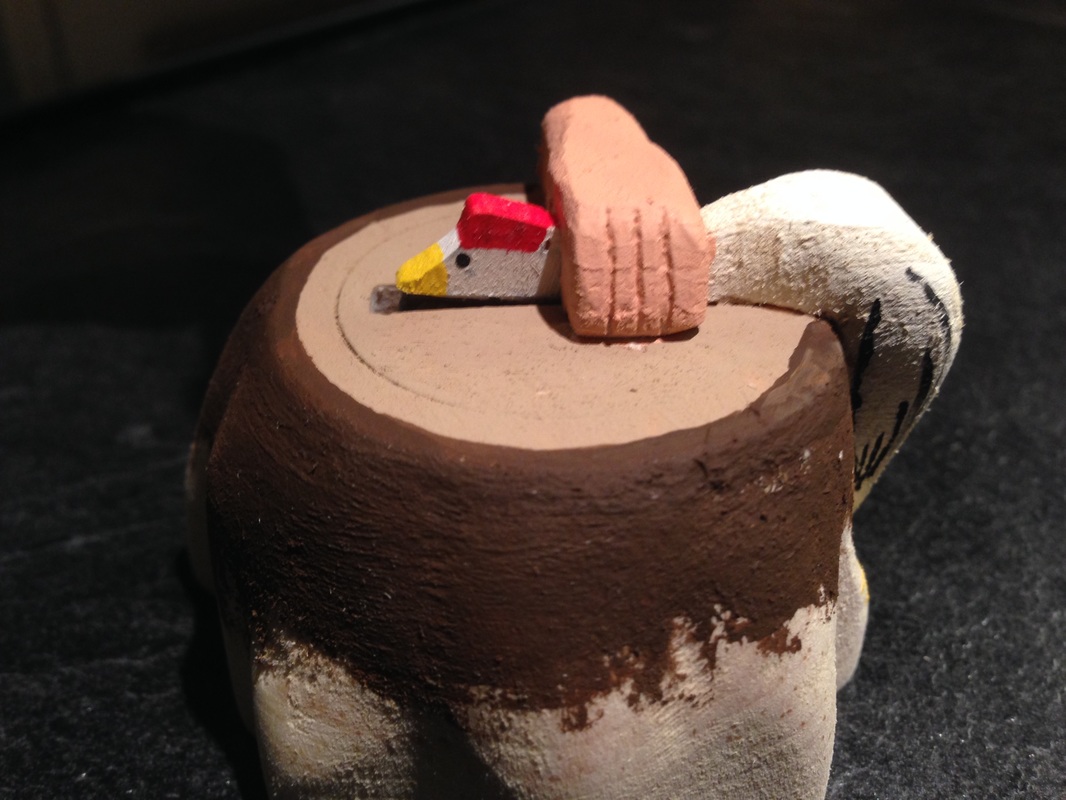
0 Comments
Chickens are progressing along as evidenced by this photo of chicken bodies in various states of completion. Some are yet to be rough carved, some are carved waiting for sanding, and some are finished. The hole in the centre bottom is for the rocking mechanism attached to the legs and the one near the rear is for the pull rod to control the motion. 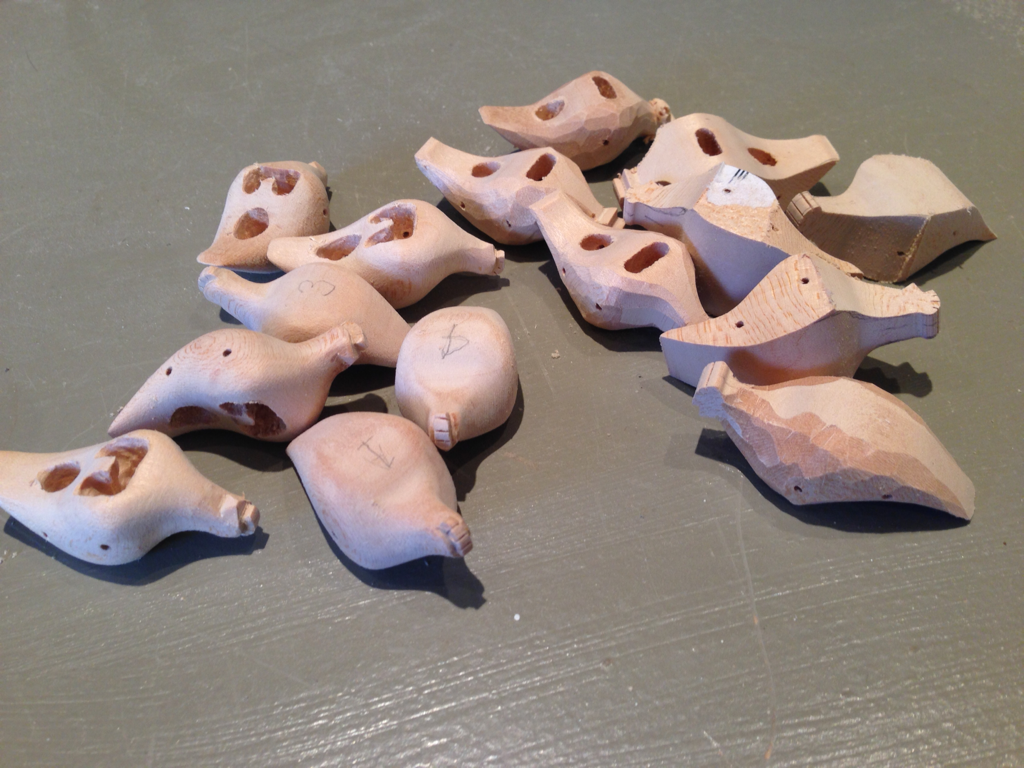 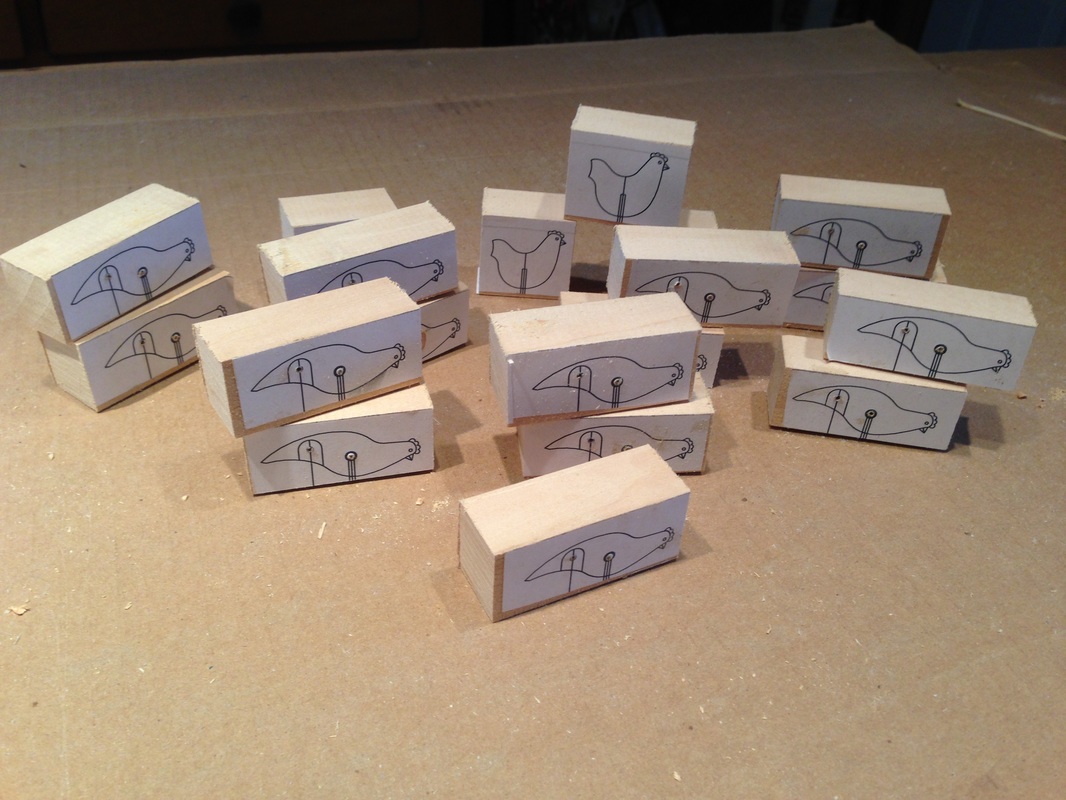 Then off to the scroll saw..... 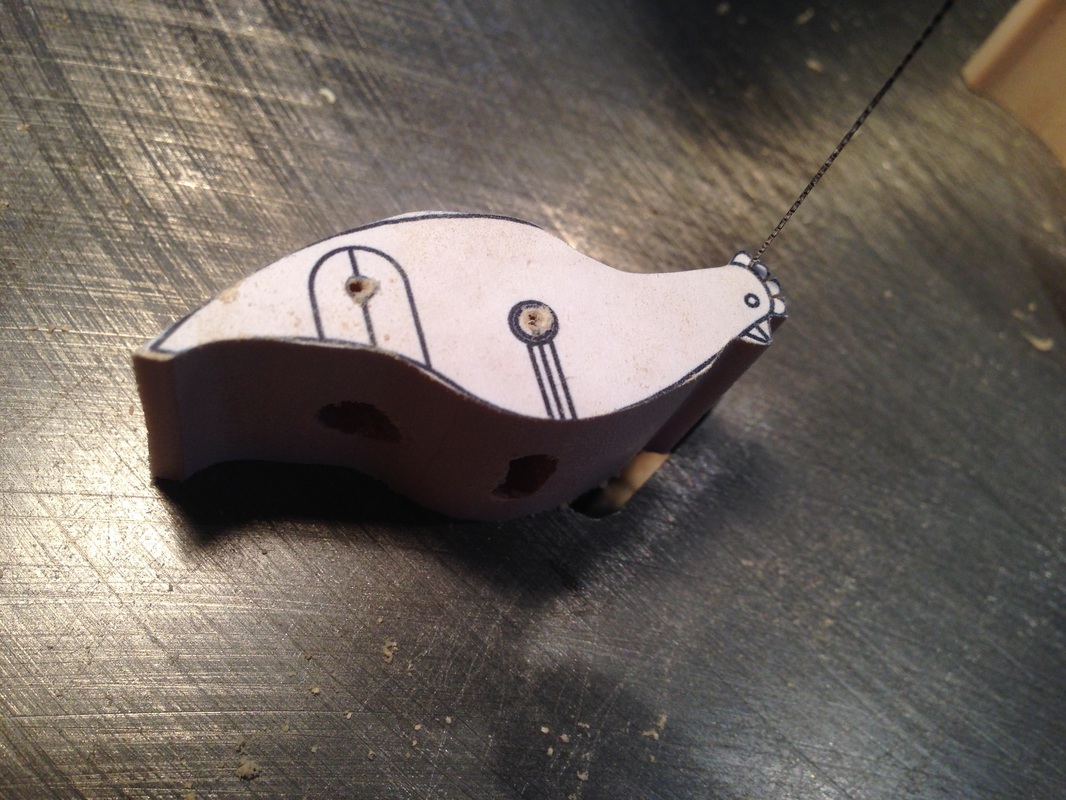 More to come.....
Finally the video of the completed Owl Hijinx automata has been added to the website. Go to the Automata Gallery Page and click on the Owl Hijinx title or image to see the project description and video.
When I can mange it I've been working on the final assembly of the automata project "Owl Hijinx". I have to admit I've had to make a few revisions as I go on this one. This may be because I've set it aside for so long, I've lost my train of thought! Anyway one last revisions has been made to the wing action and as a result I have one more small counterweight to add. I expect to be back in the shop in a day or two and wrap things up. So I'll make and post a video of the owls in action soon. Happy holiday to all!  Getting things assembled. 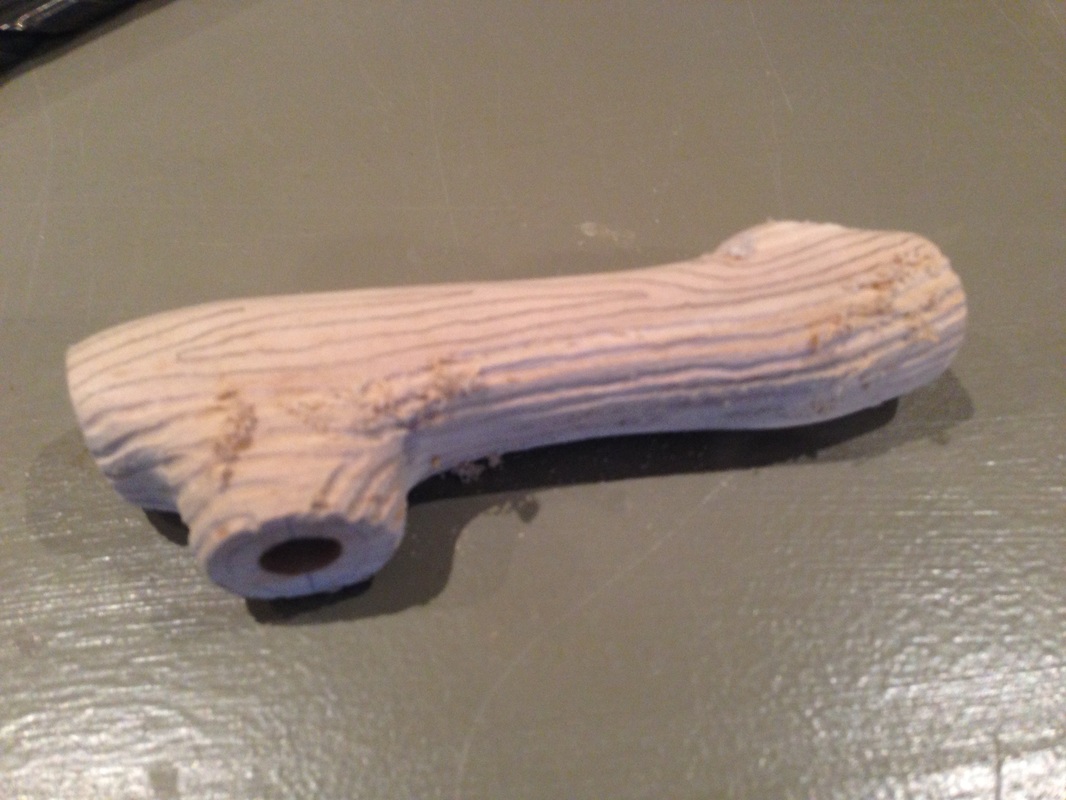 For this automata the crank handle with be a branch similar to the one the owl's are sitting on. Here's the handle during the process of carving bark onto it.
I needed a couple of counterweights to pull the owl's heads back into position after they looked at each other. In trying to keep their design thematic, I was taken back to my Grandfather's cottage where as children, we would gather to watch the cuckoo clock strike the hour. Watching the animated little bird and plummeting pine cone weight disappear into the darkness behind the armchair is still clear in my mind. What better counterweight for some owls in a tree? So pine cones is was to be! I got a quick tutorial from a friend at a carving show and away I went. Here is the pine cone in progress. 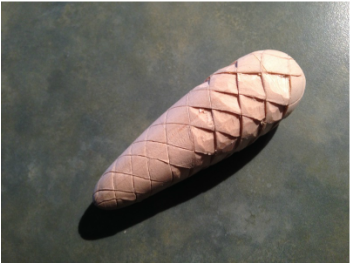 In a recent blog I suggested i would show how I secured cables onto the pulley for the lifting wing. For this project the load on the cable is not significant so I attached the cable by drilling a small hole in the groove of the pulley, and securing the cable with epoxy. To ensure good grip I pulled the cable through a crimp fitting, tightened it, removed any extra cable and then pushed it down into the hole. Lastly I filled it with epoxy and allowed it to dry. It is shown in the photo below. The pulley is 7/8" dis. with a 1/4" hole in it. It will be glued onto the shaft actuating the wing shown in an earlier blog. 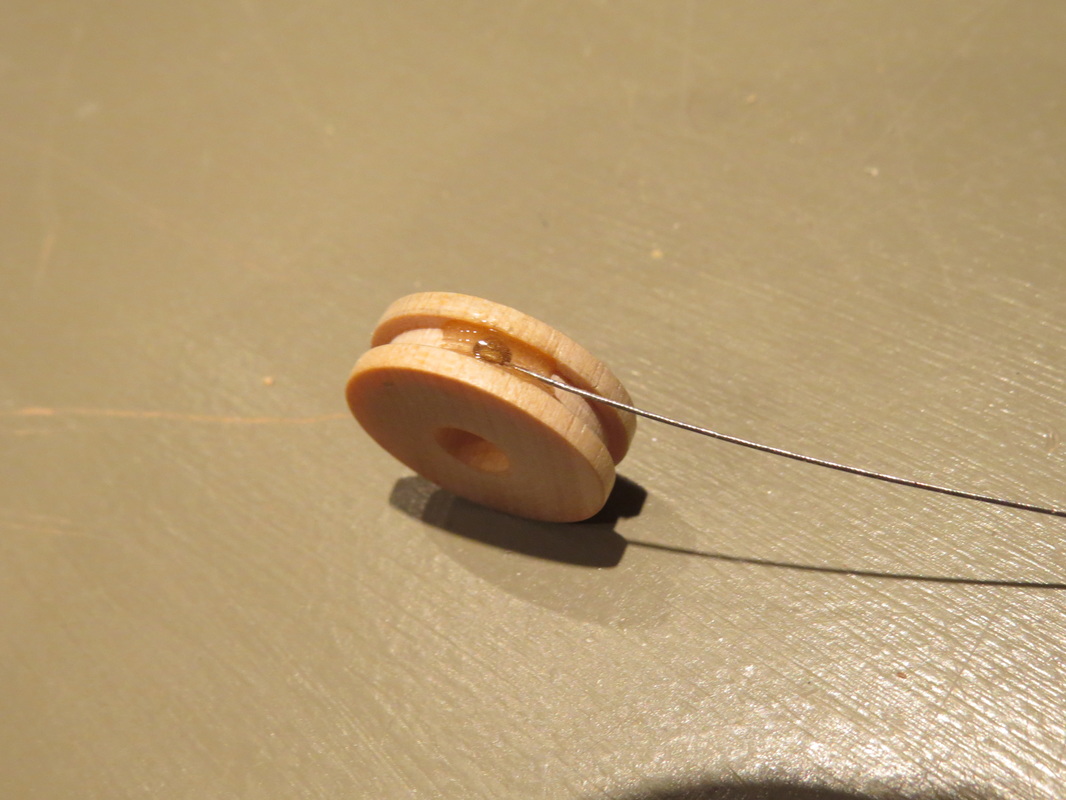 I've shown it again below as it will be approximately placed on the wing shaft when finished. 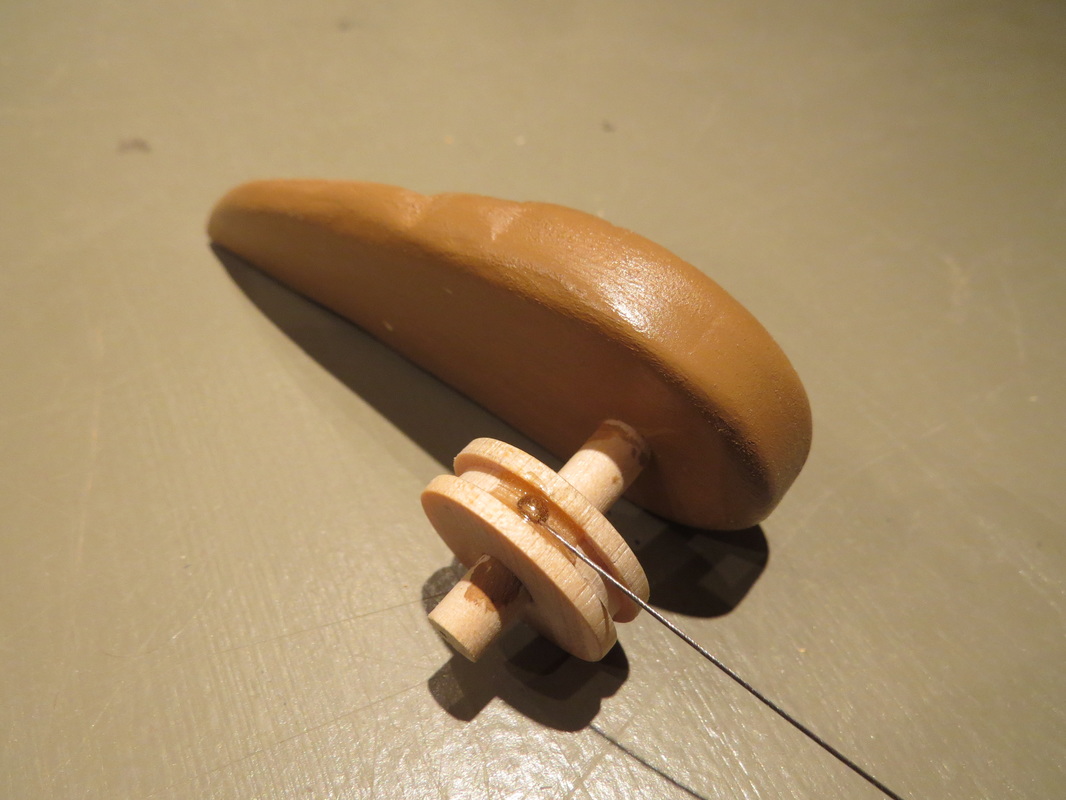 |
Why Automata?Automata is a creative blend of my life interests , engineering, art and woodworking. Archives
July 2022
Categories
All
|
 RSS Feed