|
For those of you who have been anxiously waiting for it, ( Yeah right! In your dreams Conquergood) here is a teaser video of the completed “Cirque de Poulet “ automata. See the back story on my website in a day or two.
1 Comment
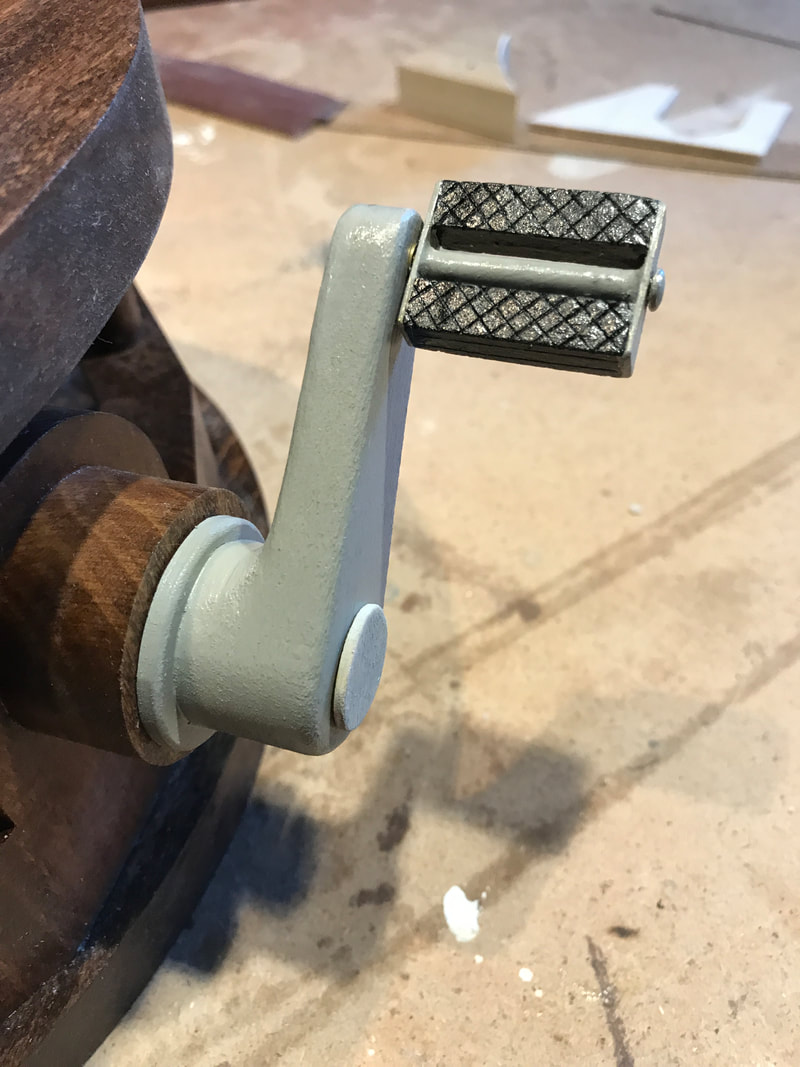
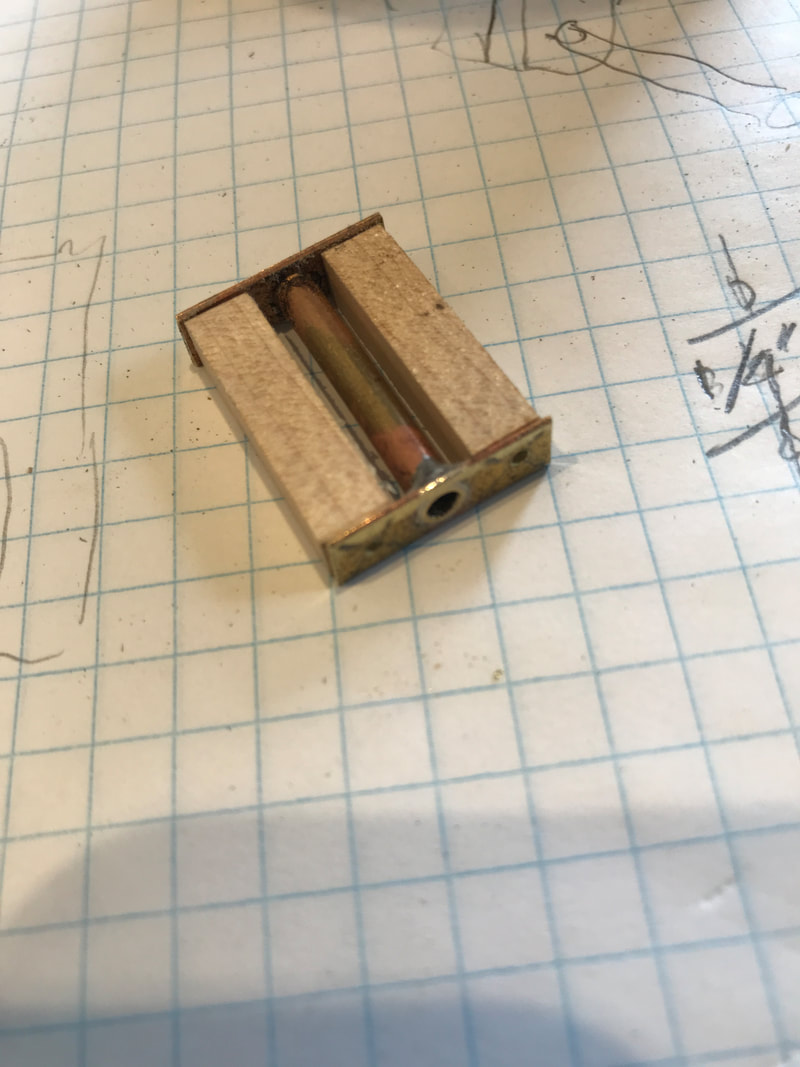
Often I try to make handles that are related to the theme of the automata i'm making. Of course the things you need to consider are that the handle needs to be a skinny piece when finished. Lately the last couple of projects have been a more simple wooden handle. I guess my imagination took a COVID vacation! So for the current chicken on a unicycle I decided to make a unicycle pedal for the handle. I decided to use brass to build a sturdy pedal as I wanted it to rotate when the handle was turned. The photo below shows the pedal in construction. A 1/8" brass tube with two 1/4" brass strips were soldered together. The pedals are pieces of maple 1" x 1/4" x 1/4". I drilled a small hole through the brass endplate into the maple on each end and soldered a small brass pin in to hold the maple in place. I didn't feel glue alone would be sufficient over the long term with the stress the pedal might be under. I ground the extra pin and solder off the ends. I then did a little pyrography to to put treads on the maple and painted it all. Here is the finished pedal in place!
A streak of 30 degree Celsius weather, a couple of visiting grandkids, and a lake 50 feet from my shop means that things have not been speeding along in the shop for the past few days. But these are moments not to be missed in life.
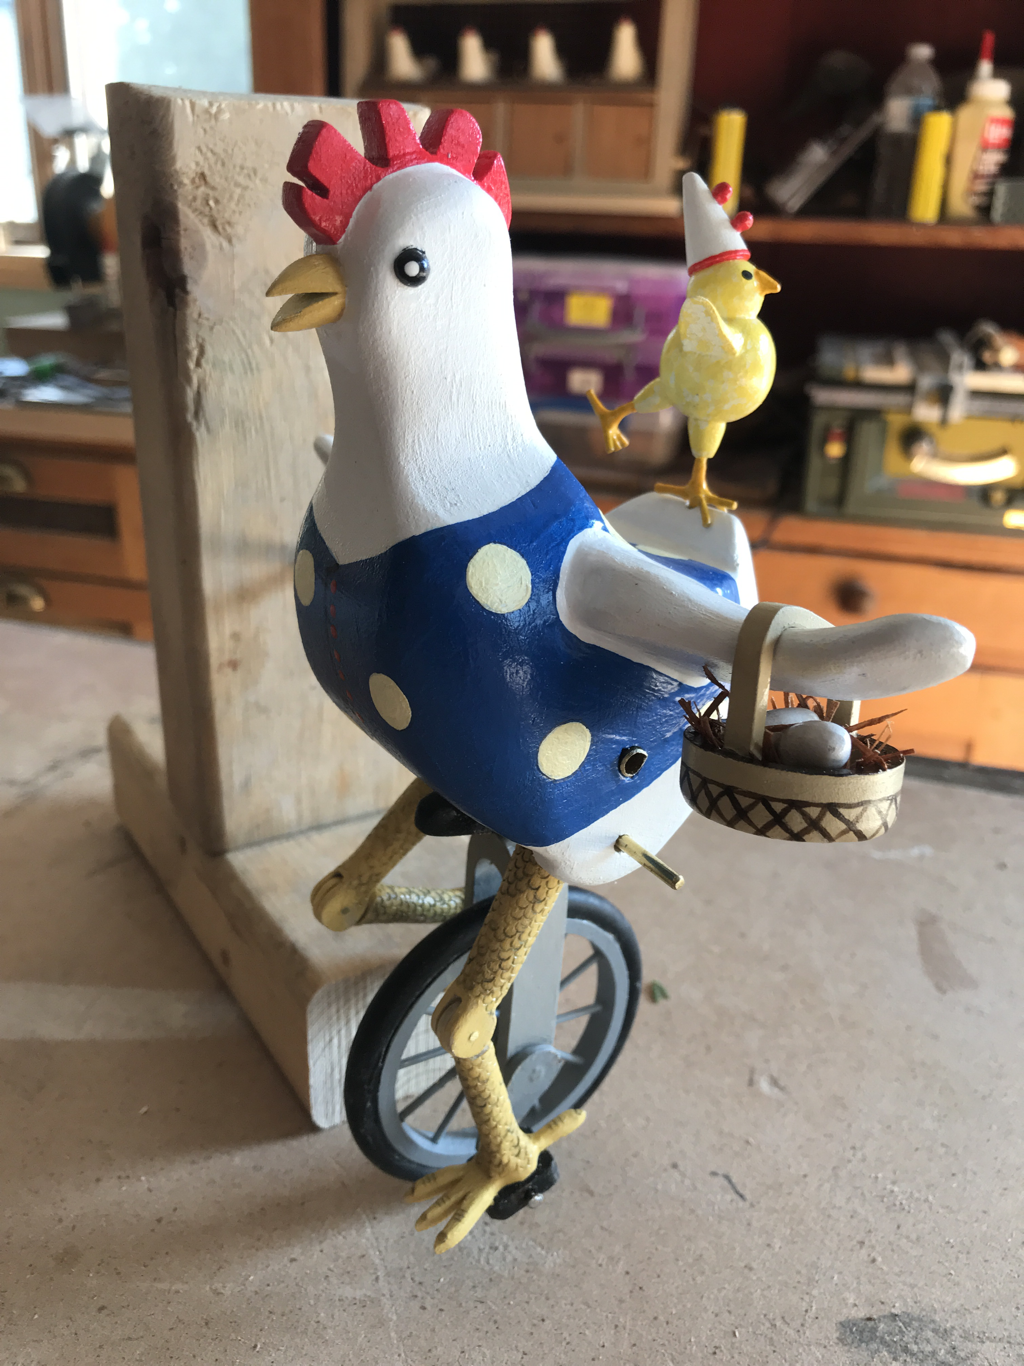
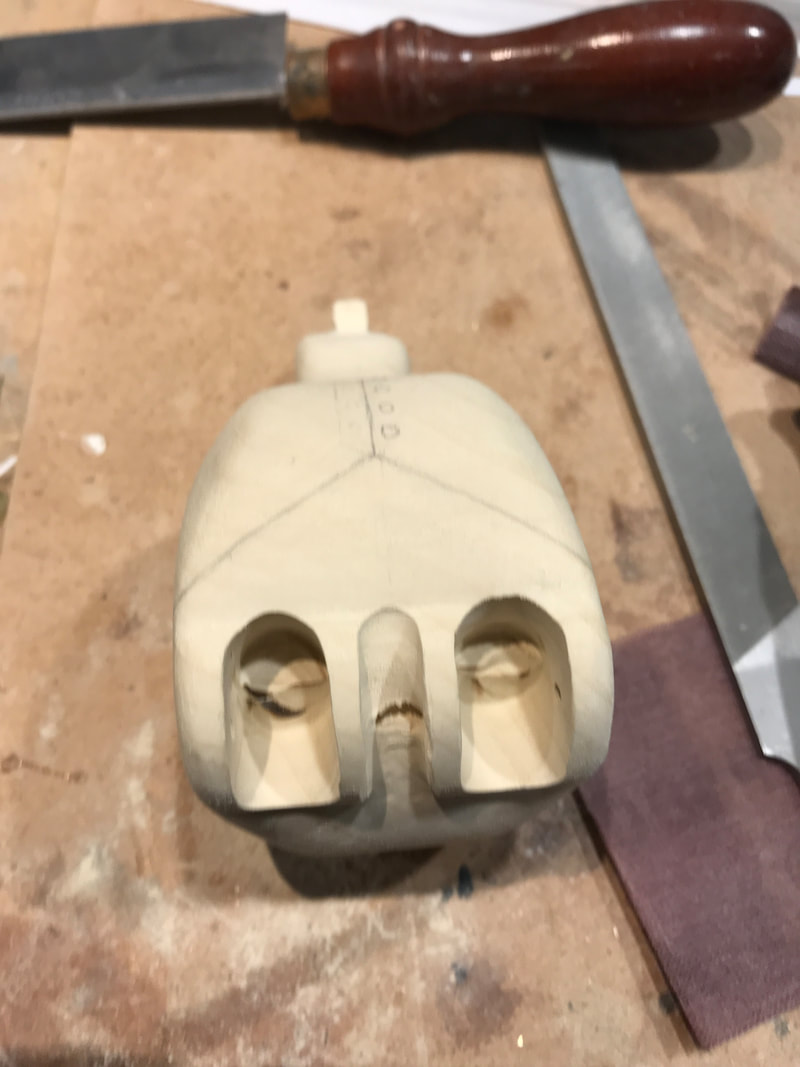
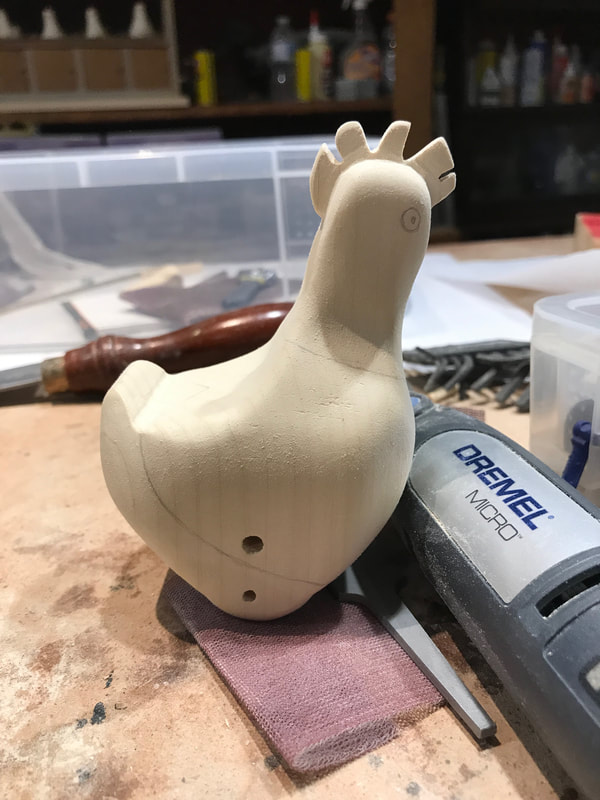
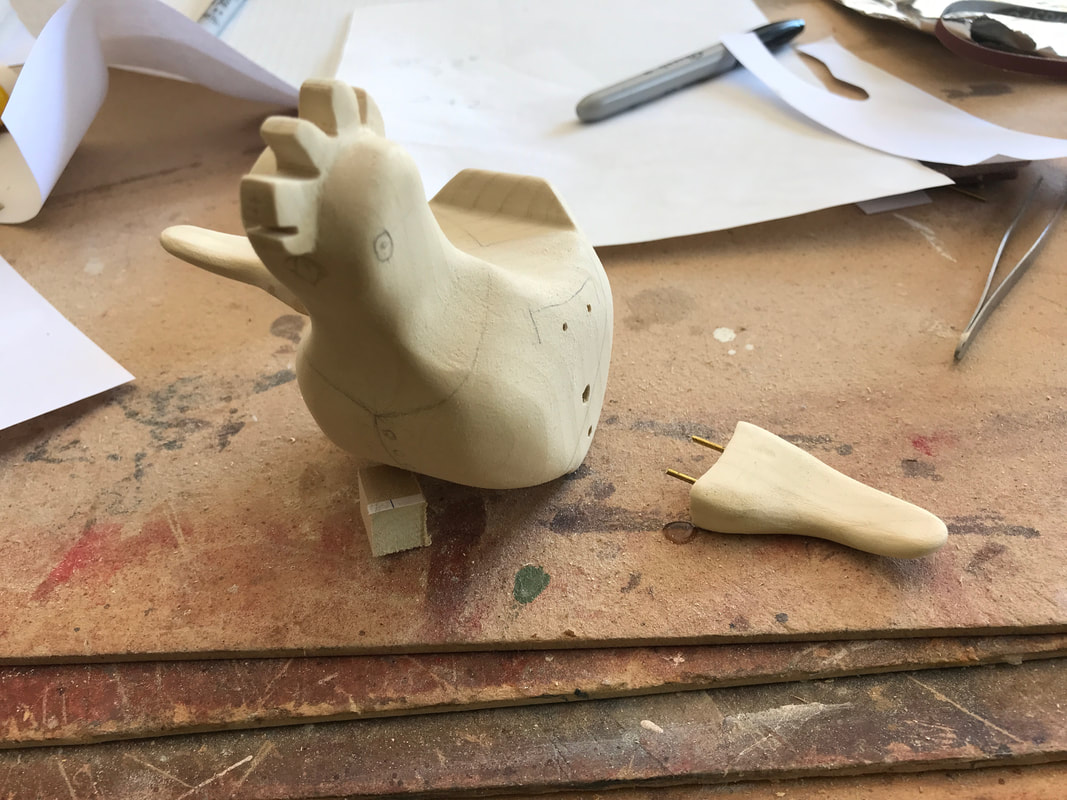
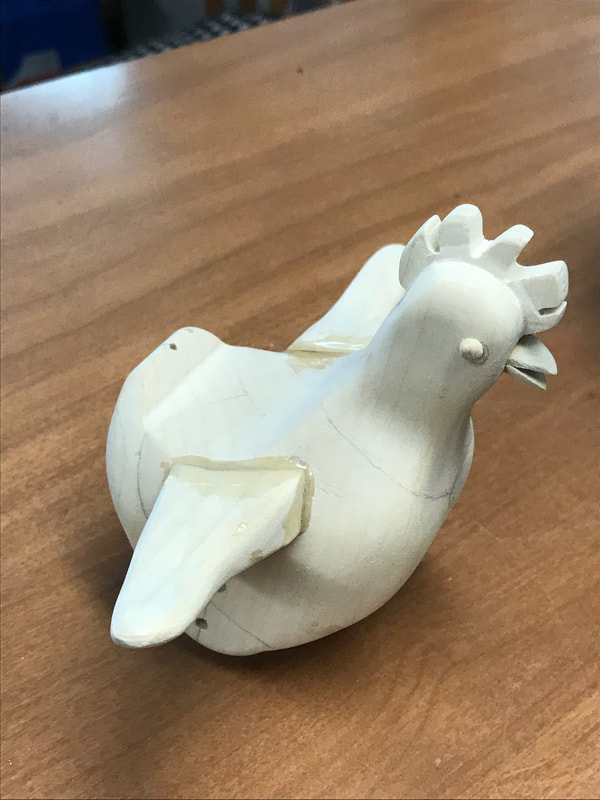
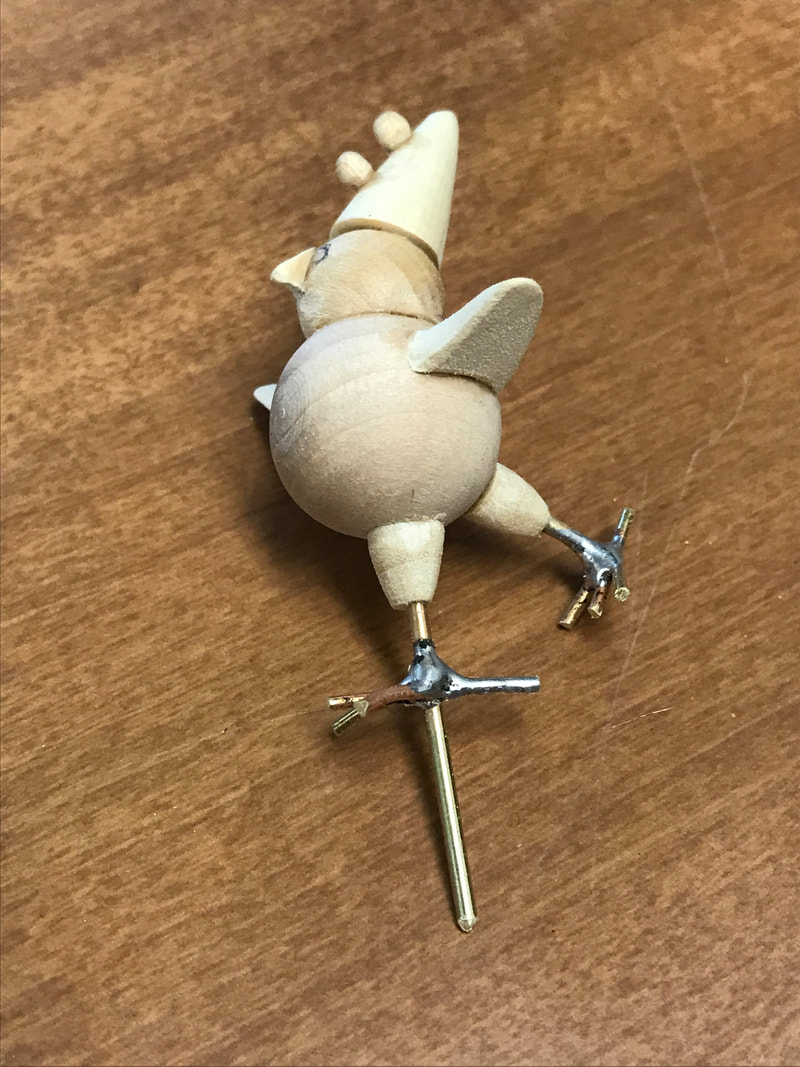
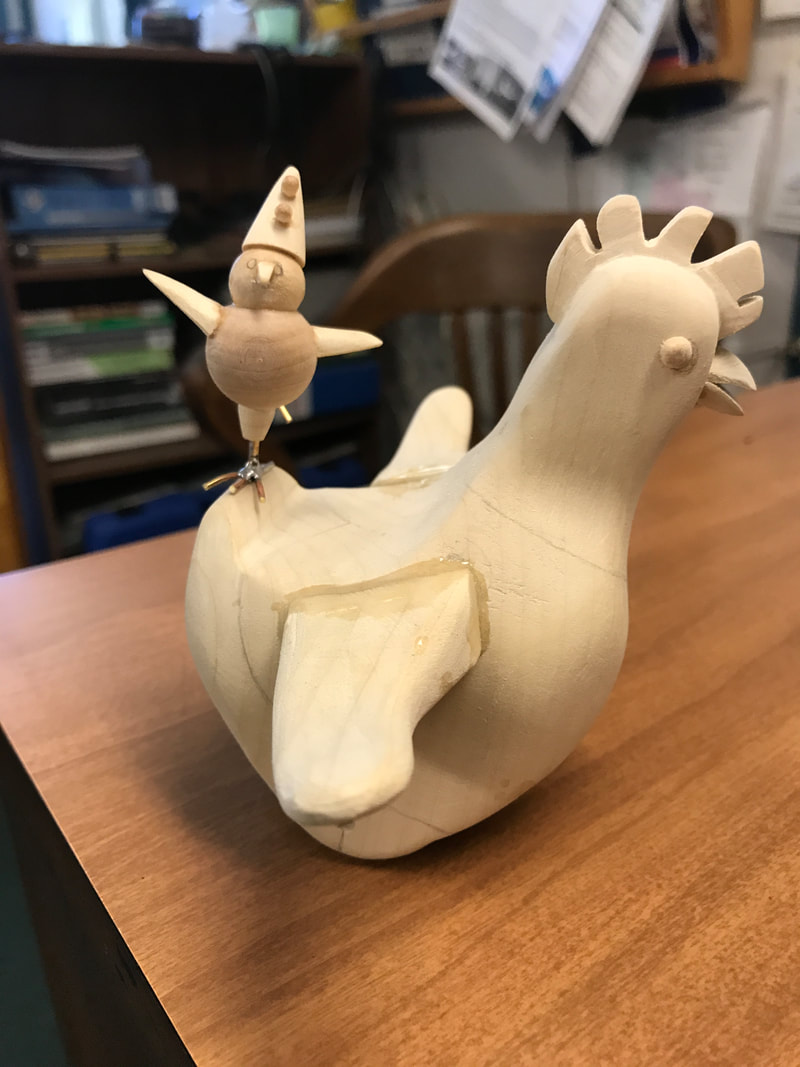
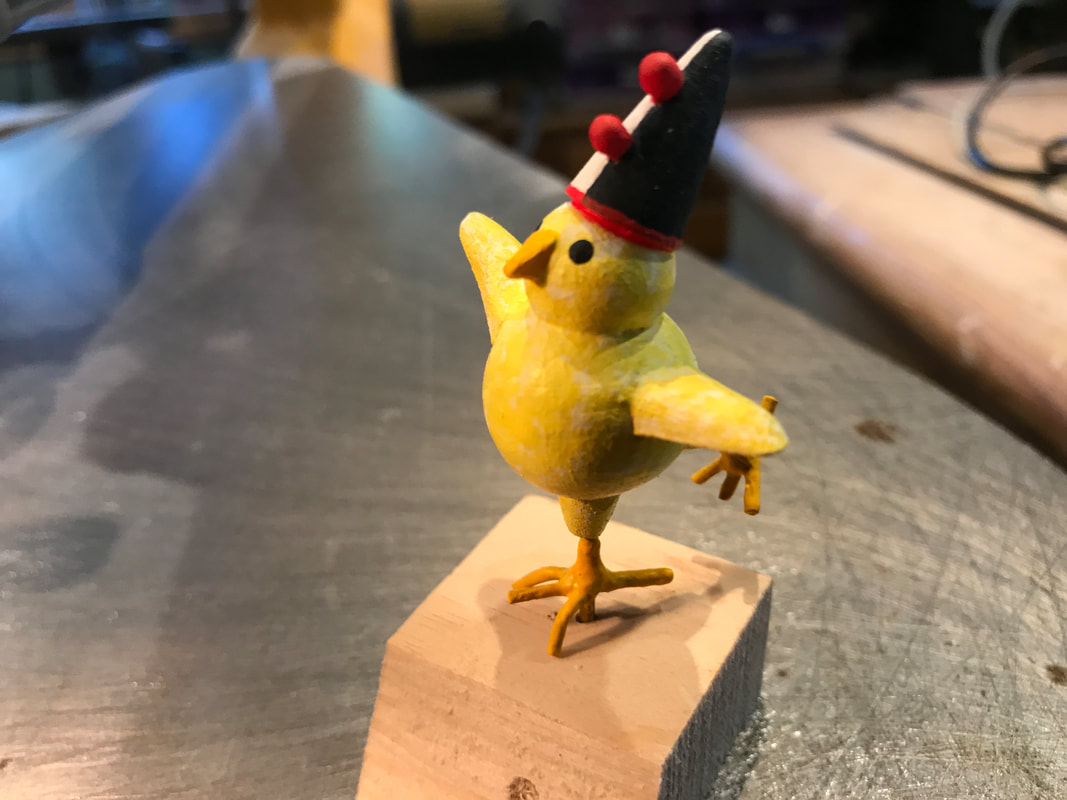
But the chicken is very close to completion with some plugs needed in the leg pivot shaft and attachment of the drive bar. She is shown beside her temporary stand where she will stay while I work on the mechanism. It is on the cutting some right angle gears now! Chickens should be plump right? No one ever orders scrawny chicken off a menu. I decided my chicken should be plump for a couple of reasons, one to add the absurdity of riding a unicycle and two, to accent a pair of spindly legs, and three to make room for another performer on his back. I chose tupelo to make the chicken, because it is light and easy to machine with power carving tools. Making the cavities for the legs and the unicycle seat is easier with power tools rather than trying to carve them with knives. In the left photo you see the bottom of the chicken. The two outside slots are for the legs. They are angled enough to allow full movement of the legs when the wheel turns. The narrow slot in the middle is for the unicycle seat. The photo on the right shows the general profile of the chicken less wings and beak. The comb was shaped from the body block. The small hole holds the pin that passes through the top of the legs and the large hole is for the rod that will hold the chicken upright and drive it around in a circle on the unicycle. For the carving purists, you'll have to forgive me. For this piece I attached the wings separately. I use brass pins with epoxy to attach the wings in place so they are strong. ,So here's our chicken, eyes on , beak on, and wings on ready for the next stages of construction. In the early part of the blog I mentioned making the chicken wide so it would have room for other performers. In the photo above you can see the hole that is the mounting point for a little chick. Here is the little fellow. He is 2" tall and made from a 3/4" and a 1/2" wooden ball. He sports the traditional french clown cap as it balances on one leg while the chicken circles. The long brass rod slides into the hole on his back to keep him steady and strong. The second photo shows him in place on the chicken. As a final teaser for today here is the chick with his paint in place!
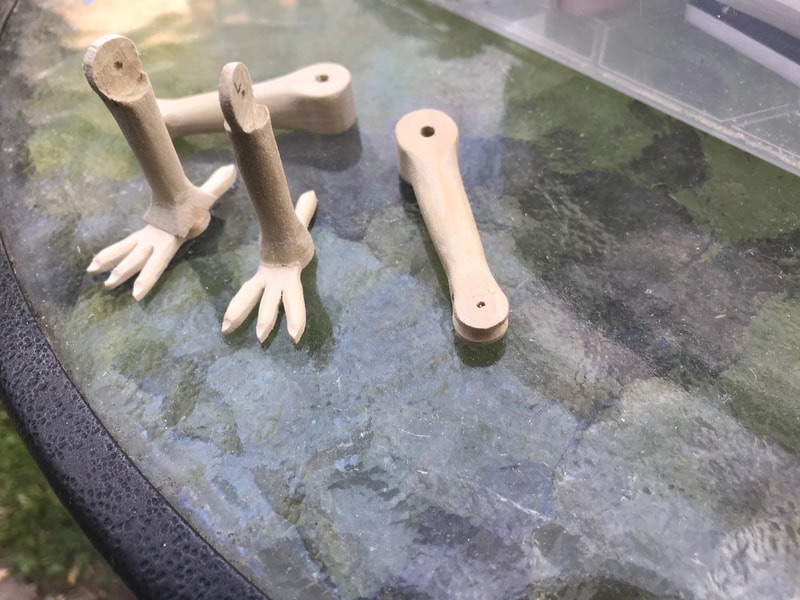
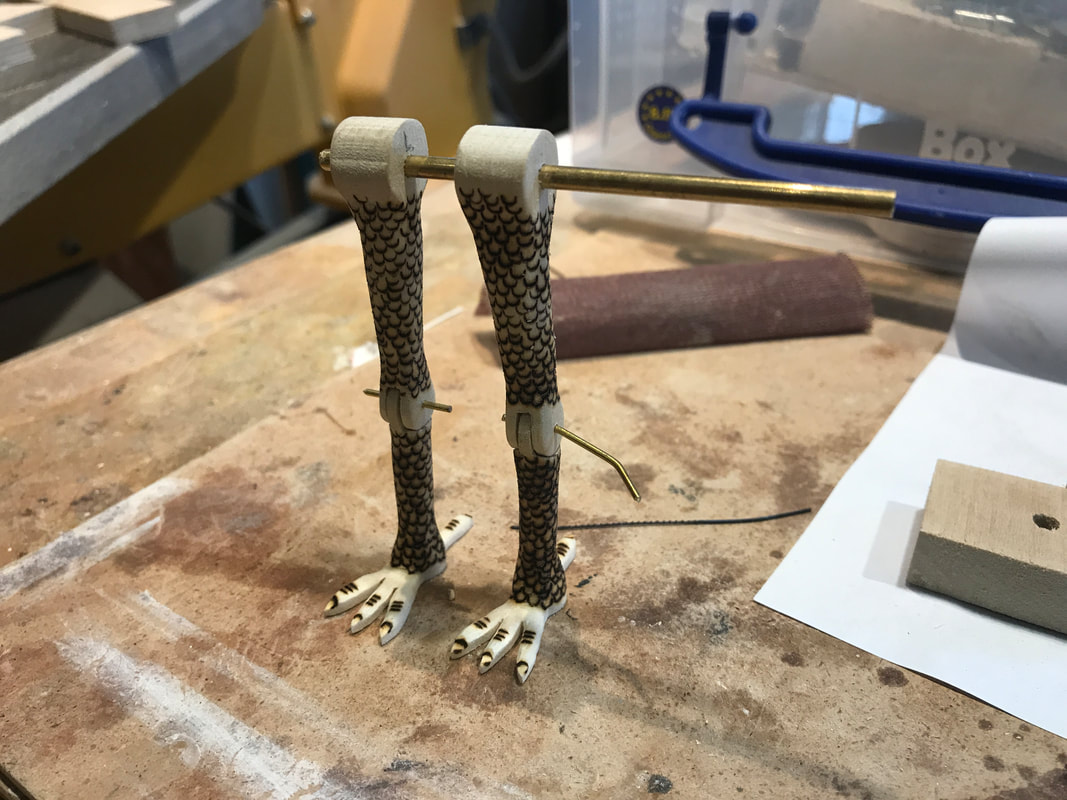
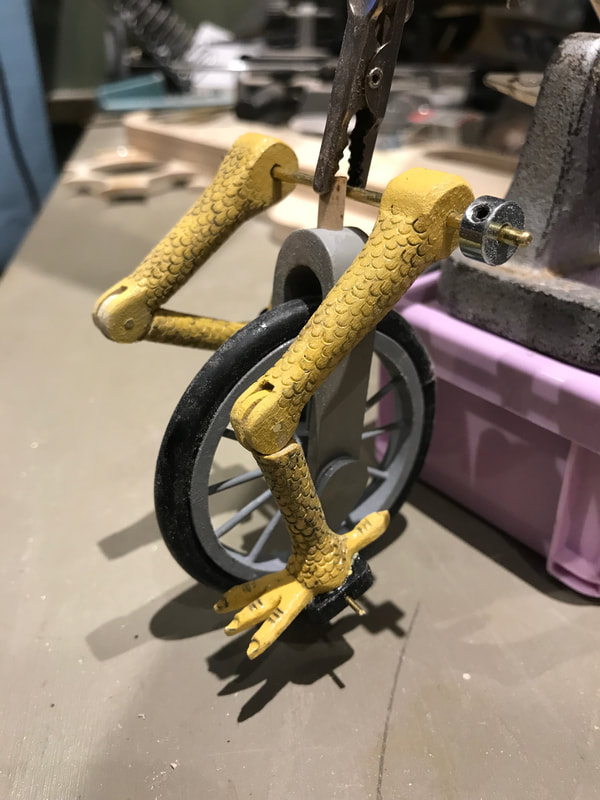
I've made the legs for the chicken on the unicycle. The only real worry in making these is that they never become to close to vertical when the unicycle wheel rotates so they will not "lock" or try to bend in the other direction. I made these out of poplar. I usually use a hard wood like maple for these but because they are not transmitting a load and I want to burn some scaly leg details on them I went with poplar. Deep pyrography works better on a softer wood than something hard like maple. The first photo shows the pieces that make up the legs. The feet are made separately and glued on to the bottom of the feet, then they are blended together. The second photo shows then with pins installed that provide to centres of rotation. The pins are not trimmed yet as I often disassemble and reassemble them many times during the fit up process. In the end I cut the excess length and then sand the remaining nub on my bench sander. You will also see some scales on the legs. I used a small fish scale pyrography tool to burn these imprints into the legs. Yes that's right fish scales! You would have never guessed if I didn't tell you! Next add a little yellowy paint, yet to be touched up after fitting the kneecap to run smoothly, stick the pedals on the bottom of the feet and Voila! The beginning of a scaly legged, lanky, unicycle riding chicken.
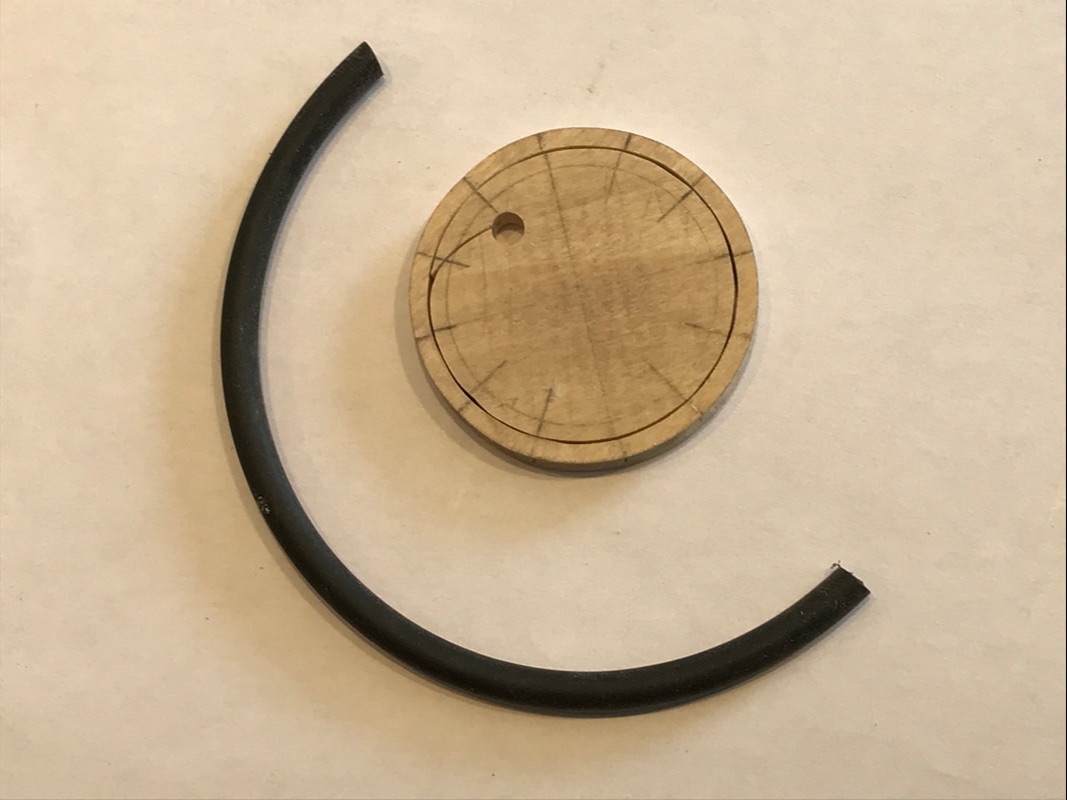
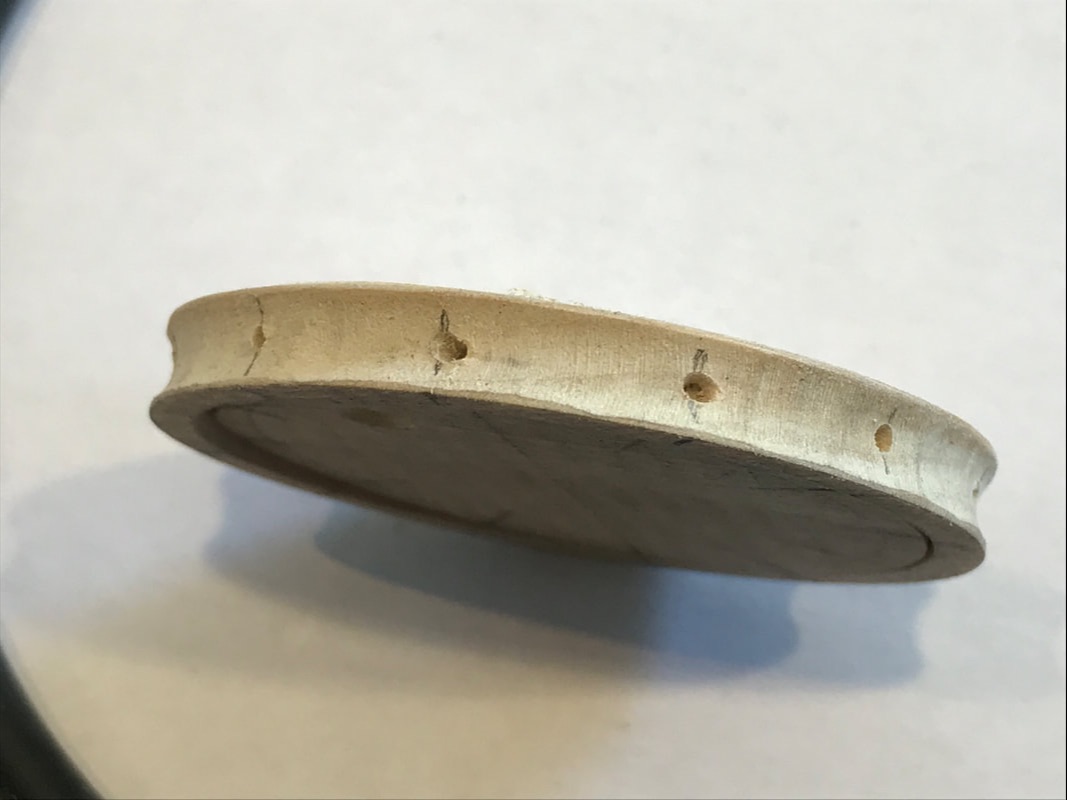
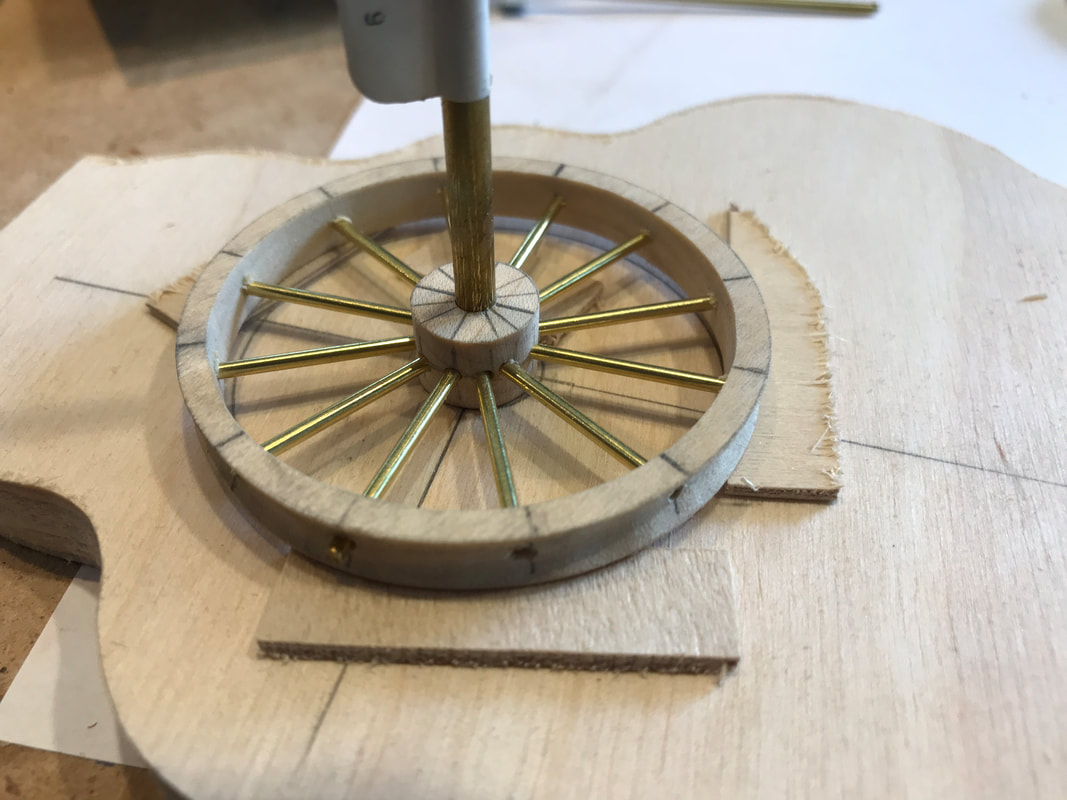
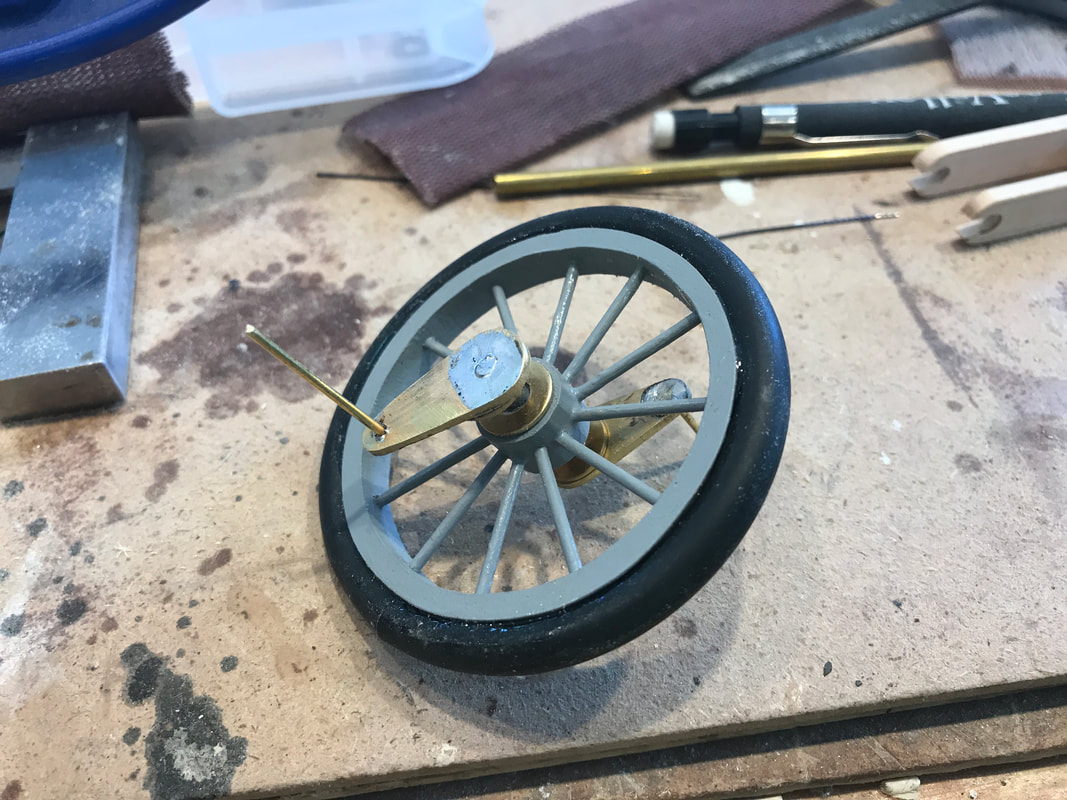
I guess it should have a body... I'm designing a new piece to be called "Cirque de Poulet" where a chicken rides a unicycle in a circle. The first challenge is building a small working unicycle. I picked out a reasonable size to see what was possible then I cut a wheel rim from poplar, made a wheel hub, and drilled holes for brass spokes. I made a tire from a piece of 1/4" rubber hose to get a fat tire. It seemed easier than trying to source out a fat o-ring. Next I painted the rims and attached the tire. Then I made some brass pedal cranks and pins for the paddles and soldered it all together. Paint still needed in the photo below. Next post I'll show the yokes. pedals and the chicken legs.
|
Why Automata?Automata is a creative blend of my life interests , engineering, art and woodworking. Archives
July 2022
Categories
All
|
 RSS Feed