|
Followers of the blog may remember that on and off over the year, I've been working on an animated float for the Santa Day Parade in Fenelon Falls Ontario. Not wanting to give things away I've never shown a complete view prior to the parade. Last Saturday was parade day and here are a couple of unedited videos of the float, "Driving Home for Christmas" queued up and operating at the start of the parade ready to go!
3 Comments
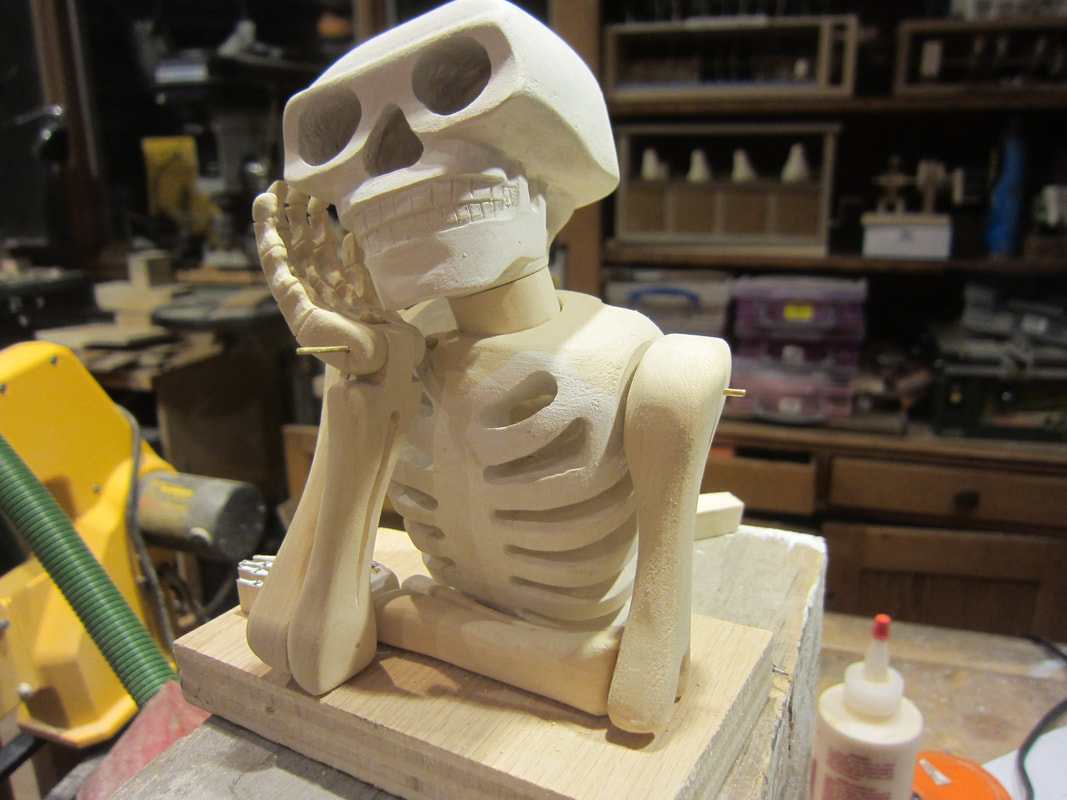
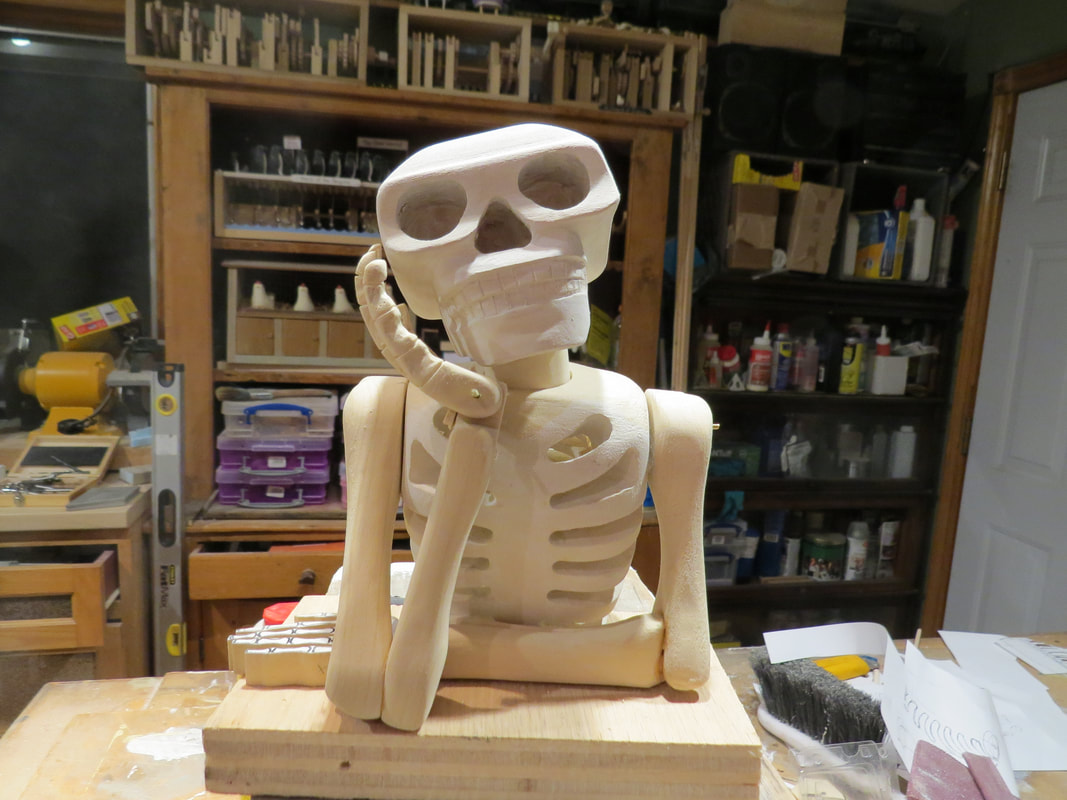
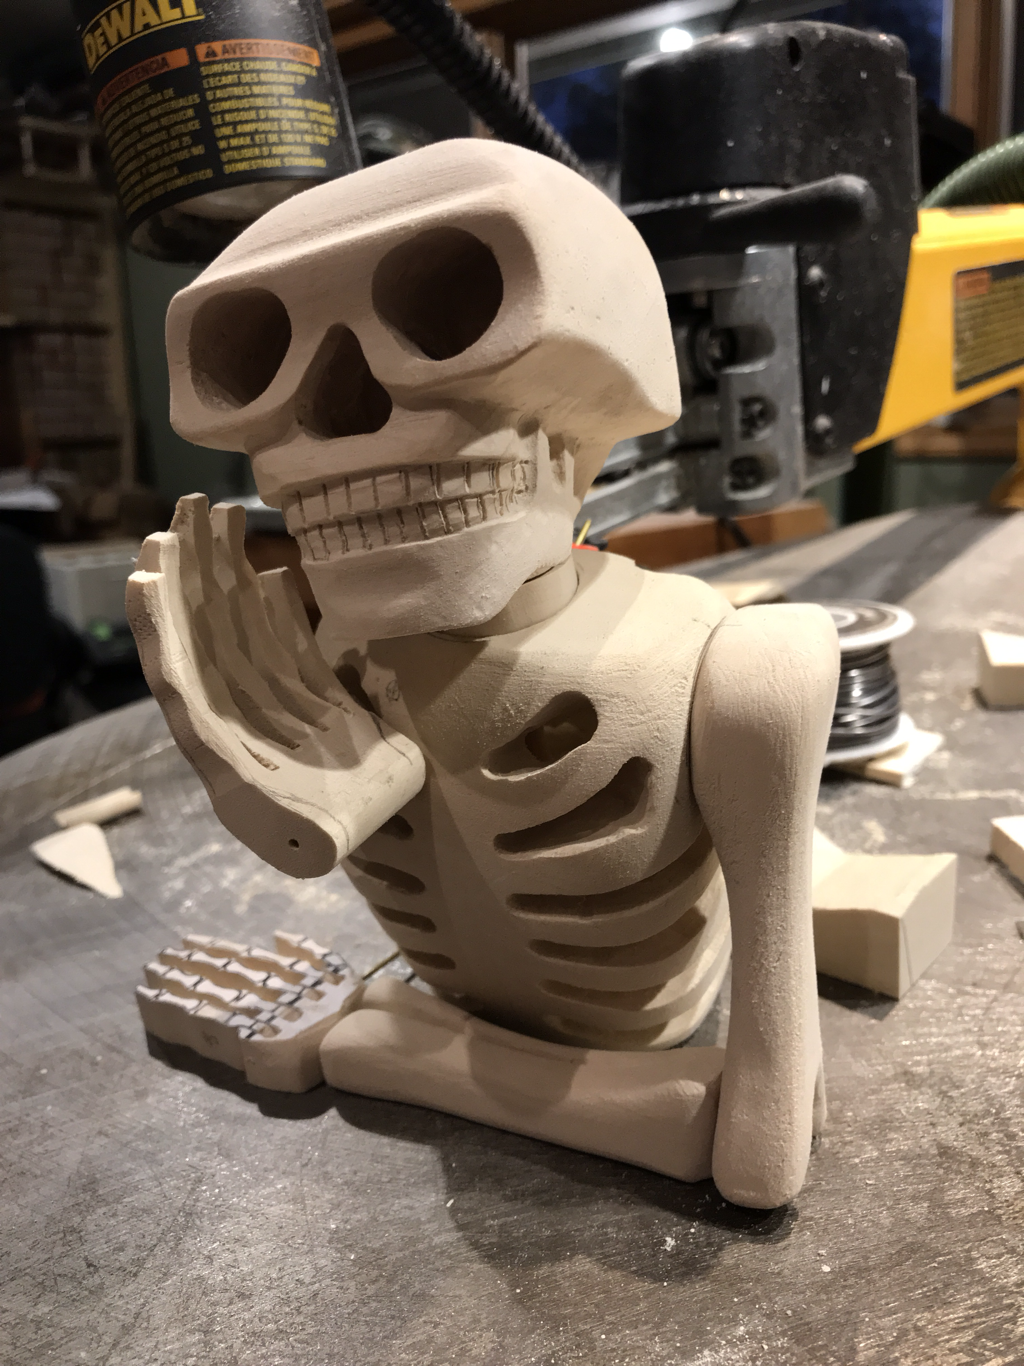
Added the skeleton's right arm today. Its a lot of finicky fitting to align the hand to be in the right place under the chin and match the left arm as closely as possible. Here is how he looks today with his parts stacked in place. Now let's talk about that change order. Sometimes when you are putting things together they don't quite end up exactly as expected. This is the case with the skeletons hand. Originally I had thought it would be tipped back enough that the actuator link could pass directly into the front of the chest cavity where I would attach a lever connected to the mechanism below. Well, it didn't end up well placed, so a redesign was needed.
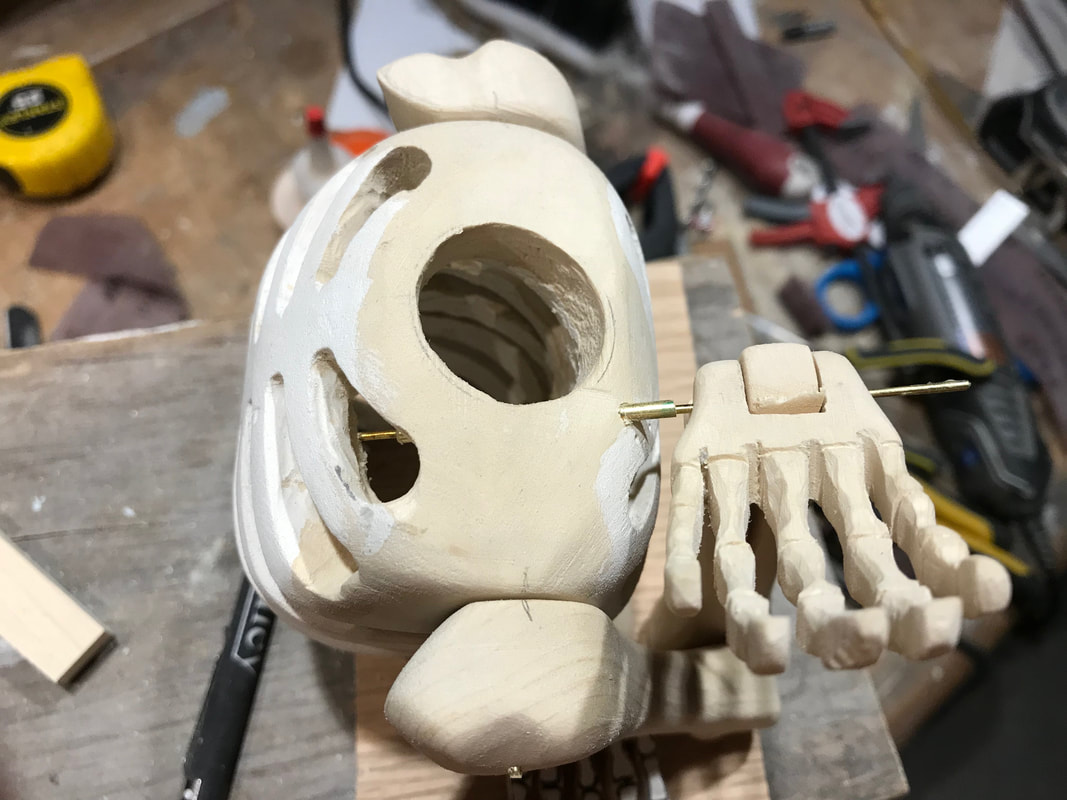
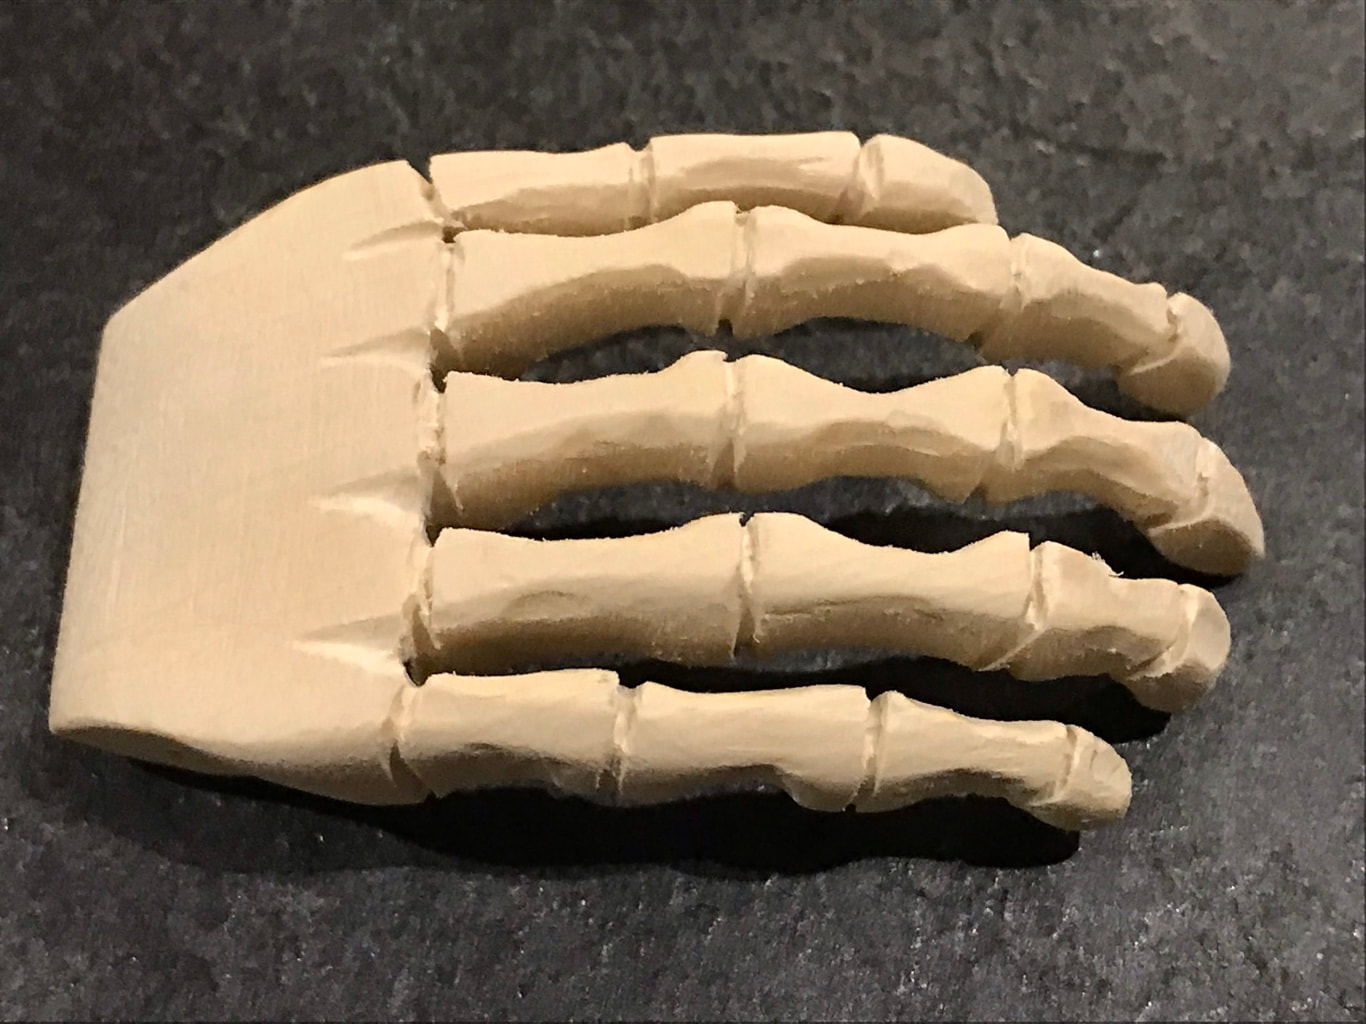
Half the fun of automata is problem solving. I seem to often revise something to make it work the way I envision it. In this cast the lever ended very high up on the torso and I had to design the mechanism to fit into the neck area. This required that the lever would be well behind the torso's centreline to have clear link access into the base. Now I began to worry about a long unsupported shaft and possible bending. In the photo below you can see a section of brass tube that the hand actuator will run through. This guide will support the rod inside so it doesn't bend. When fitted the front will be shaped to match the profile of the chest cavity. The other end will protrude slightly through the neck to act as a bearing surface for the lever arm not shown yet. The rod will fastened to the outer edges of the hand and spin freely through the hole in the arm bone. Here is the other fascinating part of automata building; how do you put it together? The mechanism will be built this way: 1. Insert the small brass tube and shape it to its final position. 2. Slide a length of the brass rod into the tube, longer than needed. 3. Pull the tube part way out. 4. Solder the linkage arm to the end of the brass rod while inserted, reaching down into the highest rib gap on the rear of the skeleton. 5. Let the solder harden. 6.Push the tube back into place and secure with some thin CA glue. 7.Slide the arm and hand into place onto the brass rod. 8. Mark the rod and cut it a little long, disassemble and bend a 90 degree bend in the end. ( Sometimes I rely on CA glue to hold a brass rod in wood, but in this case because it is a rotational motion, I want to notch the hand and cut in the 90 degree bend to prevent slippage and fill the hole.) 9. Put it back together and fill the hole where the rod is bent to hide it. 10. Lastly glue the arm to the torso at the shoulder ensuring a good alignment for the tube and the hand, clamping until dry. Don't put the neck plug back in yet, you will need to attach the link wire to the lever arm. Life is never simple in the word of contemporary automata! I’ve been back in the city for a few days seeing to a bunch of things but when I got back to the shop today I detailed the skeleton’s right hand. Doing a simpler piece such as this I usually try to spend a little more time detailing the character. It is always a trade off between realistically accurate and fine details and the structural requirements for motion and linkages. In this case I chose to invest in more visual details in the bones in the hand since it is clearly the focus of a left side view. It is still a long way from accurate, but a little more interesting, and somewhat realistic. Keep in mind this hand is a little shy if 2” long. Things are getting skinner as work!
Here is how it looks now. I still have the hinge to configure at the wrist. Didn’t get to spend as much time in the shop as I had hoped. ( Isn’t that always the way!) I worked today on cleaning up the inside of the rib cage. It’s a bit of a challenge as it is made from one piece of Tupelo. Getting enough access to work the insides without making the piece too big is a trade off. In the end I couldn’t get enough reach through the base of the torso and drilled a 1” hole on top where the neck will be. I’ll plug the hole later. This allowed enough access to get a rough finish on the inside of the rib cage. I decided that a fine finish was not really warranted as it largely go unnoticed. I’m sure some of you might view this as a bit of a cop out - so be it.
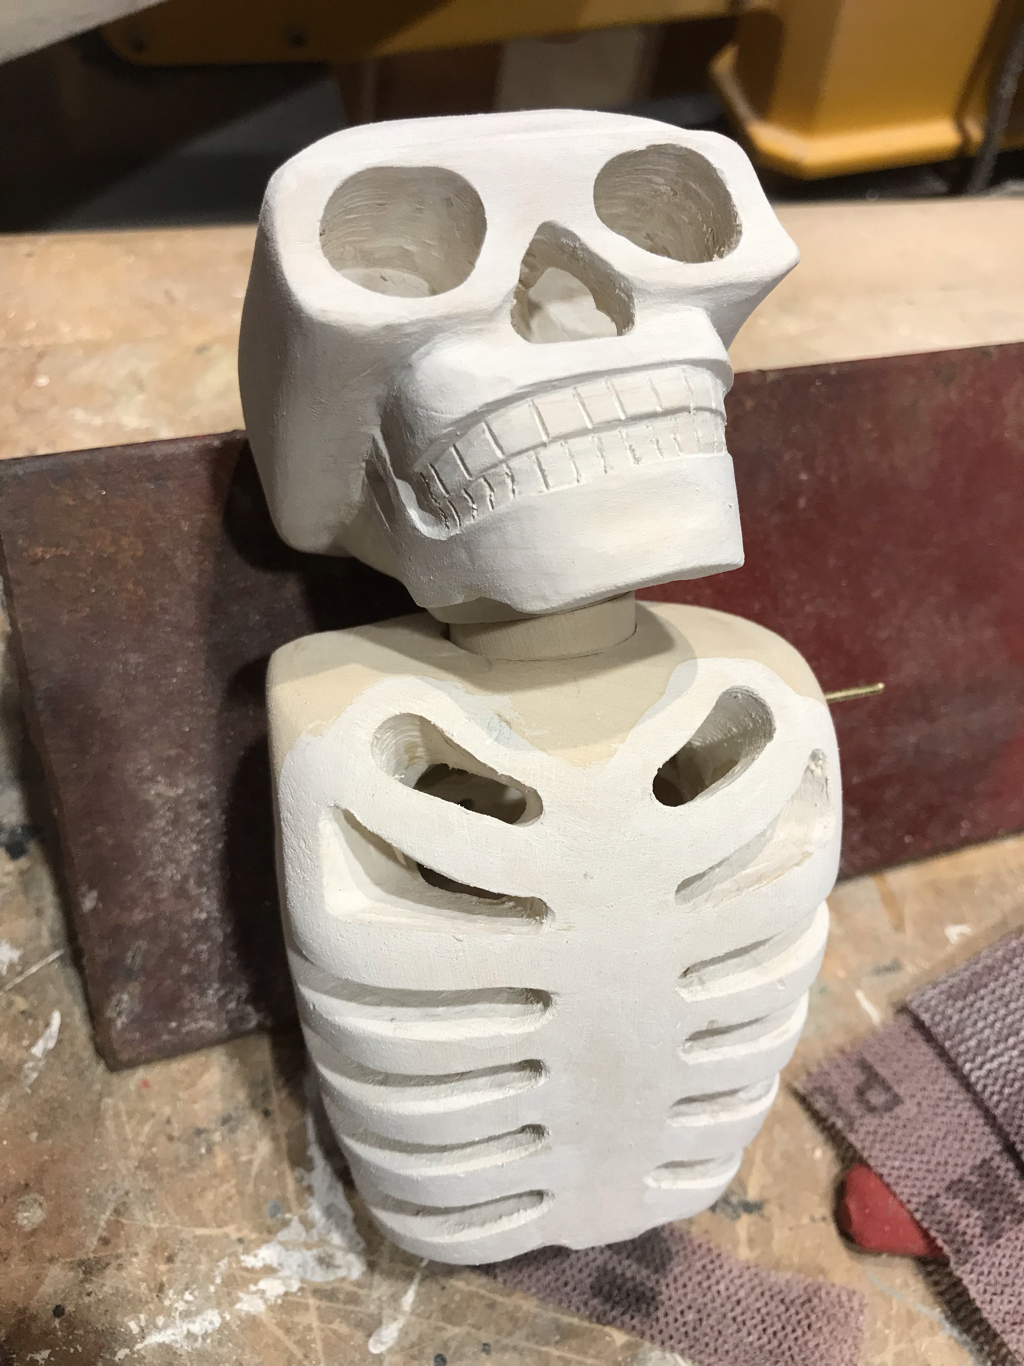
That doesn’t mean that I didn’t spend a fair amount of time today cleaning things up. I eventually put a coat of white sandable sealer on the torso and head. I have more sanding to do and some detailing on the skull. The skeleton looks like he is sunbathing here! A few days have passed and I have spent so time roughing the skeleton character. He is shown below but a few key chunks are still missing. His right hand is just propped up temporarily. It will be raised up to a position where it will rest on his chin and cheek. A pin through into his rib cage will connect to a link which will cause his hand to slightly rotate away from his face. He will then turn is head a little to the left and back again as if to look at some brief distraction. His right elbow will rest on the ground in front of his left arm just in front of his left hand. The fingers on the left hand will drum somewhat impatiently.
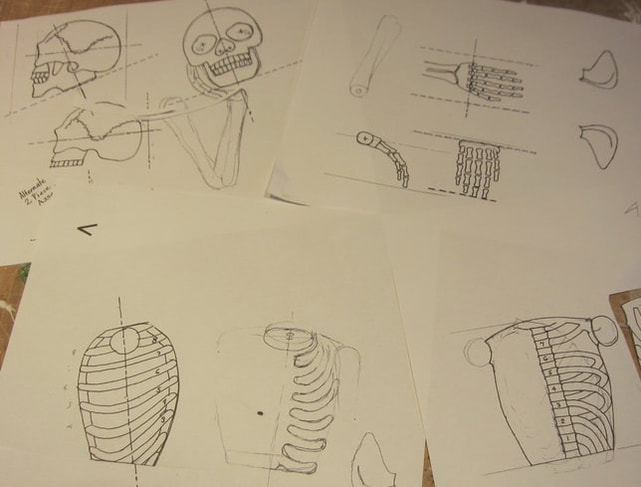
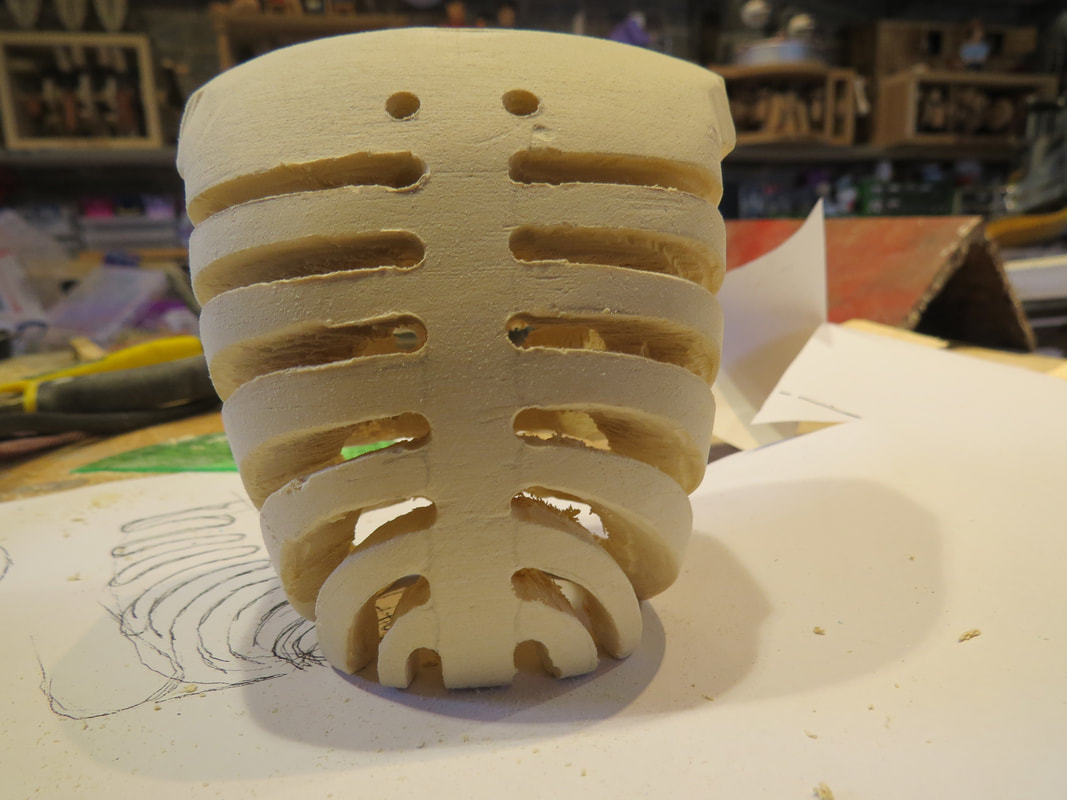
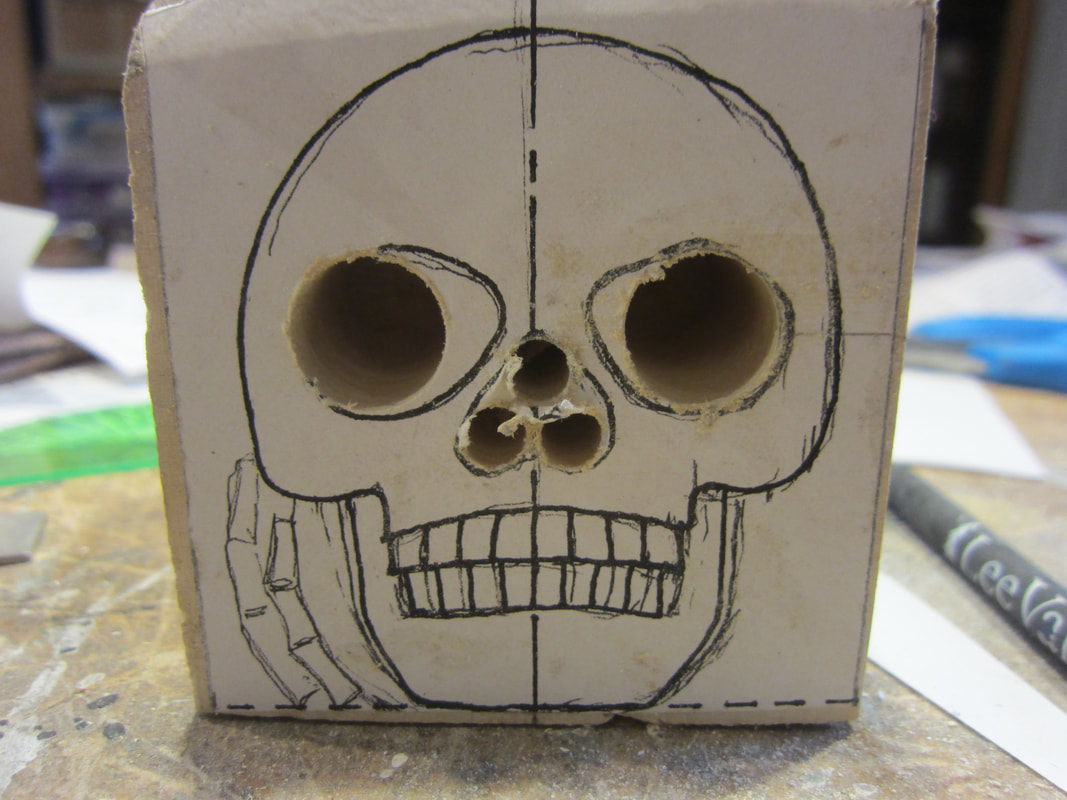
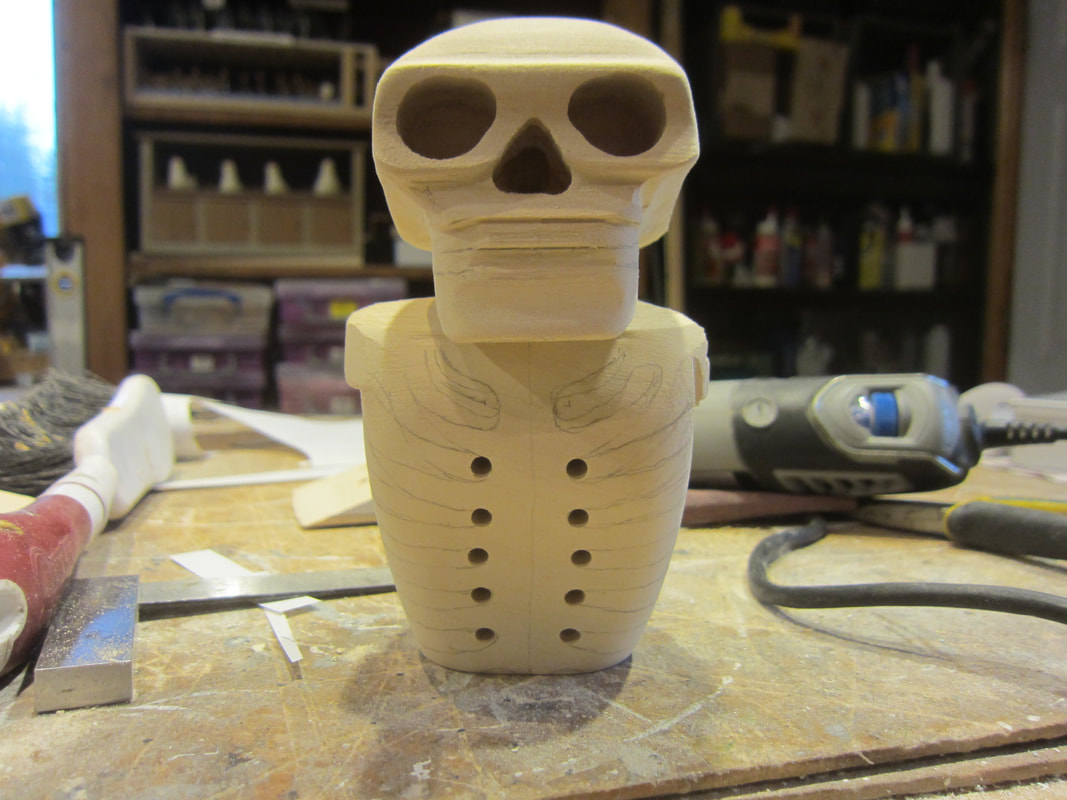
Anyway, more to come. I expect to work on him tomorrow. No name for this guy yet. Well I started my newest automata. While the subject and mechanism are settled in my mind, the title or theme is still elusive. I got the idea from looking at a Halloween novelty item. It is a very bored looking skeleton figure that was actually a lamp. I'm animating the skeleton to accentuate the theme, but I'm not sure until I get further along whether he will look bored, tired of waiting, or something else. This project started by taking a photo of the novelty item and then sketching out how I hoped my version would look. I imagined the skeleton would turn his head, move one hand, and drum his fingers on the other. I decided to try to make him a little smaller than I usually construct, adding a little more challenge to the project. Here are my drawing of the head, torso, and hands, all done by hand. I usually don't spend time doing CAD shapes, but let the figure evolve as it may and then identify mechanism link points to design the mechanism. The particular carving challenge in this piece is to make the torso section out of one piece, shaping the outside and hollowing out the inside. Not sure in the early going how this will be ultimately be accomplished, but I won't get finished if I don't start. I begin by drawing the ribs on the exterior and drilling holes that define the ends of the spaces between to ribs, and using a Dremel tool to start shaping the spaces. I then drilled in from the base of the torso to create a hollow which then allowed the gaps to be cut right through to the inside. It is a fairly slow progressive process, and I proceed carefully to avoid nicking something I do not wish too. You can see the start below. Much more to do. Meanwhile I work intermittently on the skull of my character. Here it is in it's early stages. It is usually best to drill eye holes and the like before shaping the skull so things end up square. After drilling I cut the front and side profiles on a band saw and then roughly shape by sanding. Here is the skull sitting on the torso, just to size things up along the way. He is too square jawed in this photo so I will work some more on his lower mandible before detailing teeth. As always more to come. Watch this space!
|
Why Automata?Automata is a creative blend of my life interests , engineering, art and woodworking. Archives
July 2022
Categories
All
|
 RSS Feed