|
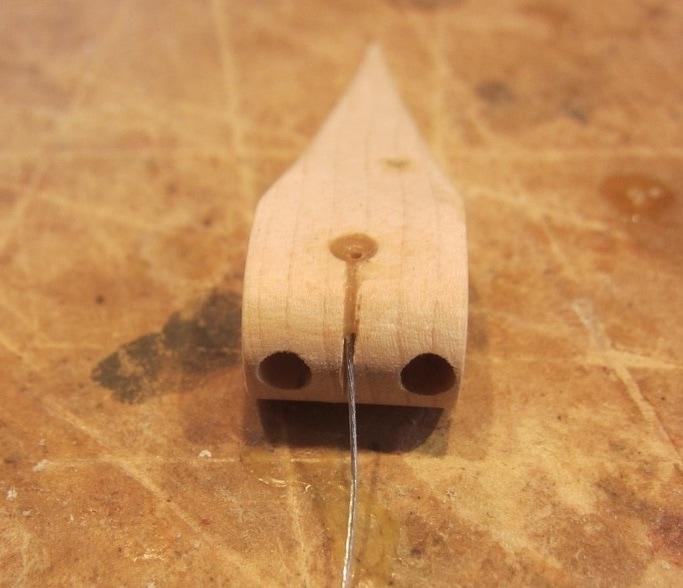
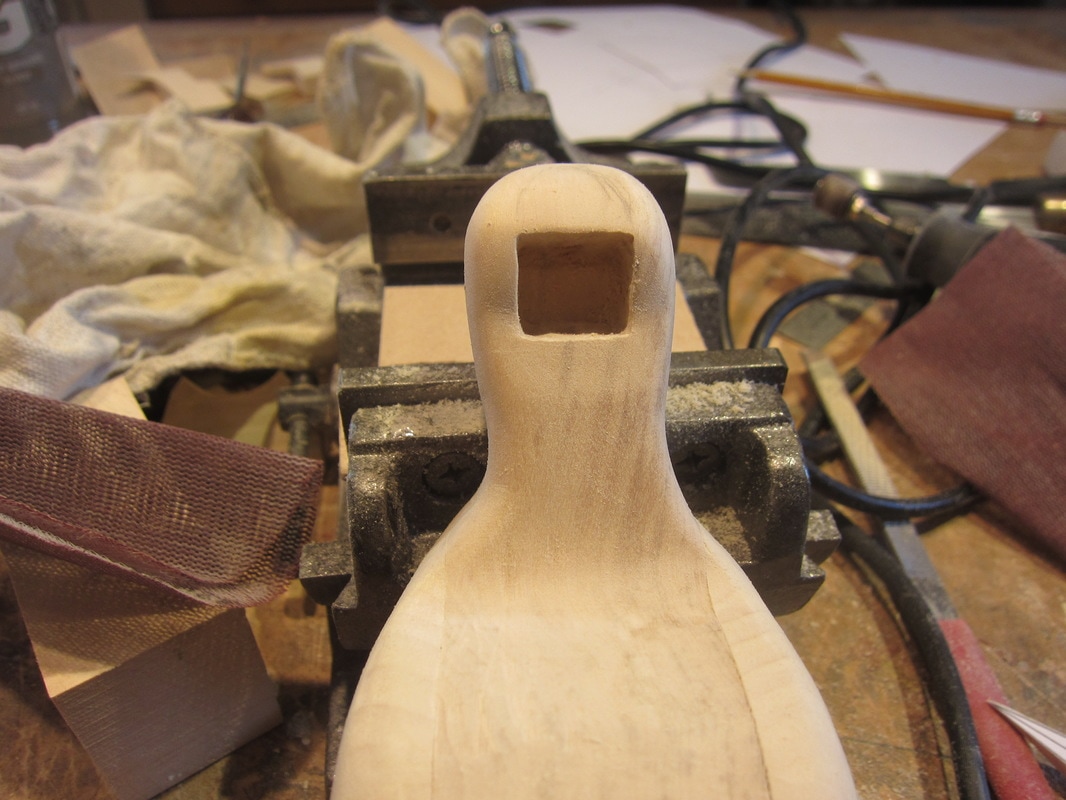
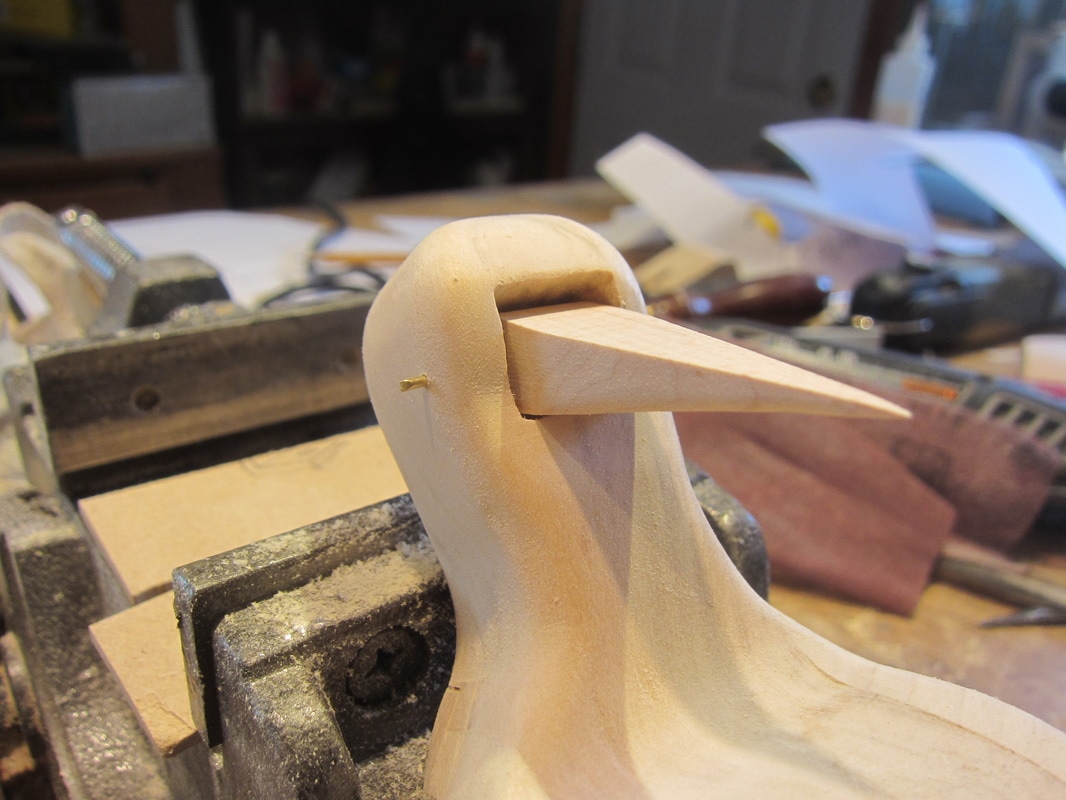
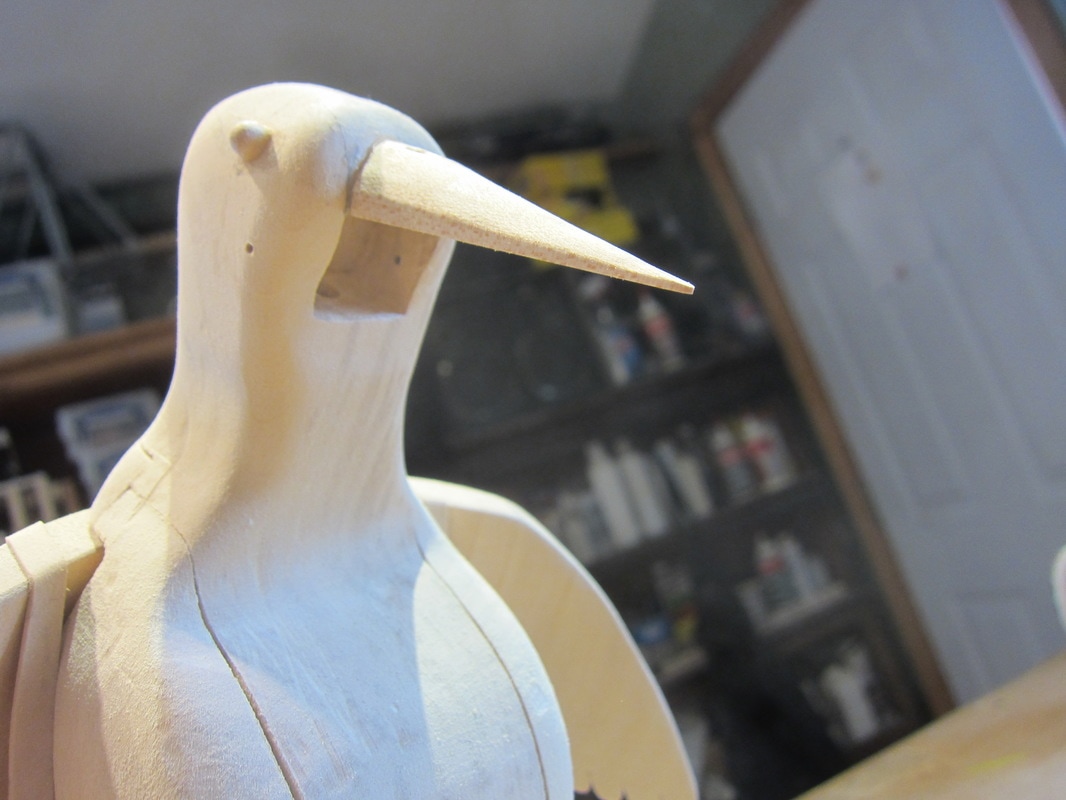
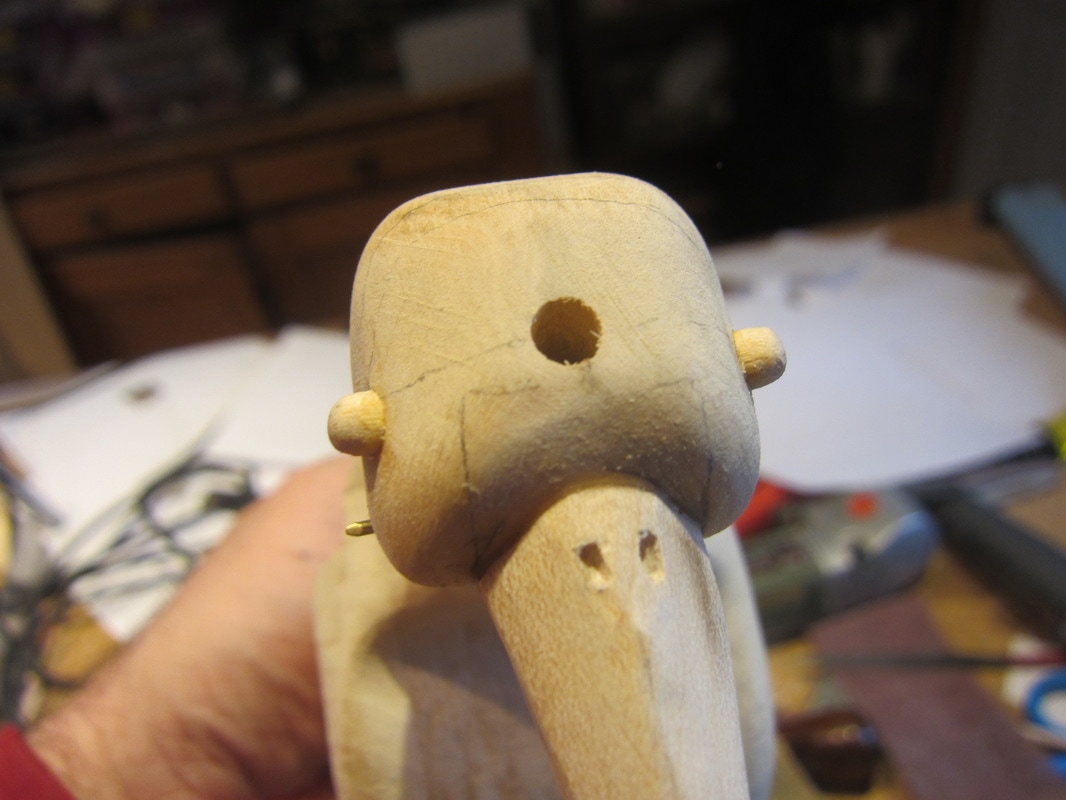
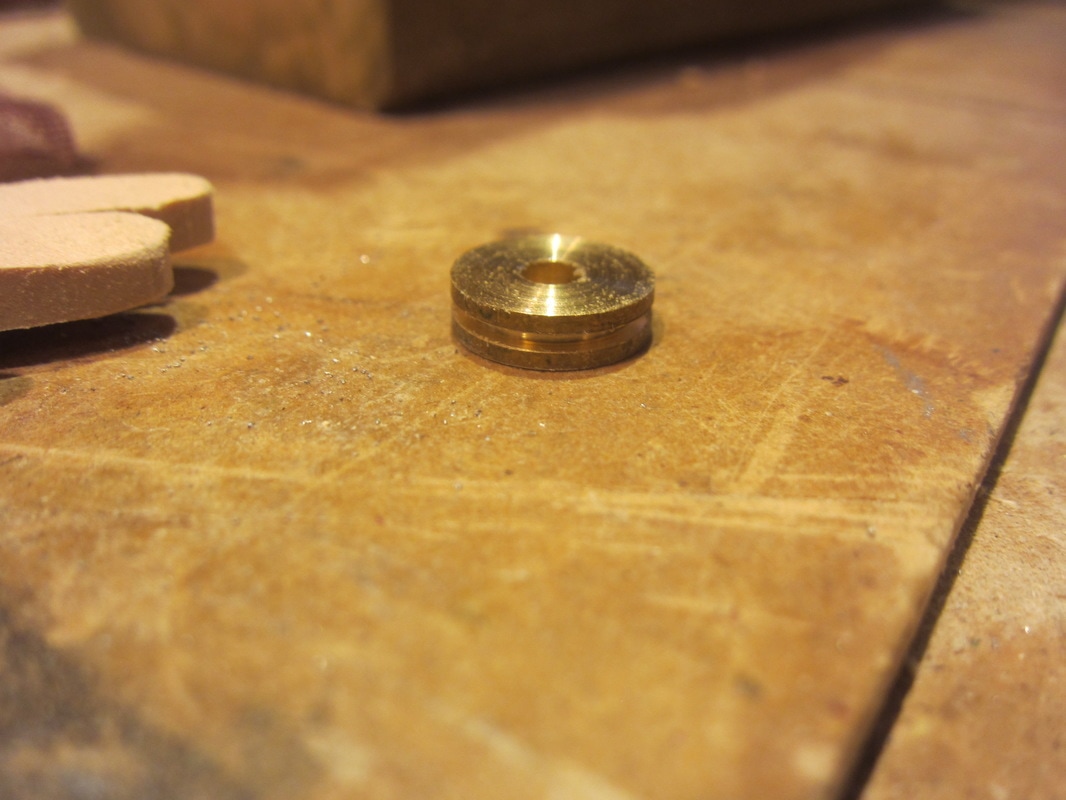
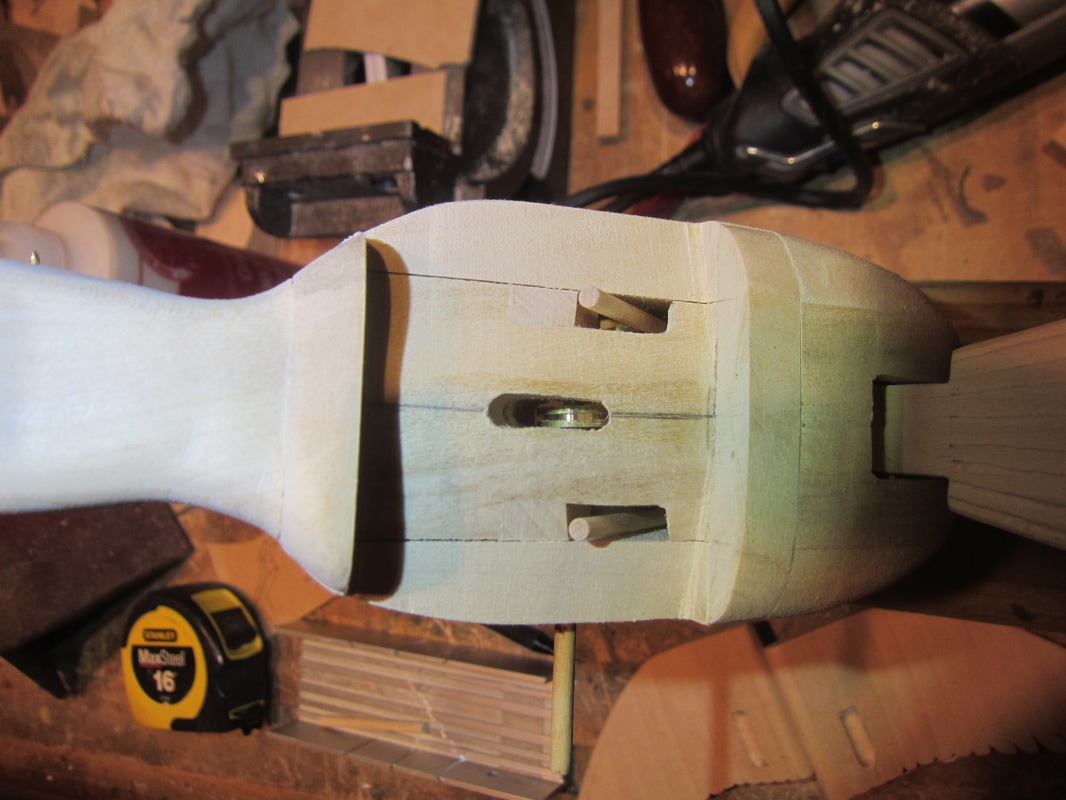
The Sleptin will have a mouth that opens and closes to snap at a worm. As with a lot of automata movement it is helpful to use gravity in the design to move things. Sometimes though, as in this case, the lower beak is very light and will not be heavy enough to fall open easily by itself, so the trick is to add pieces of weight into the beak to add to its weight. In the photo below you can see the lower part of the beak with two holes drilled into it from the back. They are just over 1/8" in diameter, the same size as little lead weights I frequently use. The weights are slid into the holes to a point past the fulcrum of the beak. There is no need to fill the holes as they will not be visible when in place. I always put a few drops of glue down into the holes to secure the weights in place. When this photo was taken I had also secured the cable that will operate the beak. I use a teflon coated stainless steel wire that is available from a local craft store where they sell beading supplies. I pass one end of the cable through a crimp ring, loop it around and through again, and then crimp the ring, and then I cut off any cable end remaining. I drill a small hole in the upper part of the beak and cut a small slot for the wire to wrap over the back. Once in place I bury the crimp and a little of the cable in glue to secure them. The first operation for installation is to square up the hole in the front of the head for the beak. It must be shaped to allow the beak to go to an open position easily and close onto the top beak The next job is to make the upper beak and glue it into place above the lower one so they align went shut. In the photo on the right you can see the hole that was drilled down from the head into the body for the cable. this hole will be filled in and finished during assembly. The last little piece of the beak operation inside the bird is the roller for the cable. It is located on the axis of the tipping action, redirecting the cable down into the mechanism. This piece is made fro brass. Sometimes I make wooden rollers, but as this will rub on wood to constraint it I opted for brass for this difficult to get to place. The photo on the left below shows the roller, and the one on the right shows it in place in the bird. So when done thread it all together, pin in the beak, and voila! - pull the cable and close the beak! gravity pulls it open when released. I love it when a plan comes together.
0 Comments
Leave a Reply. |
Why Automata?Automata is a creative blend of my life interests , engineering, art and woodworking. Archives
July 2022
Categories
All
|
 RSS Feed