|
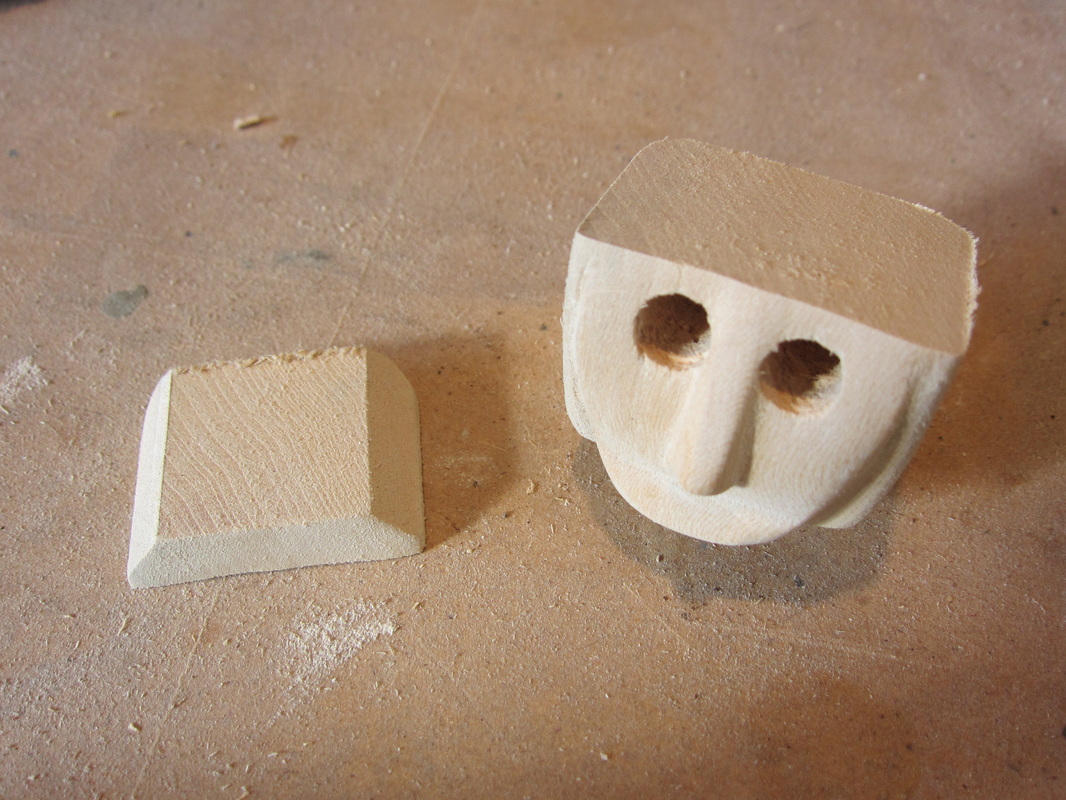
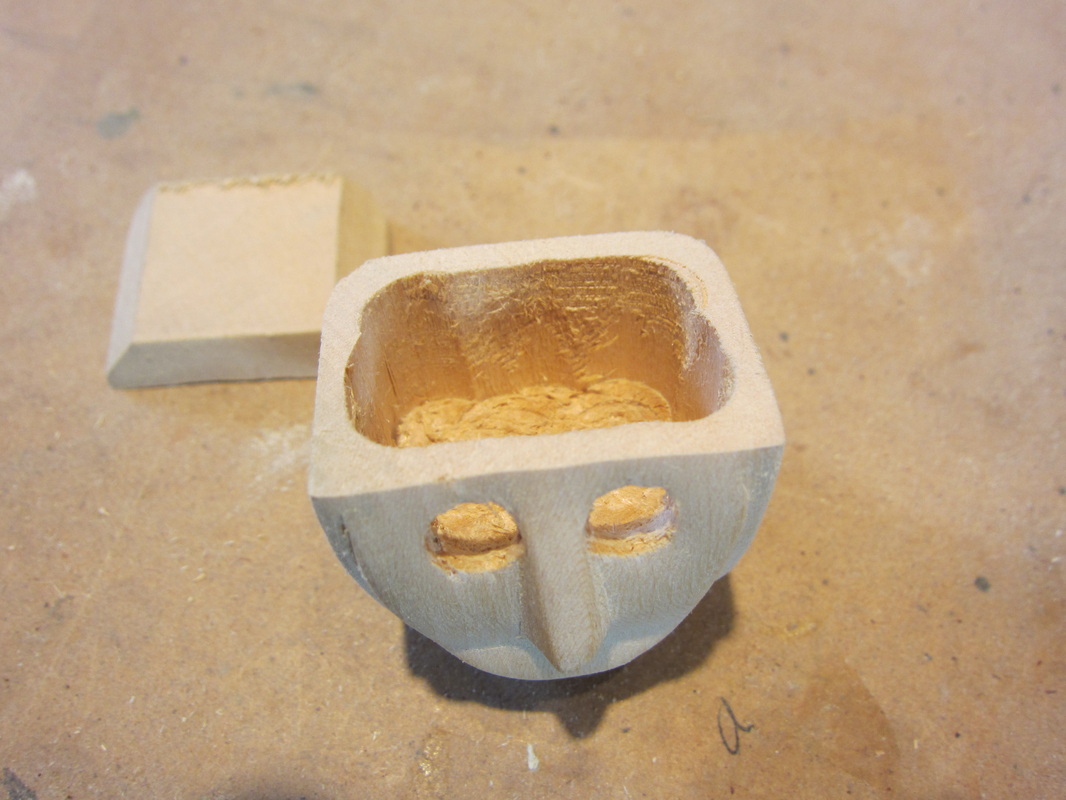
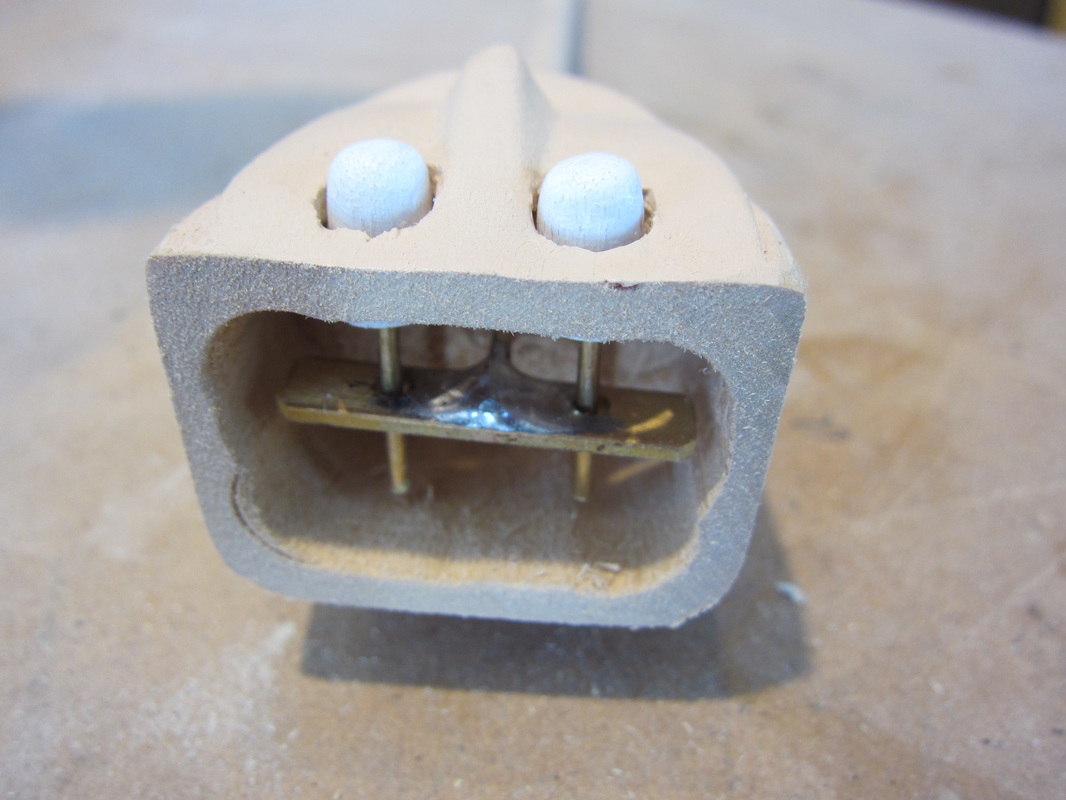
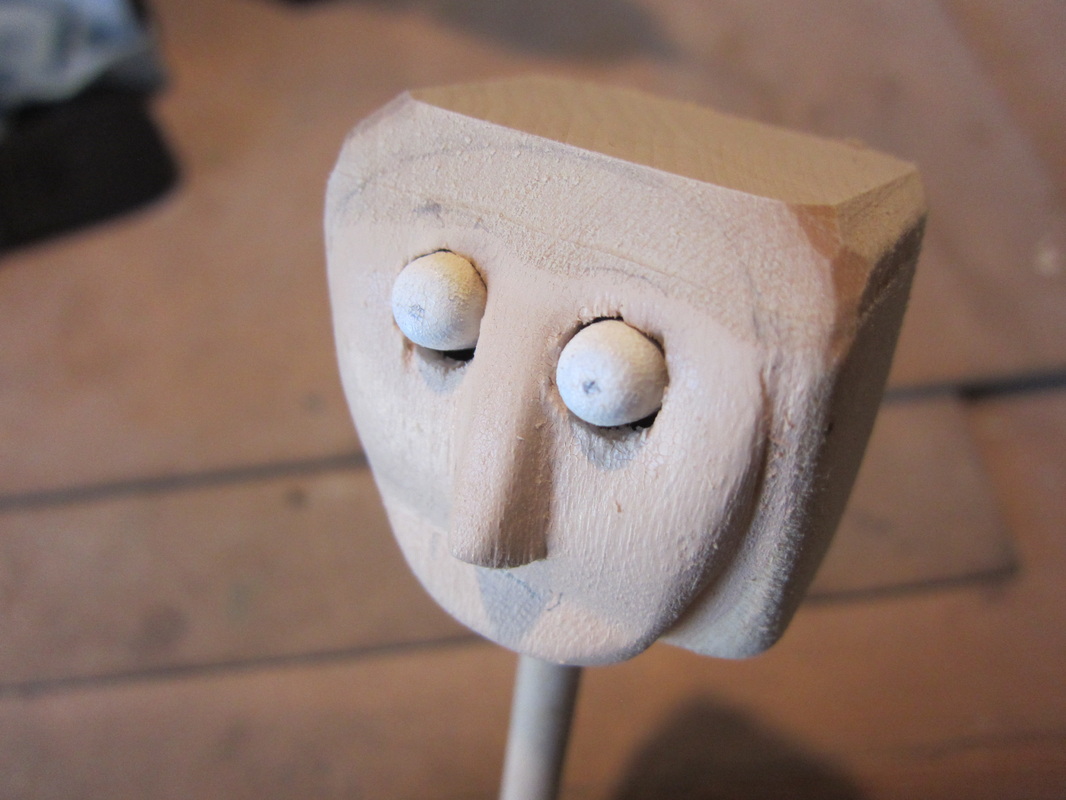
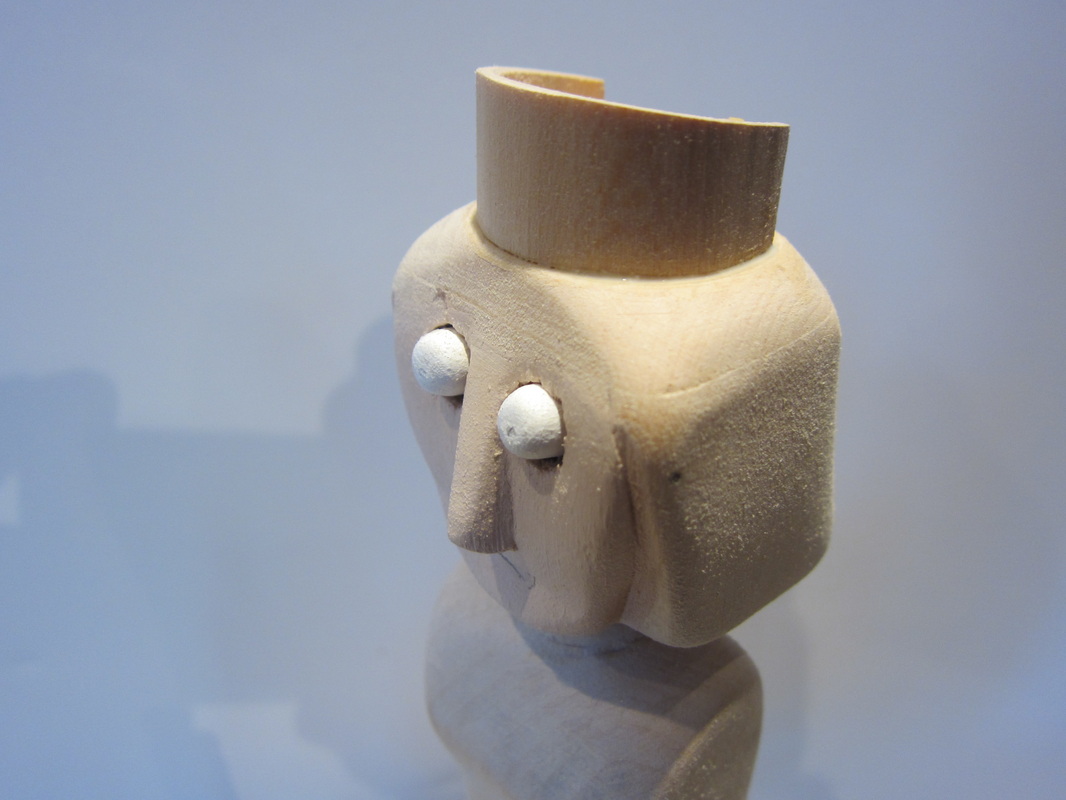
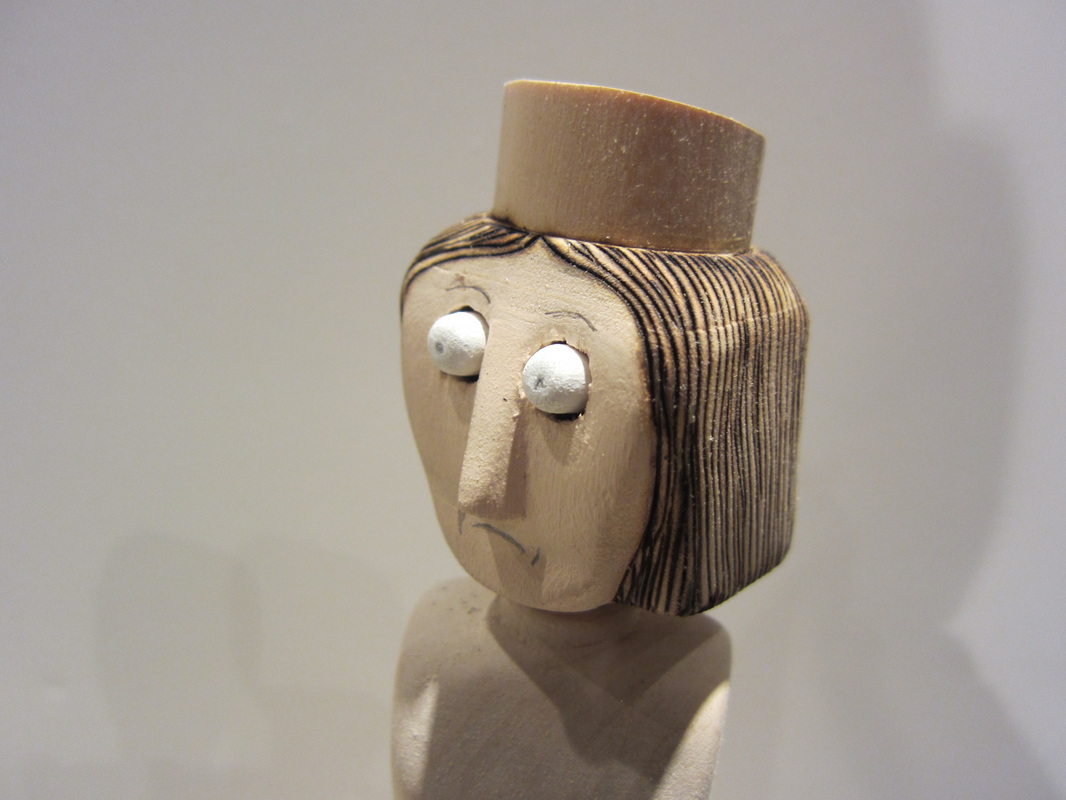
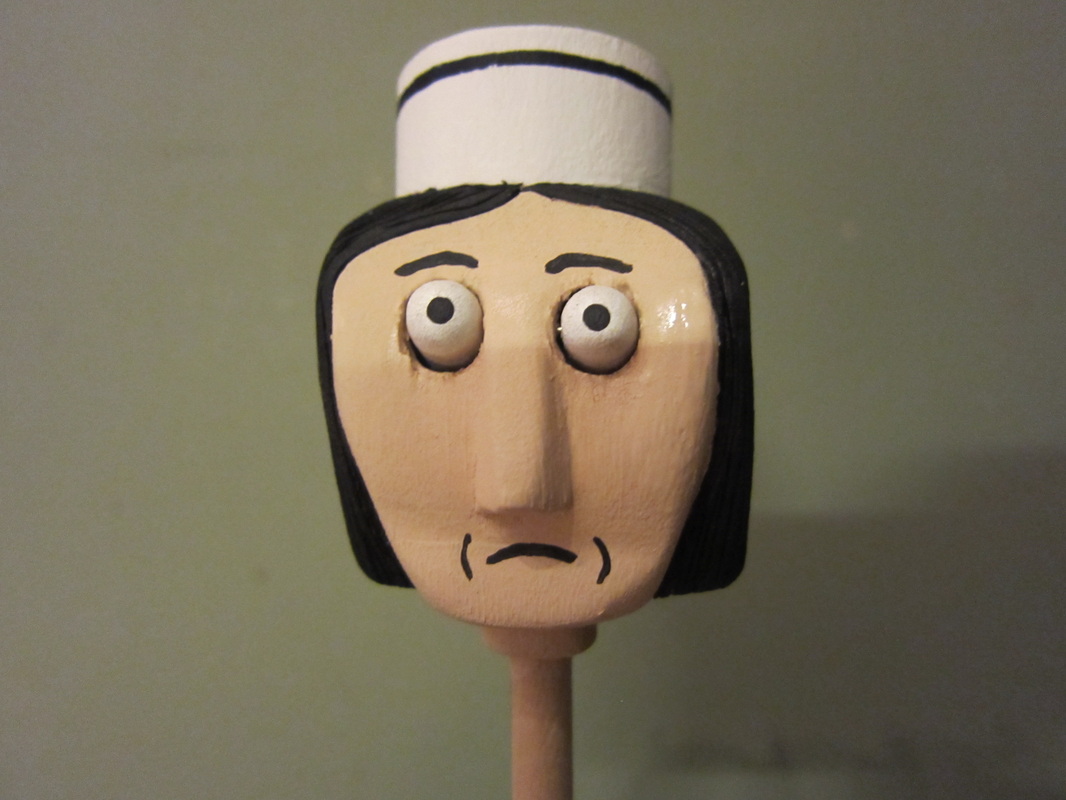
Continuing form the last post.... Here is the nurse's head with some surface sanding done around the eyes and the top of the head cut off in preparation for installing the eye mechanism. Next task is to hollow out the inside of the head to make room for everything inside. I use a small forsner bit in the drill press to do this while the head is anchored on a 1/4" dowel stuck in the neck hole to keep it perpendicular. Before installing the eyes I paint the eyeballs white and the inside of the eye sockets skin colour since it is difficult to do after assembly. With the eyes installed its time to glue the top of the head back on and begin work to reshape the top of the head by carving and sanding. In this case the nurse will have a cap on so I need to create an area to mount it on the top of her head. After making the nurses cap, I shape the head so that the hair looks natural coming out from underneath the cap. I wanted the nurse to have a stern look to her so I left her upper head angular in appearance. The last carving component was to use a wood burning pen to detail her hair. It appears brown in the photo because of the ash left from the wood burning. Finally a paint job adds facial details to give her the stern, disengaged look I wanted. I hope you enjoyed following how the nurse's head was made. It is a typical construction for many of my figures. As you can see I do not carve detailed facial features, but rely on painting to complete the expressions on my characters. I think it is a reasonable compromise against the details of the mechanisms in the pieces.
0 Comments
Leave a Reply. |
Why Automata?Automata is a creative blend of my life interests , engineering, art and woodworking. Archives
July 2022
Categories
All
|
 RSS Feed