|
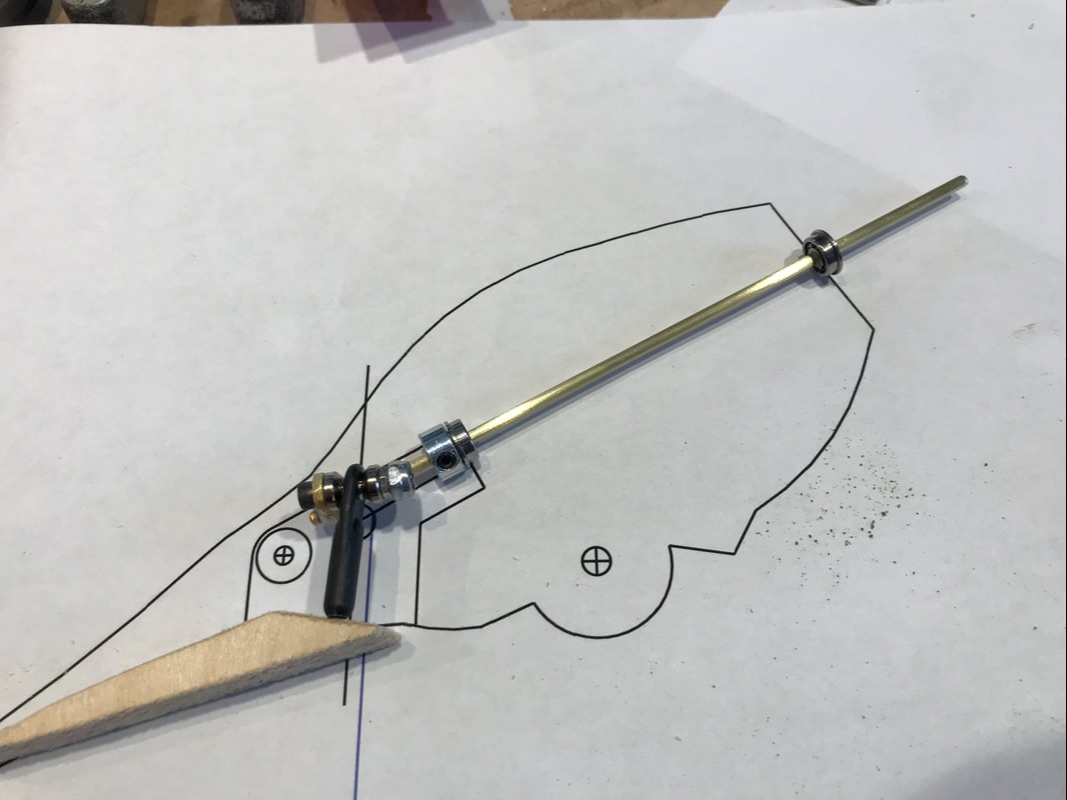
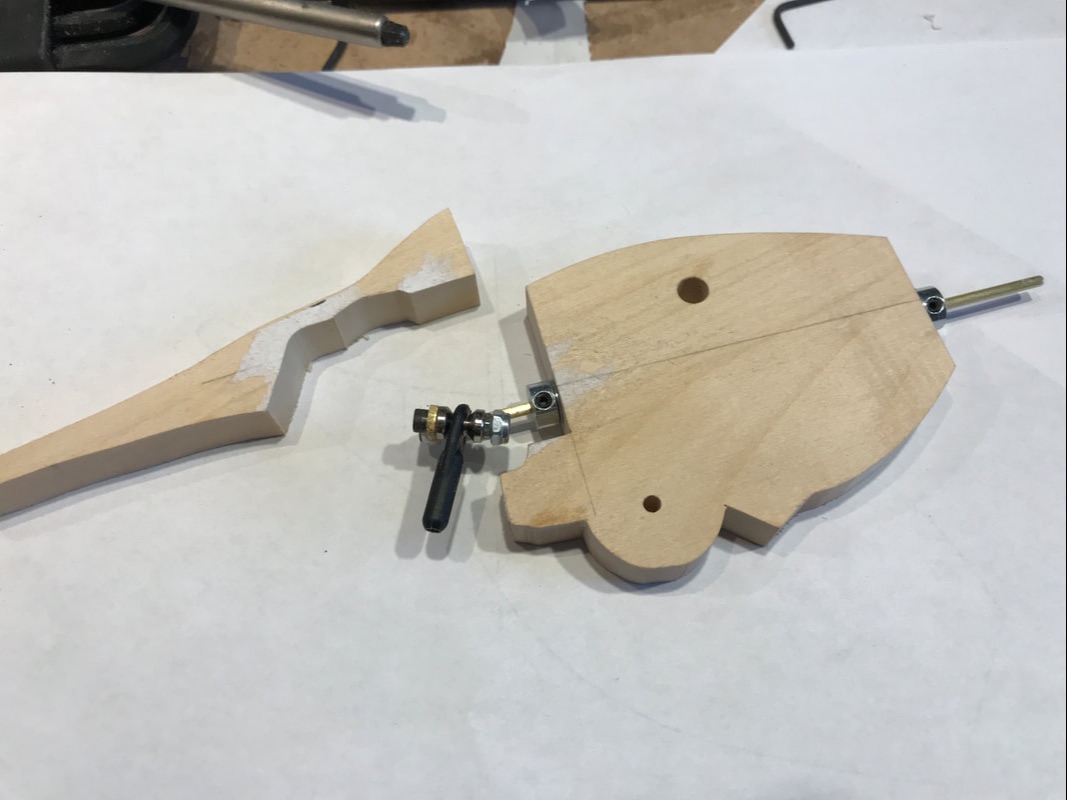
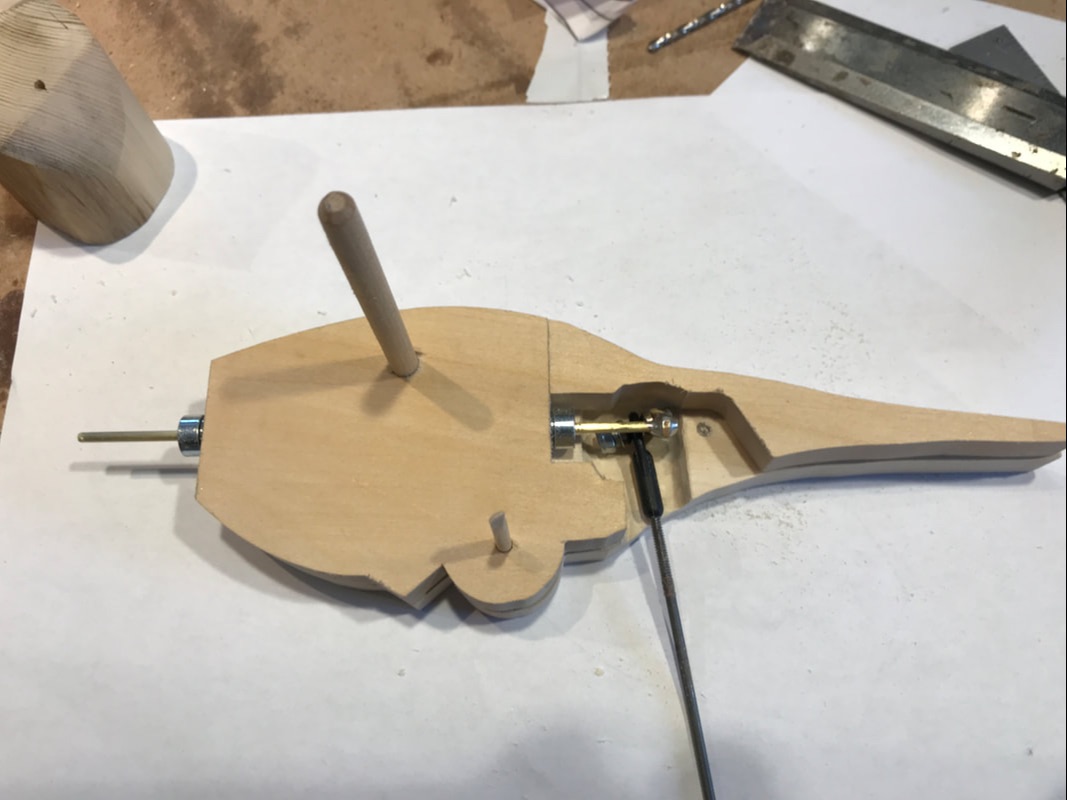
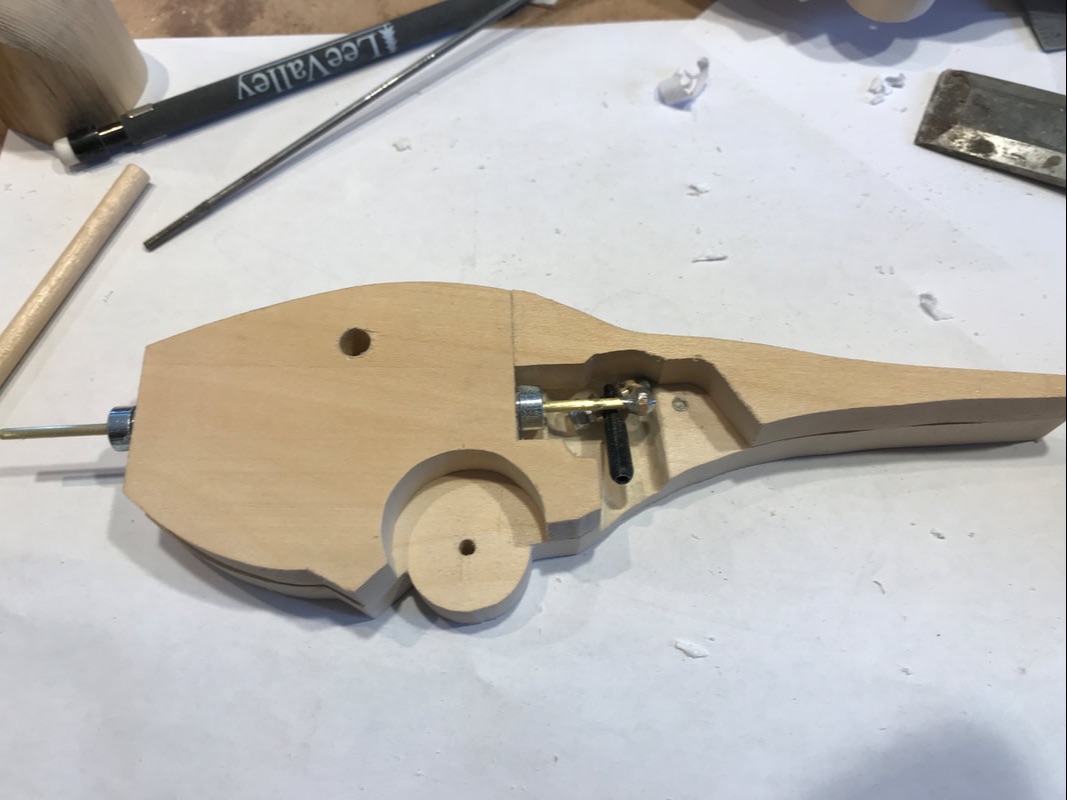
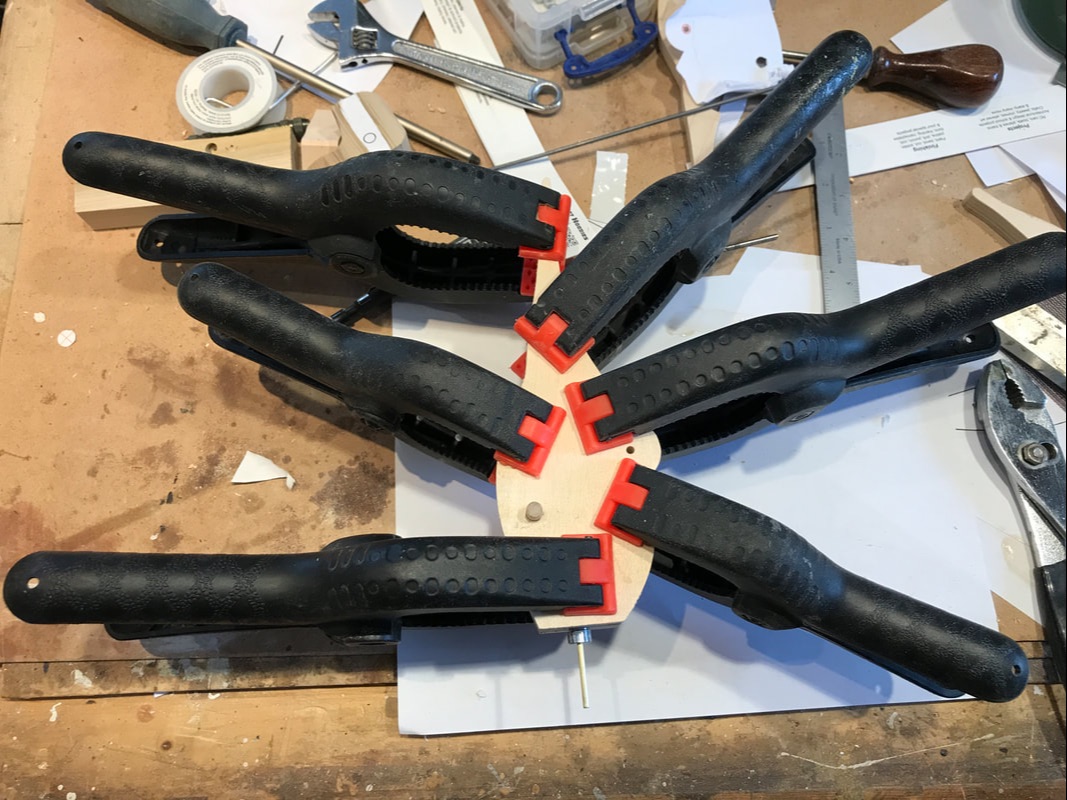
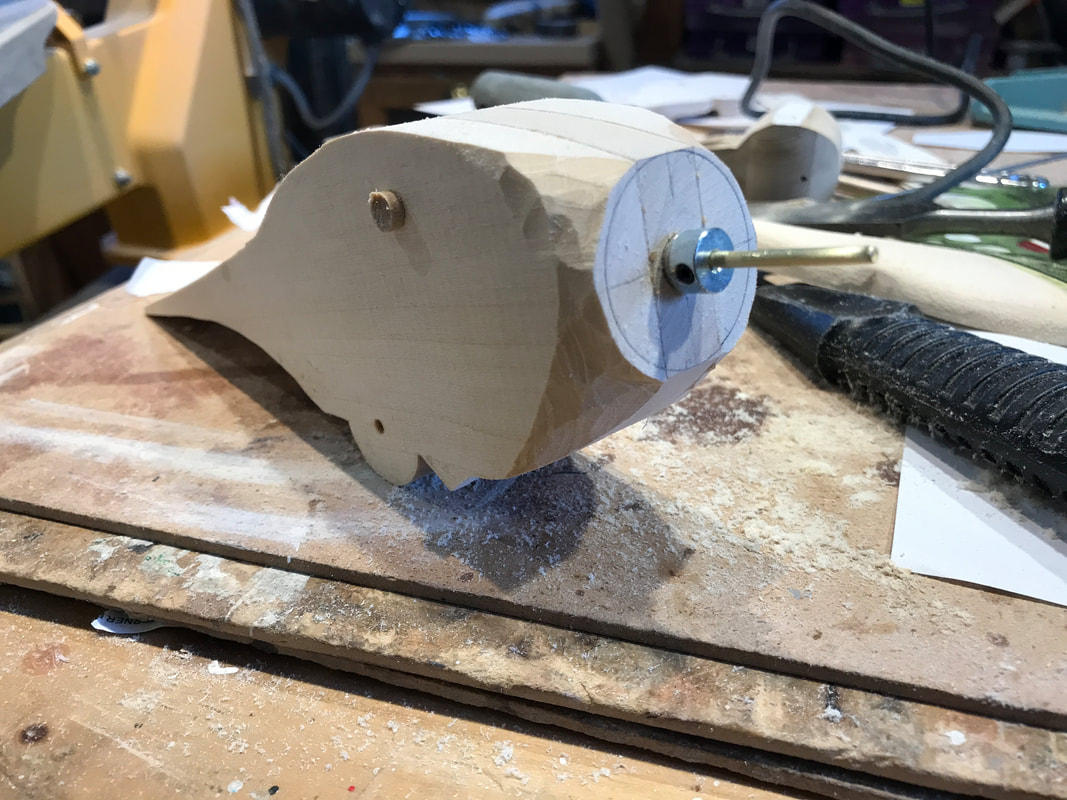
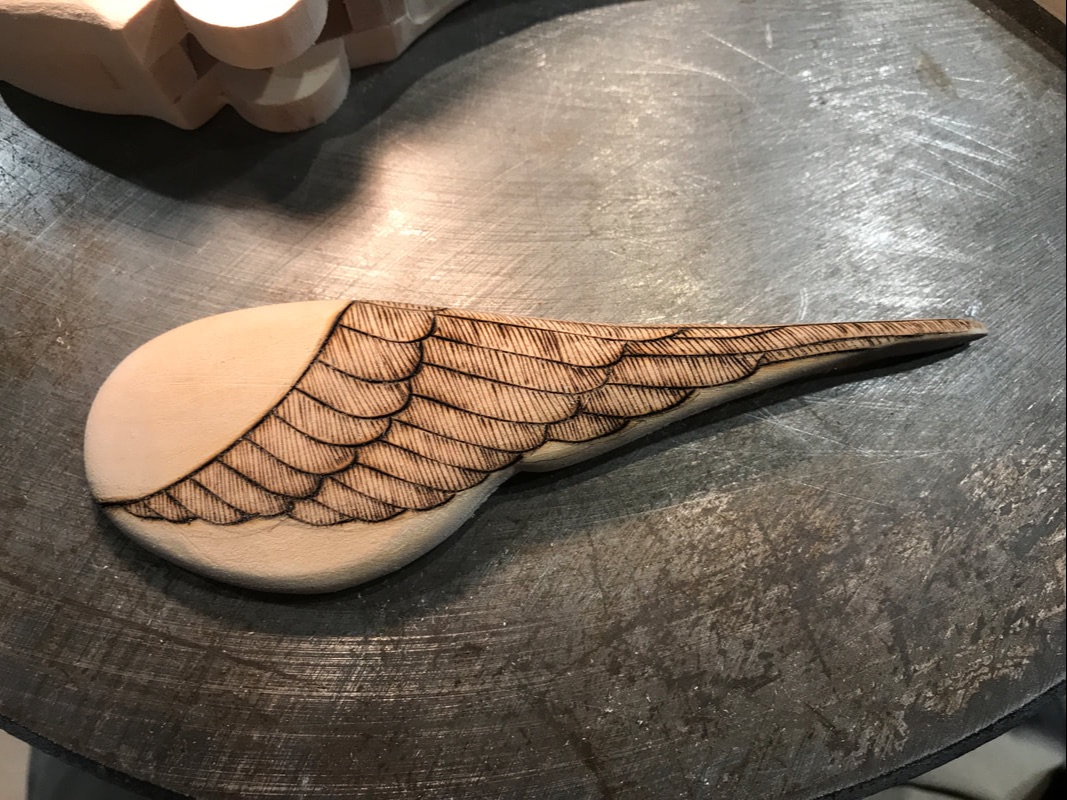
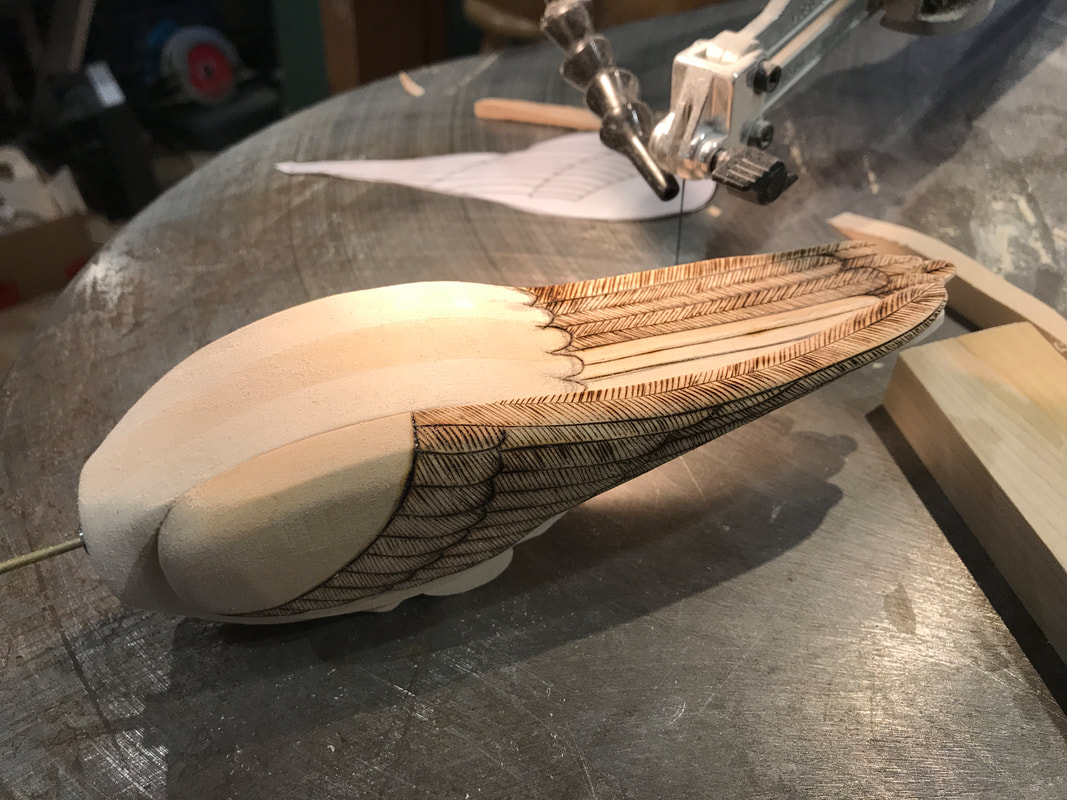
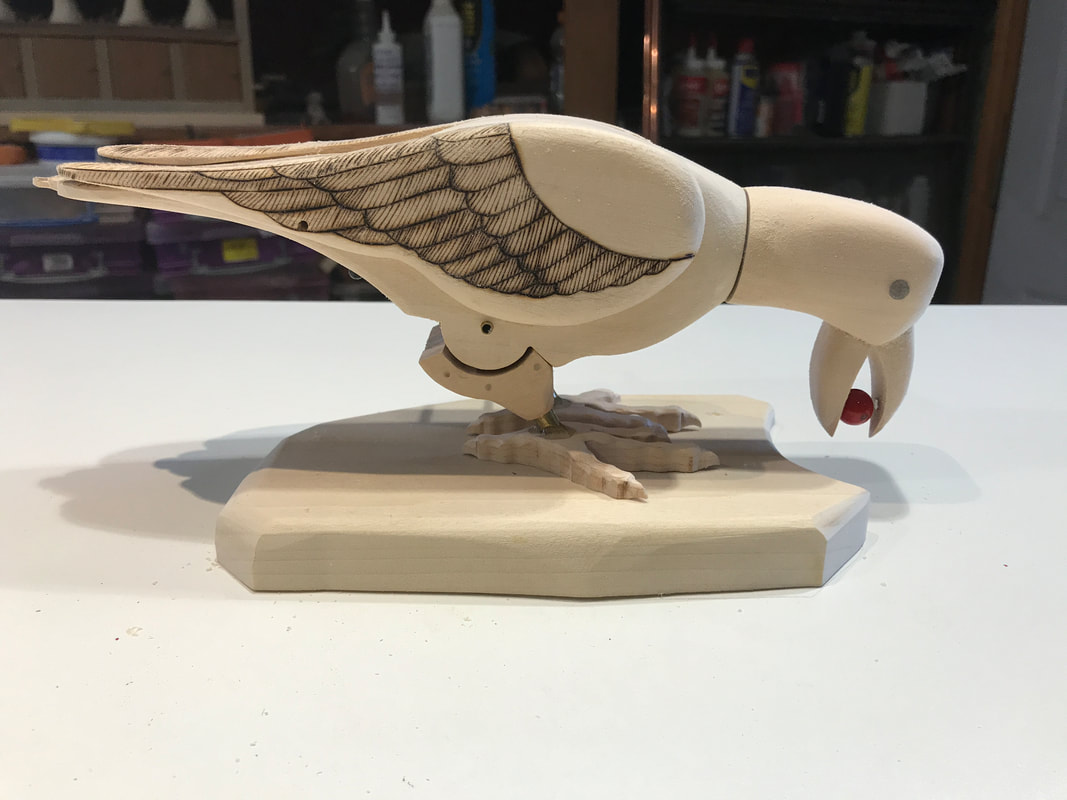
Every now and then you come across a project that begs to have part of the mechanism hidden inside the automata character. This usually means you have to build the moving parts inside as you fabricate the rest. You have to take care because once sealed in, it's a major mess to tear things apart again. This is one such example. The photo on the left below shows a drawing of the torso of a bird without it's head and legs drawn. the head will be on the upper right on the brass rod. This bird will tip forward and then return to a standing position. As it stands it's head will turn to look at the viewer. The tipping linkage connection and pivot point can be installed from the outside of the bird, but the mechanism to turn the head must be built inside the body of the bird. Since this is an exhibition piece there is the added complexity of bearings and collars required to ensure long term operation. There is a 3/32" brass rod that extends through a 1/4" hole in the block. At the top end there will be a small bearing and a shaft collar. Only the flanged bearing is shown here. The collar will serve two purposes. It will keep the shaft from sliding down into the body and will be firmly attached to the head to prevent loosening of the head. The lower end also has a bearing and collar to hold the shaft in the correct position. Finally a brass plate is soldered onto the shaft at an offset that allows it to turn. It is bent slightly to help prevent binding as the bird rocks up and down. On the end of this small plate is a universal joint, the type used in RC cars and airplanes, that will connect with a rod to the mechanism in the base. The connection is through a threaded rod inserted into the black sleeve. On the right is the mechanism as it sits in the body block. what is important to note is that to insert this piece, a segment of the body had to be cut out to allow it to slide in from the left side of this photo. Once installed the little wooden piece was glued back onto the block. The body of the bird is shaped from three body blocks of which this is the centre one. The photo on the left below shows the reverse view of the centre block sitting onto of one of the outer body blocks. Note here that some of the thickness of the outer block has been removed to give the lever arm enough space to rotate, enabling the head to rotated through about 90 degrees. This is sort of a chew-it-away with a Dremel burr until things move smoothly job . The little black pencil dot is the location of the linkage hookup for the tipping motion. The hole will be drilled when the body is assembled. The picture on the right has the spot for the pivot disc on the leg assembly cut out. It was the subject of a previous blog entry. The 1/4" diameter hole is drilled through all the body blocks to help maintain critical alignment as I build. Next, place the other side block on, check all the alignments, sand everything smooth so there is nothing to catch one and glue it all together. Be smart with the glue though, you don't want to glue your internal bits together! When it dries, start shaping the block into the semblance of the bird. At this point it looks more like a Sopwith Camel! Next, make a pair of wings and add a little pyrography to get the appearance of feathers and also burn in a few tail feathers. I never profess to build perfect carvings, but rather give the semblance of the character that allows me to build things inside and provide movement. Finally, although not finished in this next photo below, add a head, and a beak with a few magical bits in it and you begin the see "Rocky" the caching raven emerging hiding a precious berry.
More to come!
1 Comment
Steven Fischer
3/13/2020 06:29:14 am
Al...absolutely brilliant!, I just am in awe of how skilled you are in constructing this piece for the museum...well done my friend
Reply
Leave a Reply. |
Why Automata?Automata is a creative blend of my life interests , engineering, art and woodworking. Archives
July 2022
Categories
All
|
 RSS Feed