|
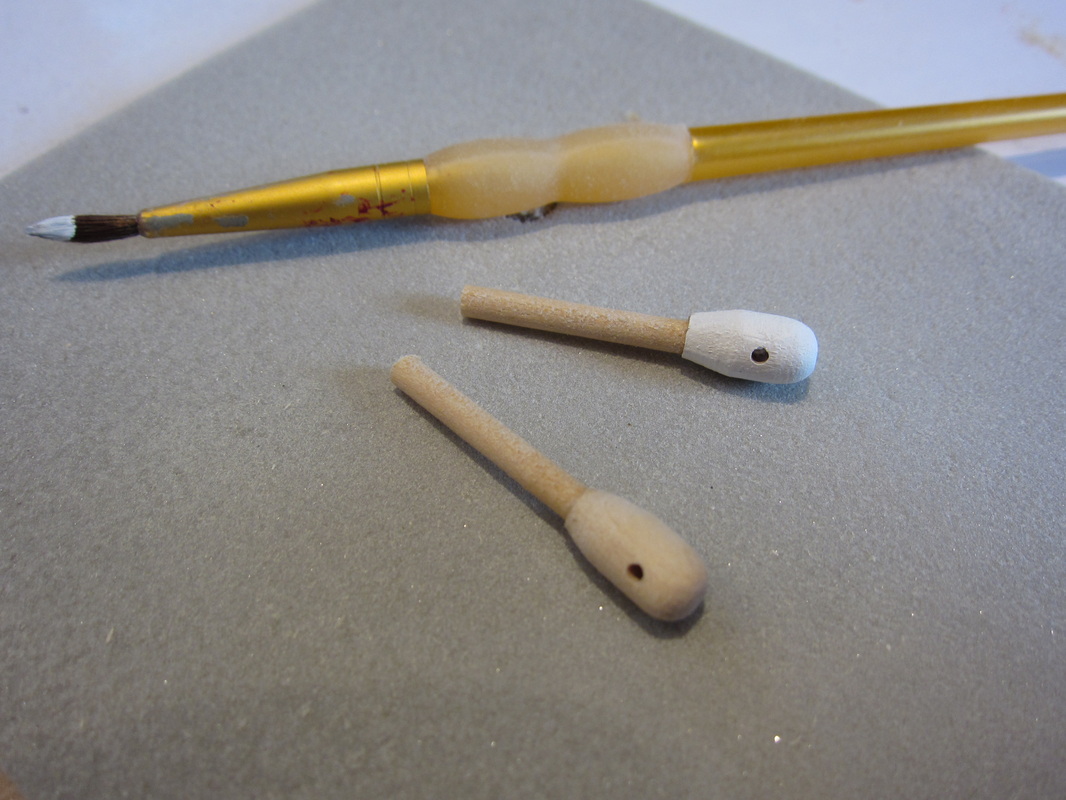
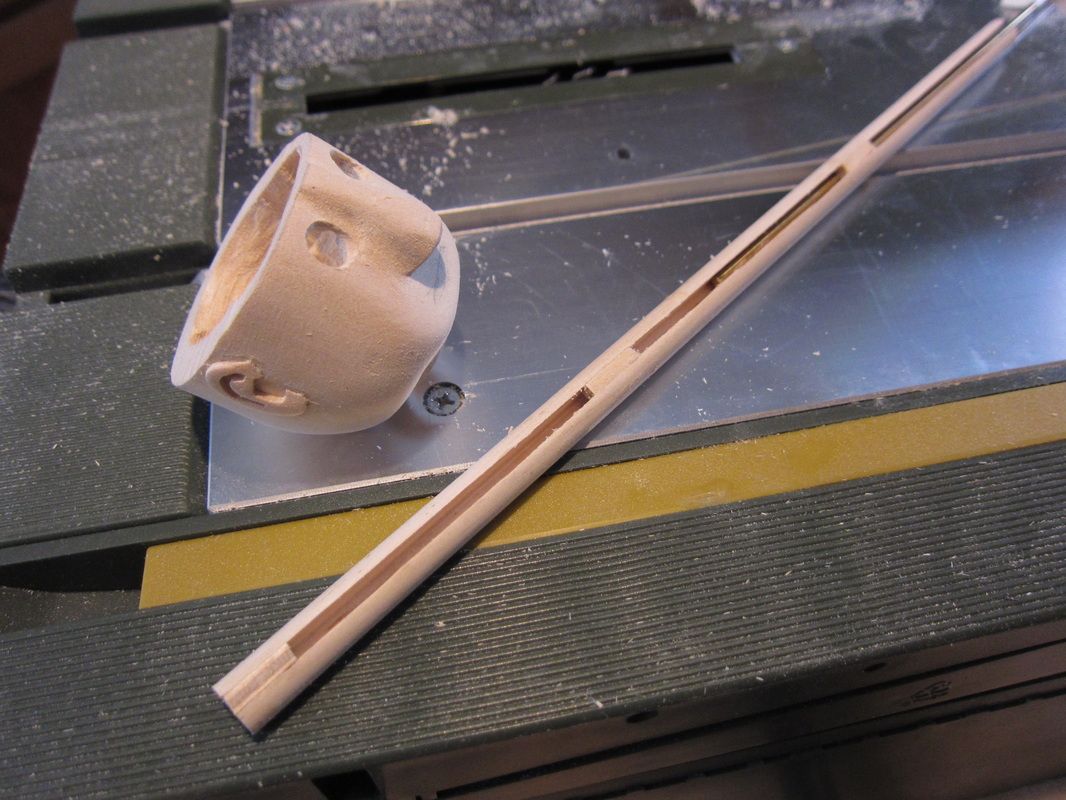
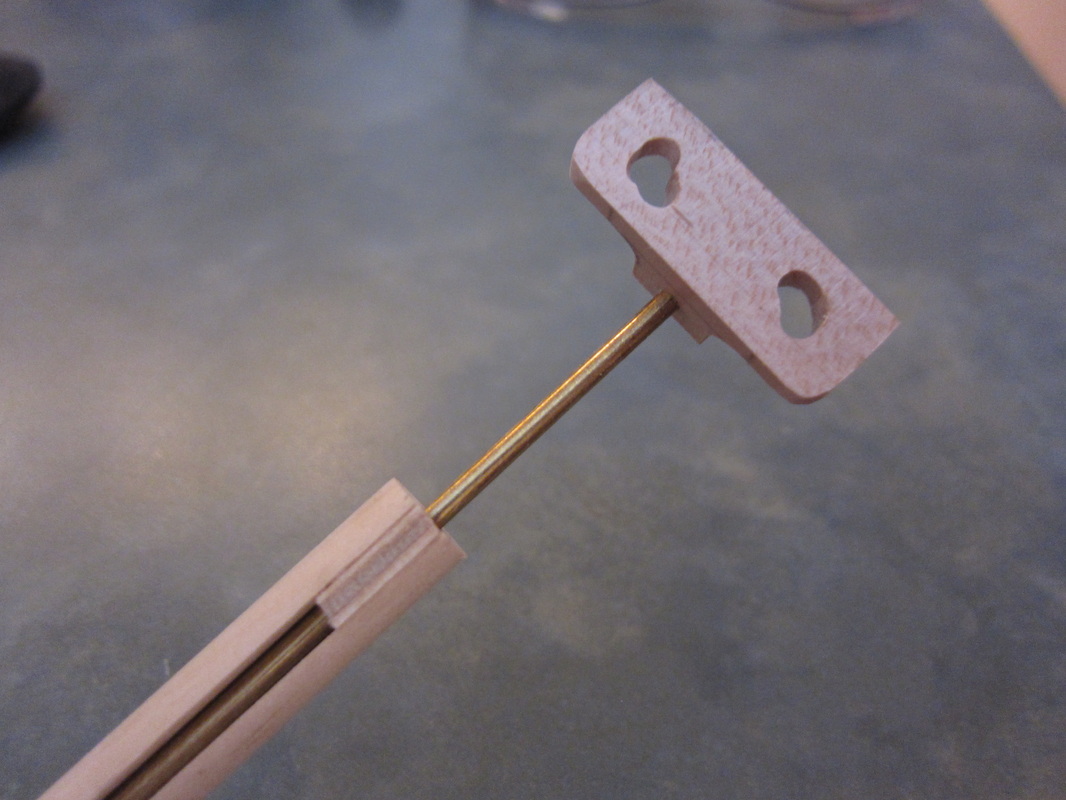
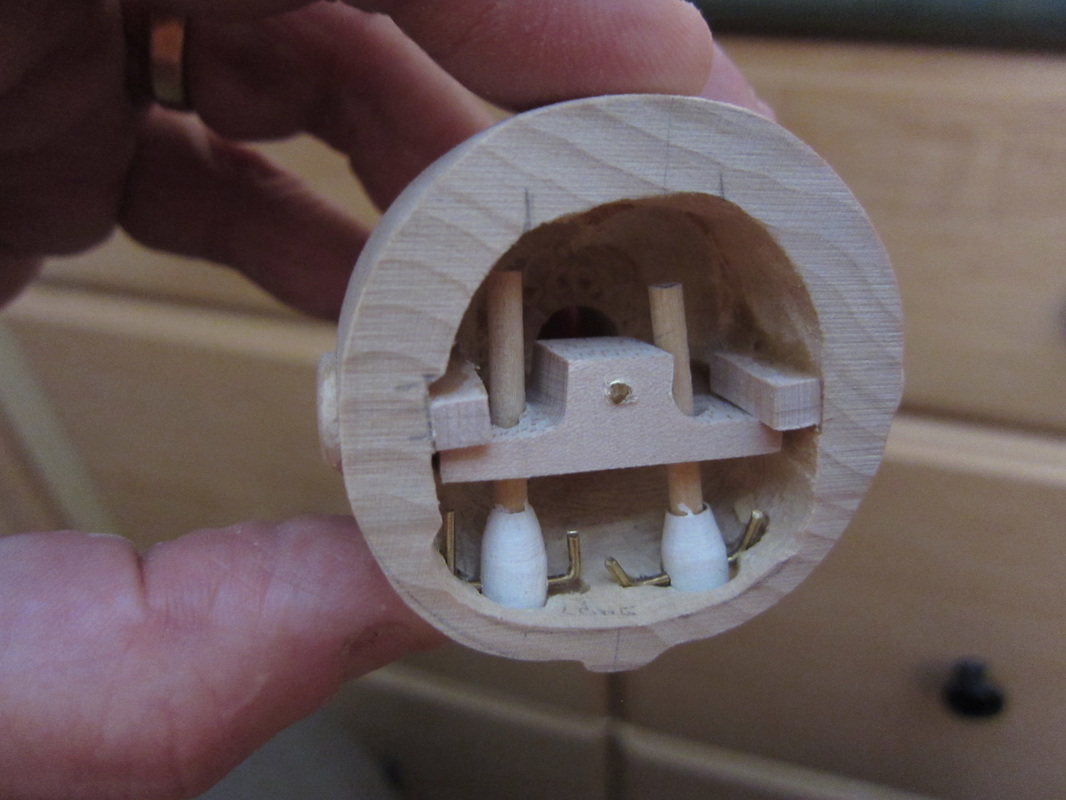
The eyes are made from dowels, in this case 1/4", and have smaller 1/8" dowels glued into the back. These small dowels will fit through the sliding plate to impart movement to the eyeballs. I paint the eyeball white before assembly as it is easier than painting later. The actuator for the eyes runs up on the inside of a 3/8" dowel. The dowel is glued into the base of the neck and is used to turn the head. I glue spacers in the dowel to keep the rod in the centre and strengthen the dowel. Here is the sliding plate affixed to the top of the control rod. The control piece is made of hardwood (maple) and the is a 4-40 tapped thread is cut into the hole which the brass rod is threaded into. The assembly will be coated in CA glue when finally assembled. The holes have to be loose fitting to account for the movement of the rod. Diagonal slots make the eyes move side to side, vertical up and down. Here is the assembly in place. The brass rods used for axles of the eyeballs will be epoxied into grooves carefully cut into the inside of the head. By moving the slider up and down the eyes will them pivot of the rods. A pupil painted on the eye ball will then appear to look up and down. The top of the head will be glued on and access to the head internals will be eliminated. The eye sockets must be shaped carefully as the wood here needs to be fairly thin. The sockets need slight elongation up and down to allow full movement of the dowels. Cutting the grooves for the axles requires a steady hand, but with practice it is all possible! I'lll post detail of the head when completed.
A
0 Comments
Leave a Reply. |
Why Automata?Automata is a creative blend of my life interests , engineering, art and woodworking. Archives
July 2022
Categories
All
|


 RSS Feed