|
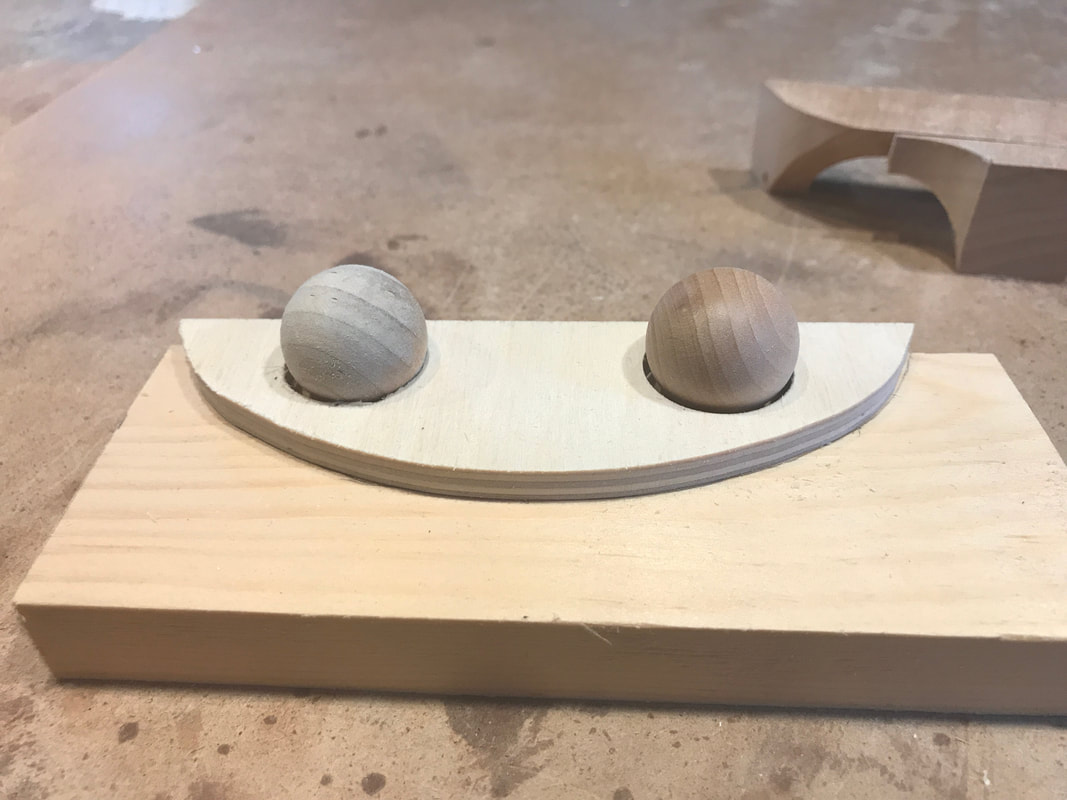
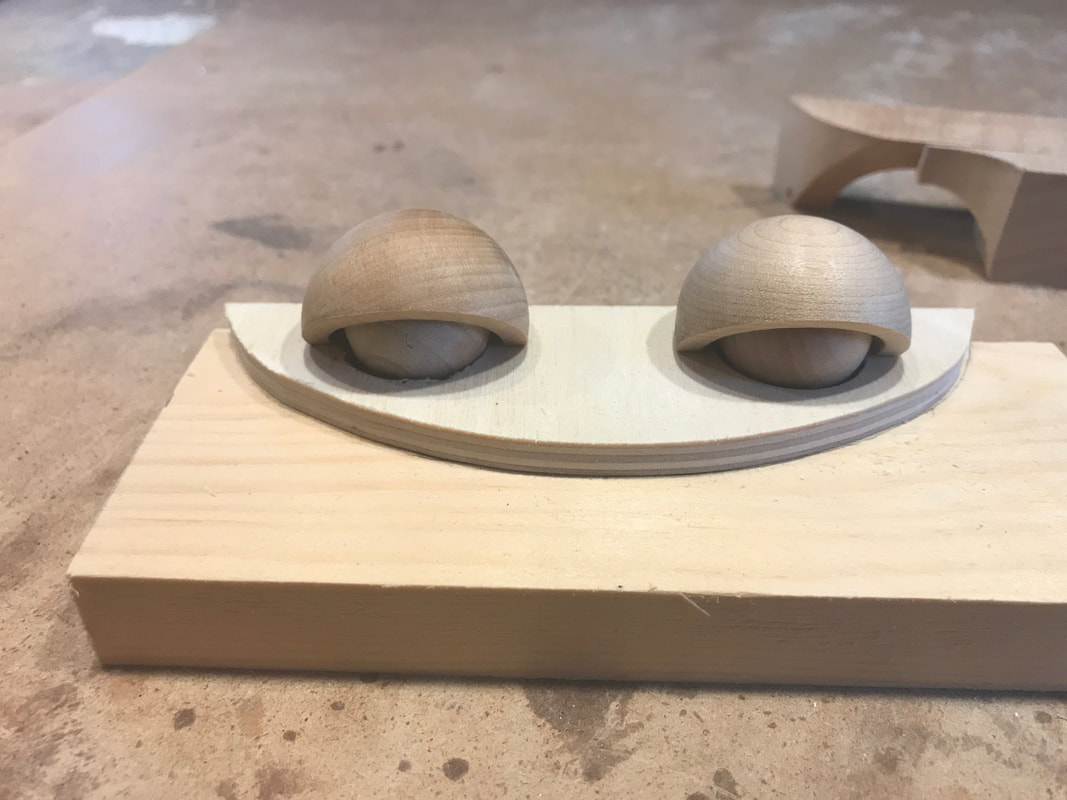
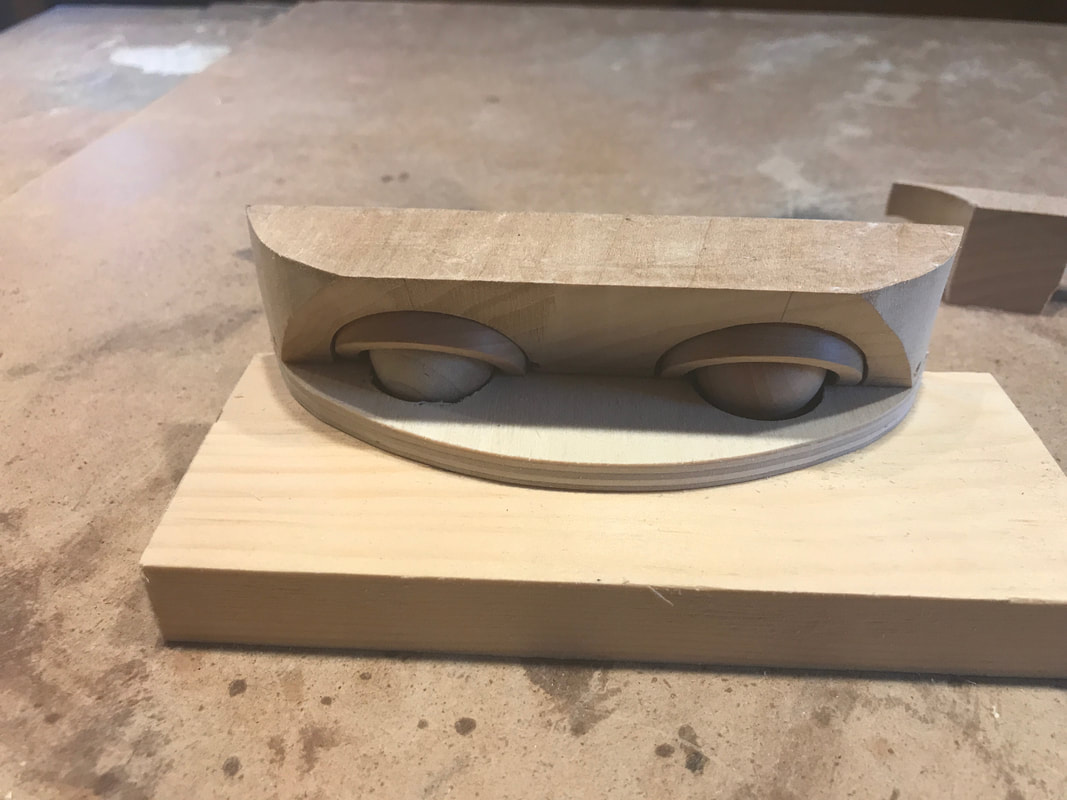
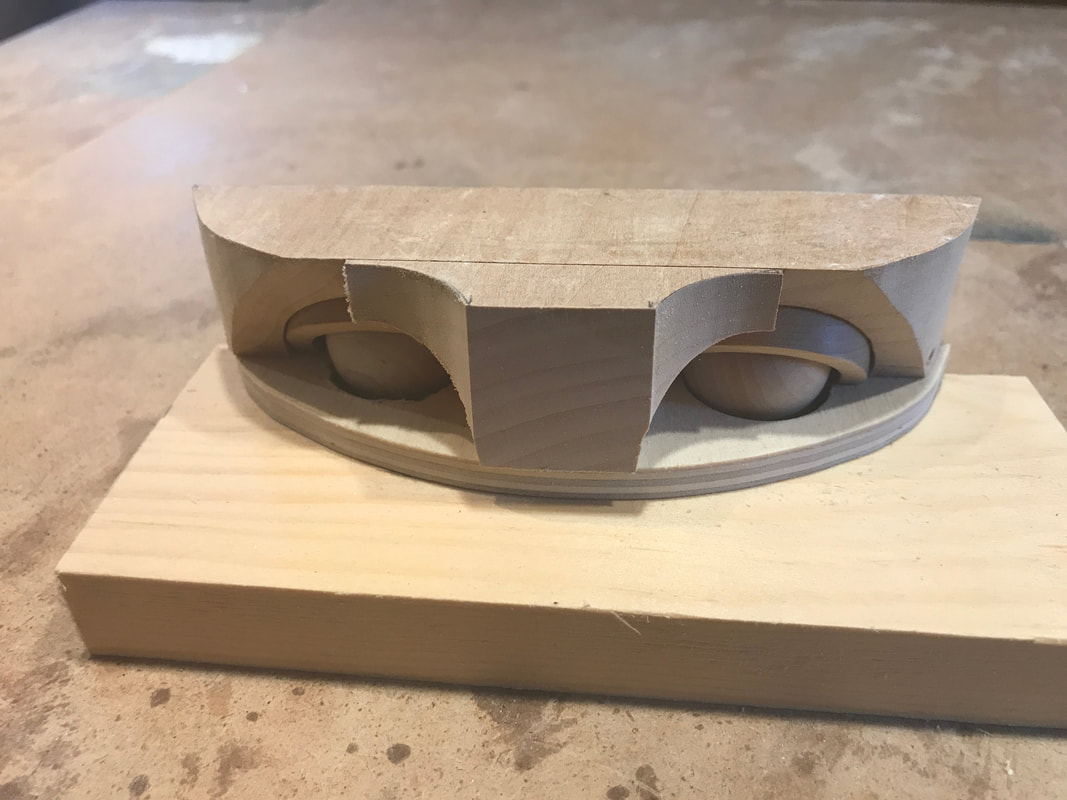
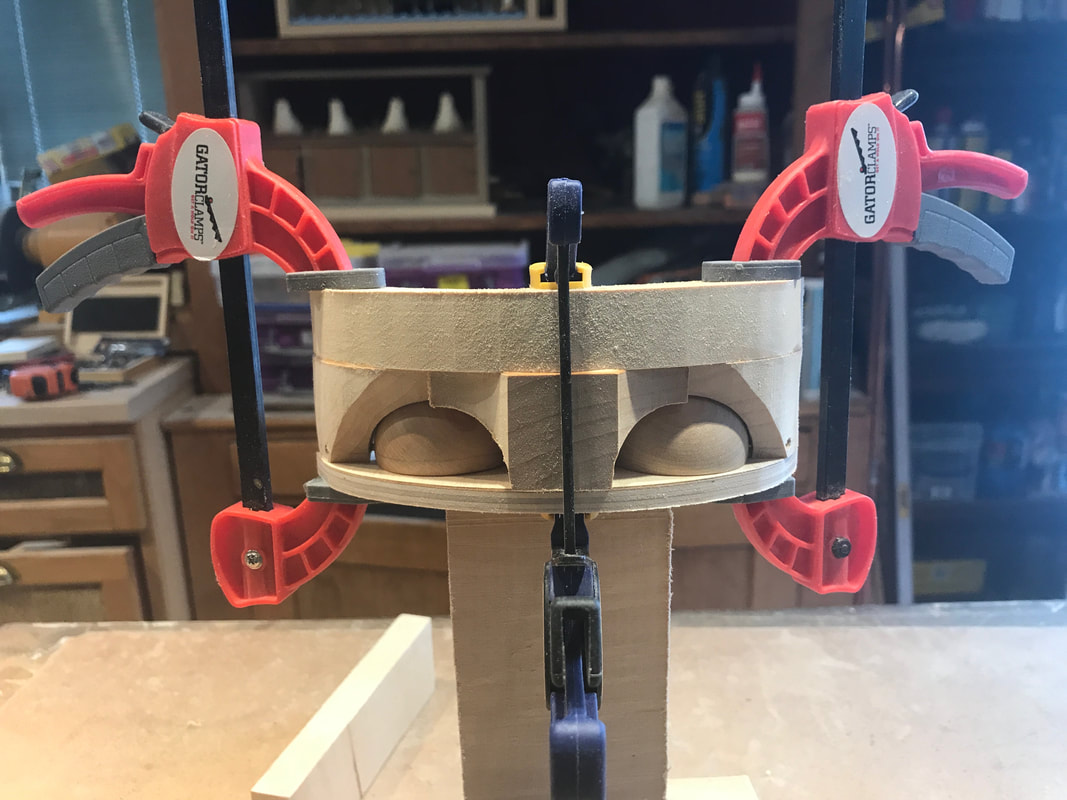
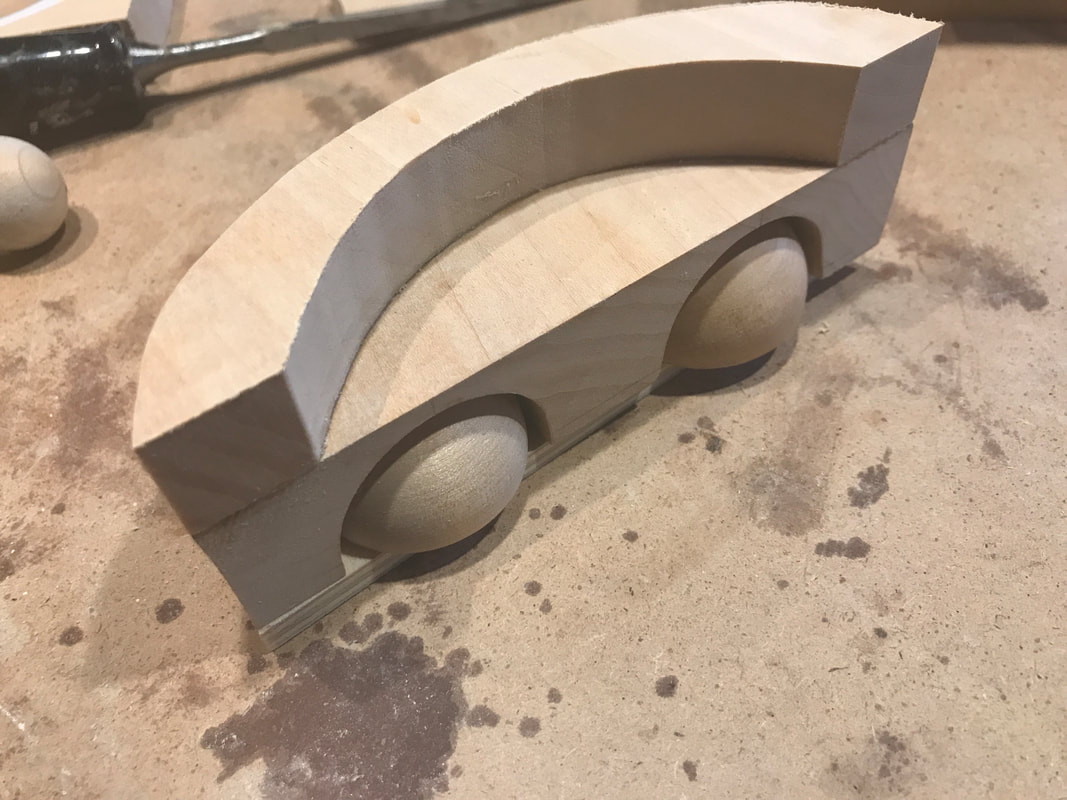
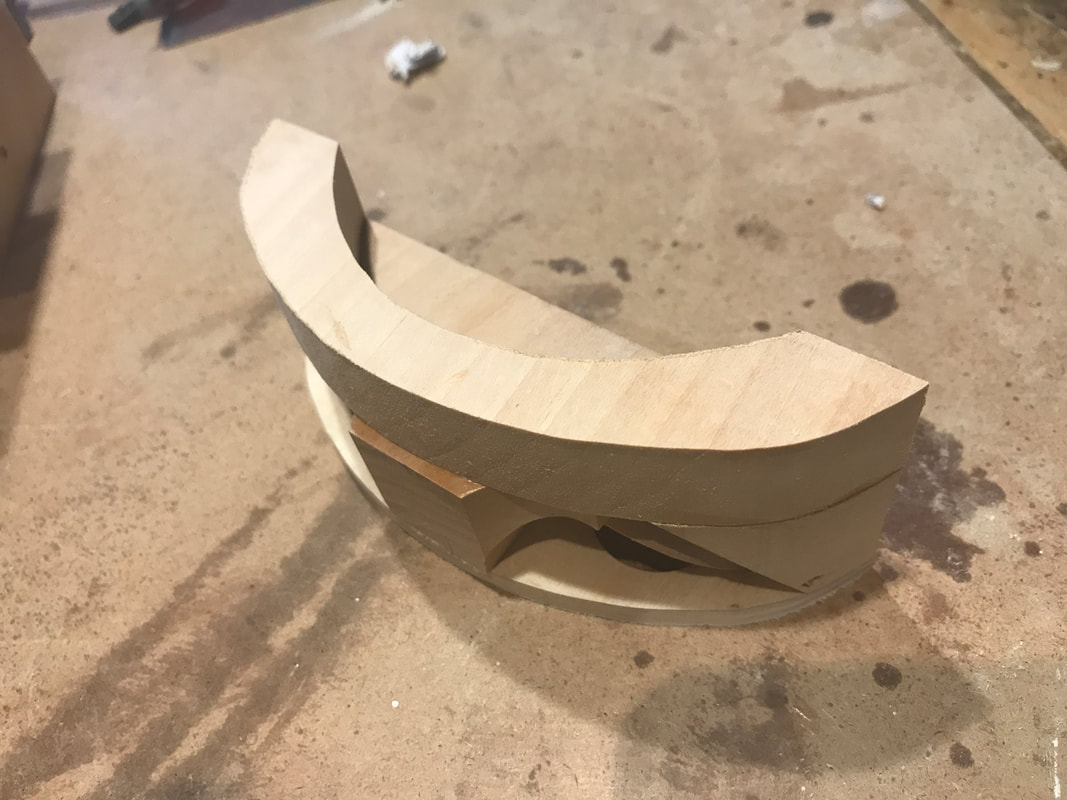
Yes it is a terrible pun, but today's fun was creating the brow and features around the eyes of the head of the Bipolar Brain. A few days ago I posted the eyes and eyelids I had made but now it was time to work out the surrounding structure. Making eyes in this manor requires some subassembly along the way that once completed is difficult to undo. So let's see what I have been up to. The first photo shows the two eyeballs sitting in the lower section of the brow assembly. Remember they have 1/8" brass rods that go into the bottom of the eyeballs that will activate a rotational movement. The 3/4" piece of stock is just meant to simulate the final top plate of the automata. The height of the eyeballs when installed is a key dimension. Installed too high they will rub on the inside of the eyelids and bind. The choice to come is either sand a small flat on the bottom to lower them or countersink a depression in the top plate. The piece of plywood will eventually be replaced with basswood but until I'm happy with the fit up I will use this piece of plywood. The large holes hide the lower part of the eyeballs from view and serve to help contain them in place. The prime locating feature is the hole for the 1/8" rod, of course. I try to build these eye structures fairly loose. Add some paint and things will get tighter! The next picture shows the eyelids sitting in place over the eyeballs. This is the first inkling you get that the eyeballs may need to be lowered. The final placement of the eyelids, determined by the eyelid axel rods, will be slightly higher so the can rotate up and down easily. Now the fun, I mean hard work, starts. This is the top block for the eyes. The back has two channels hollowed out to allow the eyelids to be slid in front the rear. This is because the front is angled forward at 15 degrees. This is done so that you cannot see over the top of the eyelids back into the mechanism from the front. This requires a lot of Dremel carving. What you cannot see in the current photo is a long hole that is drilled from right to left that will hold the hinge pins for the eyelids. The hole is drilled as one using a long 1/8" diameter drill after carefully drilling holes of progressively larger diameter from 3/32" diameter upfront either side of the head. There will not be one long axle as the eyes need to pivot, but drilling all the holes at once makes for better alignment. I'll show some more details of this assembly in a later blog. The angled brow makes this fella look more like a frog than a person at this point. Since I'm not making a frog I will glue back in the matching piece of basswood to allow me to carve the bridge of the nose and brow. I find adding this separate piece later a necessary step . While shaping the inside of the eye chambers on the previous component there is a lot of shaping and fitting done that would be much more difficult with this nose piece in place. The next photo shows the addition of some stock to the forehead to make up the finished height of this section. It is recessed on the back to allow for other components of the automata to be fitted later. With the clamps on while it dries it looks like some rudimentary Aztec mask! Seeing it a this stage I have decided to increase the thickness of the bass plate to 1/2" from 1/4" for two reasons. More thickness will allow me to fit the eyes without altering the top plate, and also allow more space for the transition under the eyes. I am not trying to make the perfect face here but a saleable one that has movement. Using round components for eyelids has some limitations in creating a true realistic face. This is where you can fall back on a whimsical look rather that an exact one. Here's a view from the backside, clamps removed and an angled view from the side. The little space above the eyeballs behind the forehead is the area that will be filled later. What is missing here are two arms that will be attached to the back of the eyelids which will open and close the lids when pushed up and down by the mechanism. When I started this project I had hoped that I could make to head base in one piece, but wanted the eyes to function nicely so I had to give up on that idea. It will be up to me now to blend the joint where this piece joins the rest of the head nicely.
More to come.
0 Comments
Leave a Reply. |
Why Automata?Automata is a creative blend of my life interests , engineering, art and woodworking. Archives
July 2022
Categories
All
|
 RSS Feed